


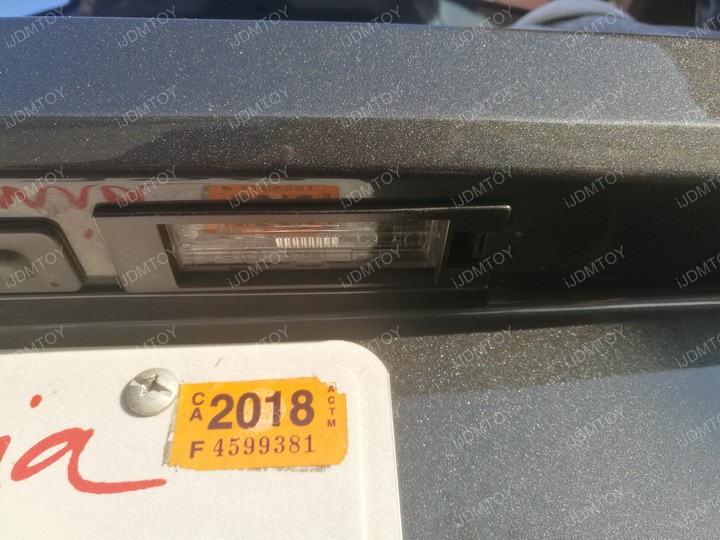
This is a tutorial on how to install the 18-SMD xenon white CAN-bus LED license plate lights (75-116) for the following Chevy models:
- 2014-up Chevrolet Camaro
- 2013-2015 Chevrolet Malibu
- 2011-up Chevrolet Volt
Installing this pair of rear LED license plates will simply involve a direct replacement action that is minimally invasive and is overall clearcut. After you are finished, your Chevy vehicle's tail end will be brightened, revealing your license tag with maximum clarity.
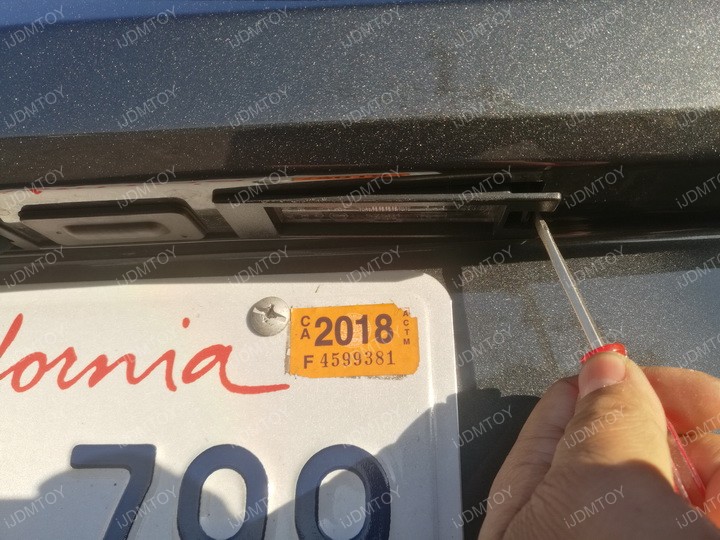
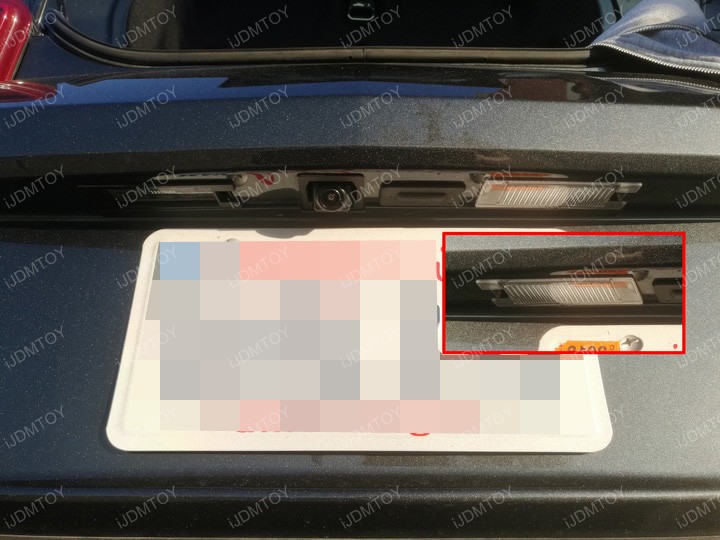
Step 1: Use a flathead screwdriver or a similar item to take out the license plate light.
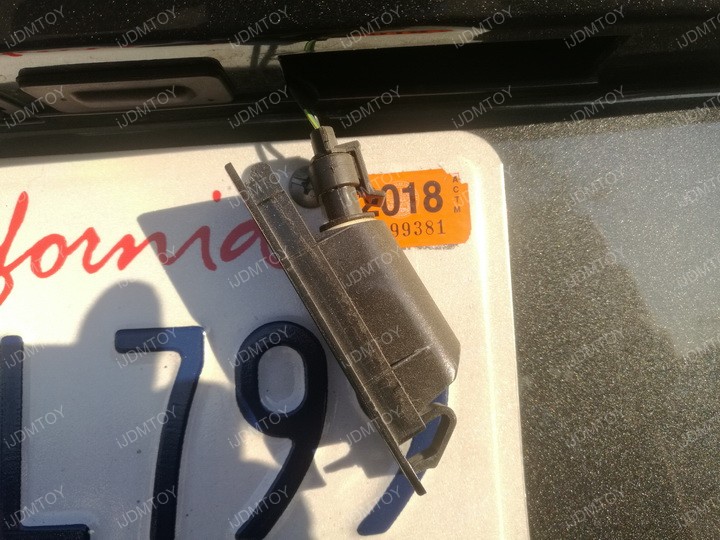
Step 2: Twist unlock the stock bulb and base from the license light housing.
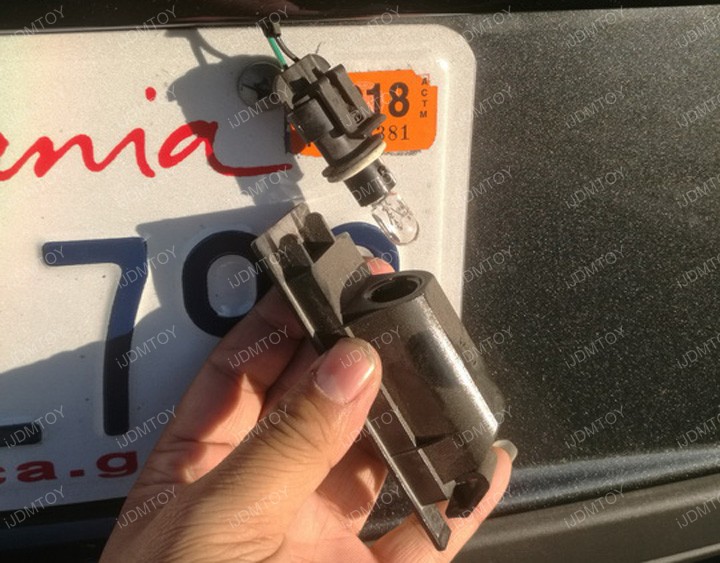

Step 3: Pull out the stock incandescent light bulb. Directly replace it with our xenon white CANbus LED license plate light.
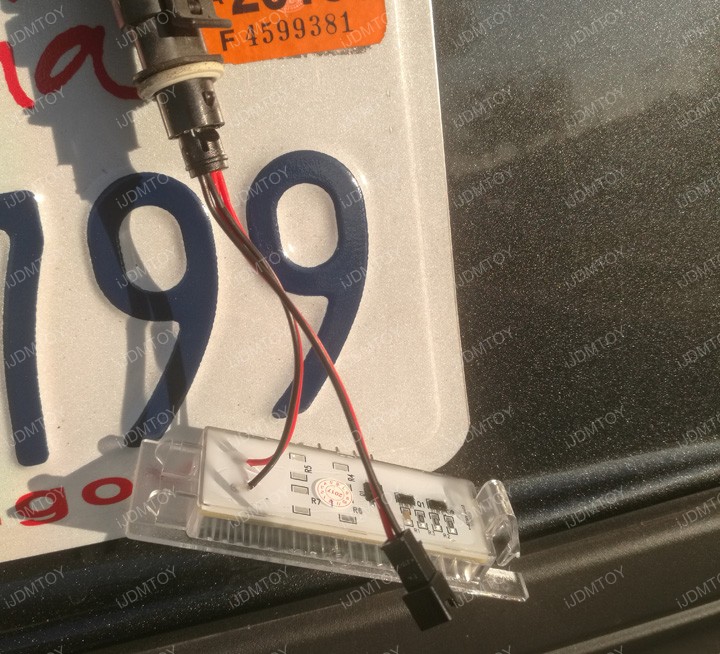
When you plug in the LED license plate lamp, the connection may feel tighter than that of your OEM light bulb. This is an intentional design on our part to ensure a secure fit.
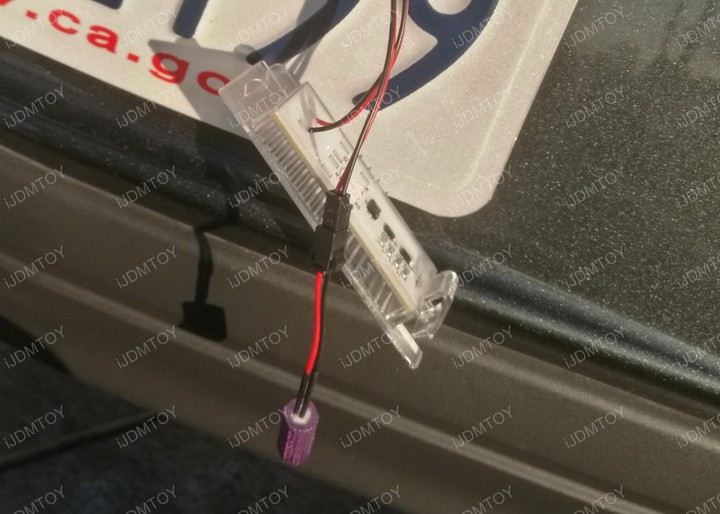
Step 4: Plug the CANbus decoder into the other socket.
Step 5: Repeat steps 1-4 for the other side. Test the LED license lights to make sure it functions properly.
Step 6: Snap in the 18-SMD LED license plate lights to finish. If they feel a little bit loose or unsecured, rotate the LED license tag light. It will fit in either direction.
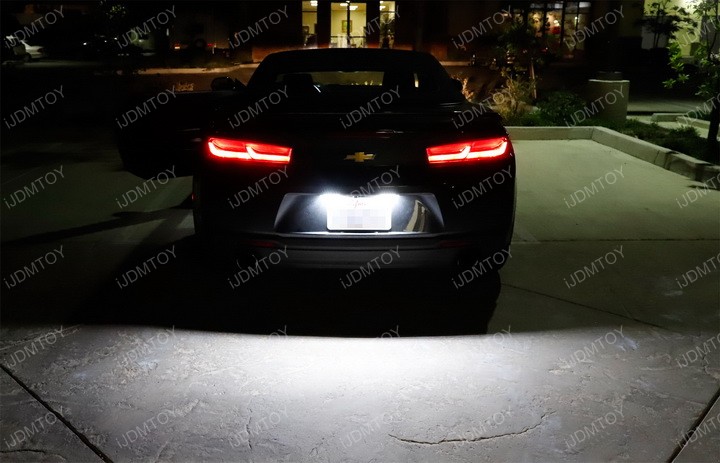
You may now enjoy your Camaro or Malibu's brand new pair of xenon white LED CANbus license plate lights! You can find this and more OEM replacement LED lights today!