


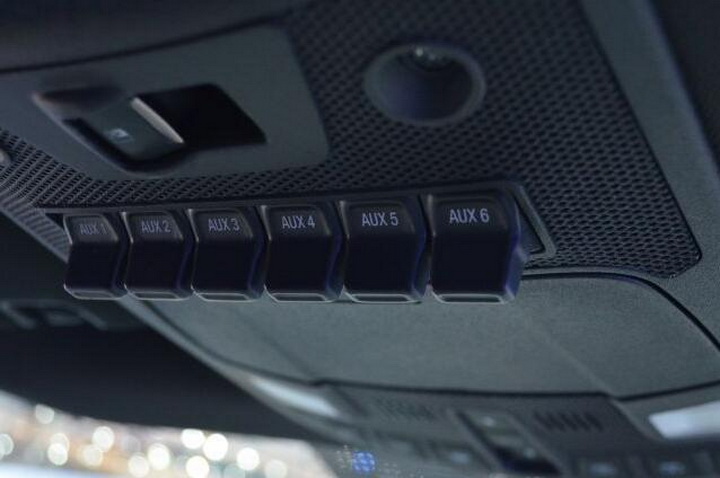
This is a tutorial on how to wire your LED light bar or LED fog lights onto a Ford F-150 Raptor to use with your auxiliary switches. Many Ford Raptors come equipped with built-in switches inside its cabin that allow you to control a variety of electronics, depending on what you want to hook up. Performing this method of wiring will give you an easier time than routing a switch through the firewall and choosing a mounting location. The following steps will be based on the 2017 Ford Raptor.
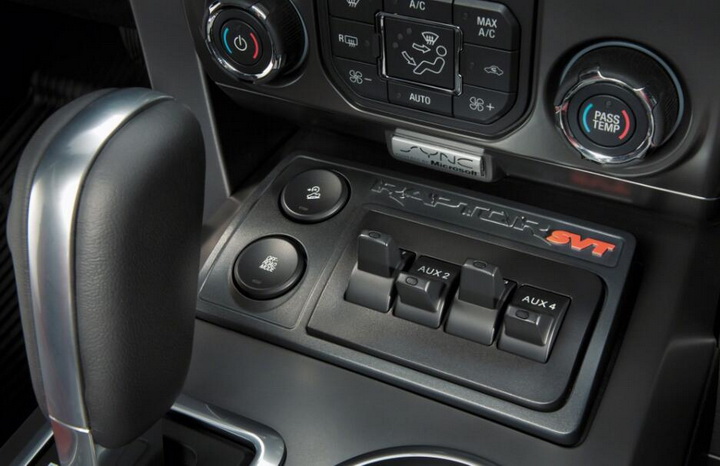
2010-2014 Ford Raptor auxiliary switches for reference:
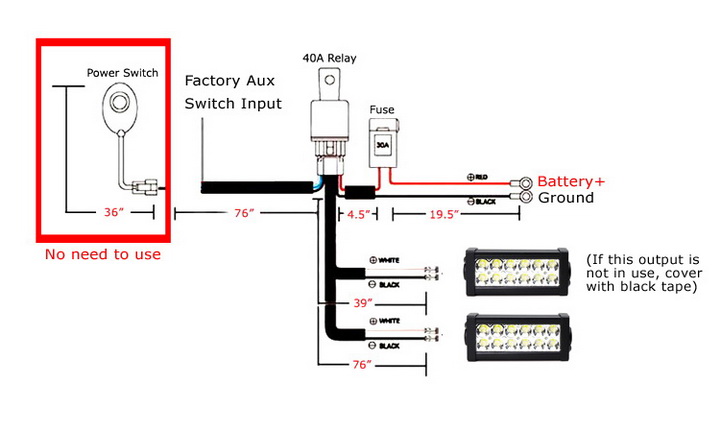
Step 1: Connect the wires of your LED light product to the included relay wiring harness. You will still need to use the wiring harness to power your LED lights.
- If you are installing an LED light bar, connect its wire to the longer harness wire. Cover the other harness wire with electrical tape. If wiring multiple LED applications, use the longer harness wire to connect the driver side LED light and the shorter harness wire to the passenger side LED light.
- Connect the battery+ wire to your car battery's positive terminal and the ground wire to a grounding point.
-
Disconnect the power switch from the relay wiring harness. Cover the exposed socket with black electrical tape.
Step 2: Locate the wires that are connected to your auxiliary switches. Before you connect any wires, make sure your switches are flipped off.
To find the hot wires that are connected to your auxiliary switches, you may open your Ford truck's hood or remove the dash panel on the passenger side and release the glove box by opening it and pulling in the box sides. We will be opening the hood for this installation.

There are two sets of wires for the aux circuits, the active hot wires connected to the aux switches (powered) and the pass-through wires (unpowered). Refer to the table below to help you find the colored hot wires, based on the 2017 Raptor. The wires' colors and location may vary by the year model so refer to your vehicle manual if the wire colors don't match this table.
We recommend using aux switches 1 or 2 because either switch will be capable of handling your LED light bar or fog light's wattage.
Check out the video below to help you find your active hotwires that are connected to your aux switches:
Step 3: Connect the single factory aux switch input wire to aux switch wire 1 or 2.
Step 4: Test your LED light product to see if it turns on by flipping its corresponding switch. Make sure the wires make good enough contact.
With this installation process, you avoid opening your firewall and finding a discreet place to stick on the on/off switch. You may now enjoy switching on your LED light bar or LED pod lights using your Raptor's primary auxiliary switches.
Discover more offroad truck LED lighting today!