


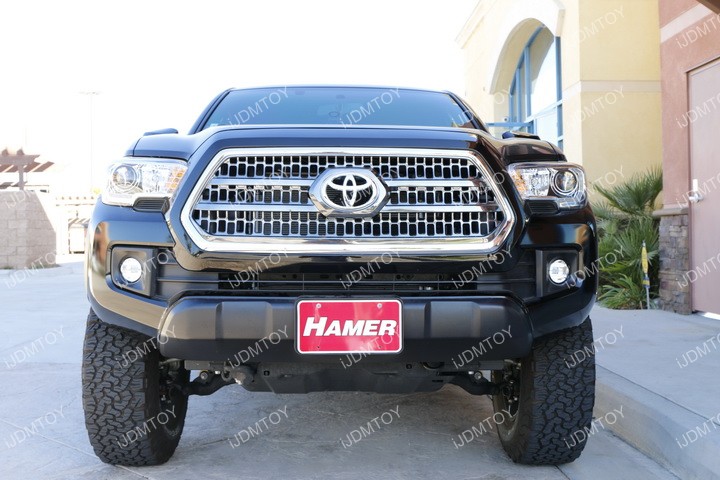
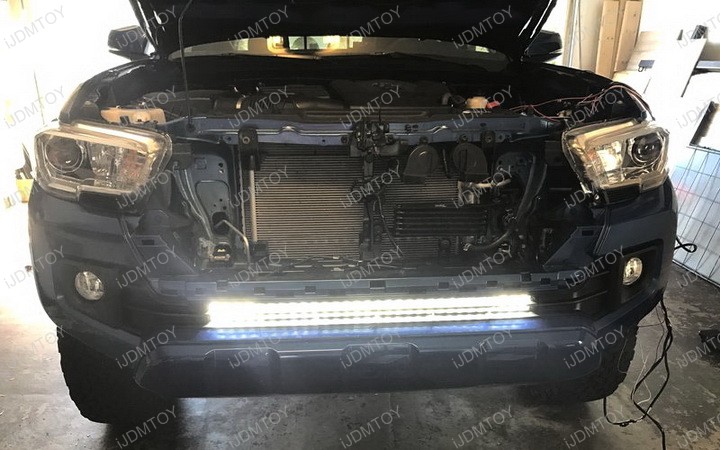
This tutorial will show you how to install the 30-31" 180W double-row LED light bar (35-969) on the lower bumper grille area of the 2016-up Toyota Tacoma.
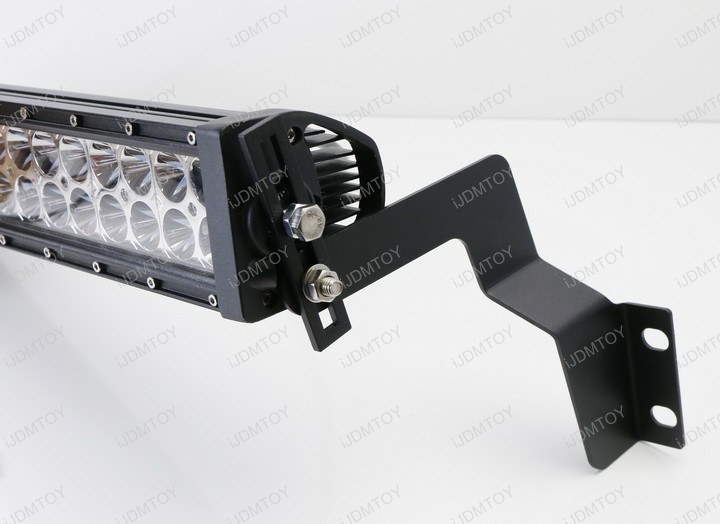
This Toyota Tacoma LED light bar kit comes with a set of specially designed metal mounting brackets so that you don't have to cut off any existing parts to install the assembly. Other brands on the market require you to cut off some portions of the front grille for installation, but iJDMTOY's mounting brackets allow you to keep the truck in original condition and require absolutely no modification, no drilling, no cutting.
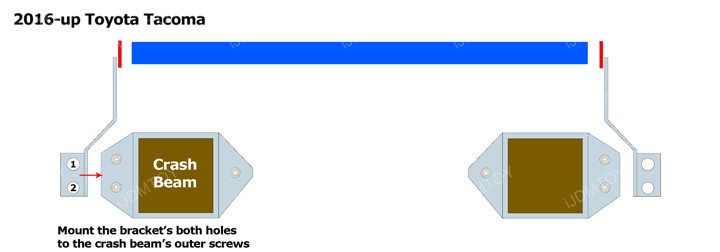
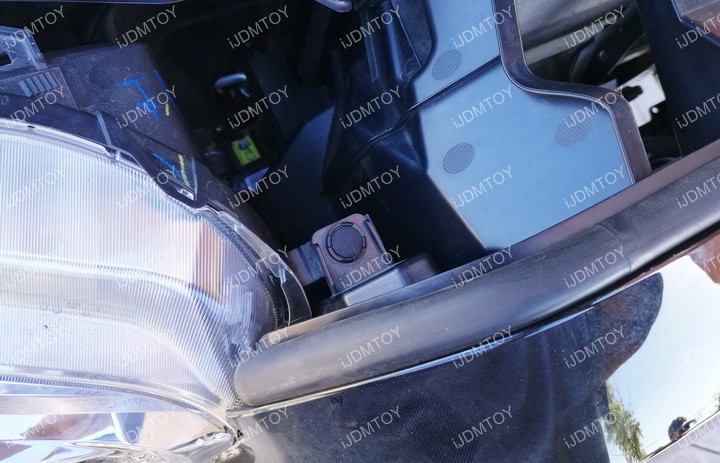
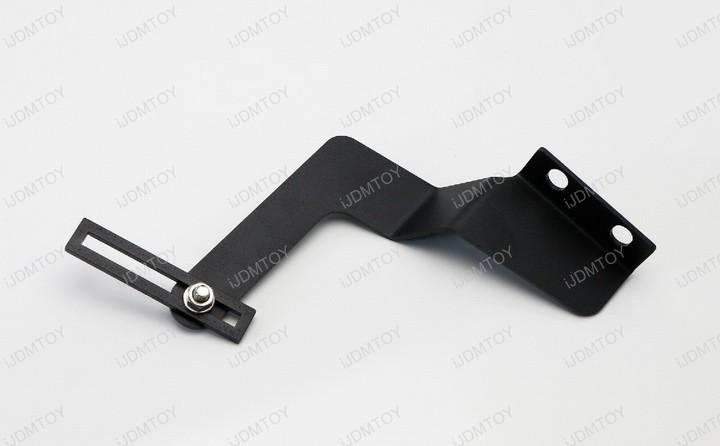
Before you get started, find the correct mounting holes to secure the LED light bar mounting brackets on. To best see the crash beams, remove the bumper and look at it facing the front side. Because you will be installing this onto a 2016 or later Toyota Tacoma, you will be mounting your metal mounting brackets onto the outer side mounting locations. This double-row LED light bar will include 2 extension brackets to allow you to adjust its height.
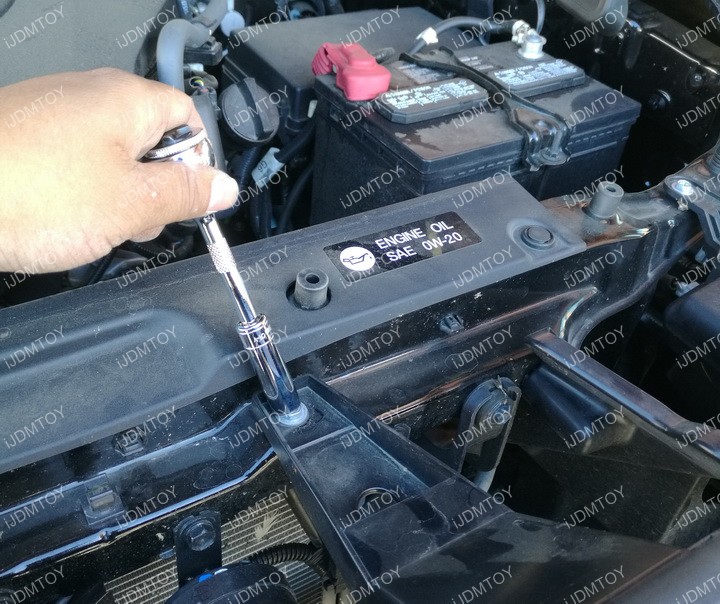
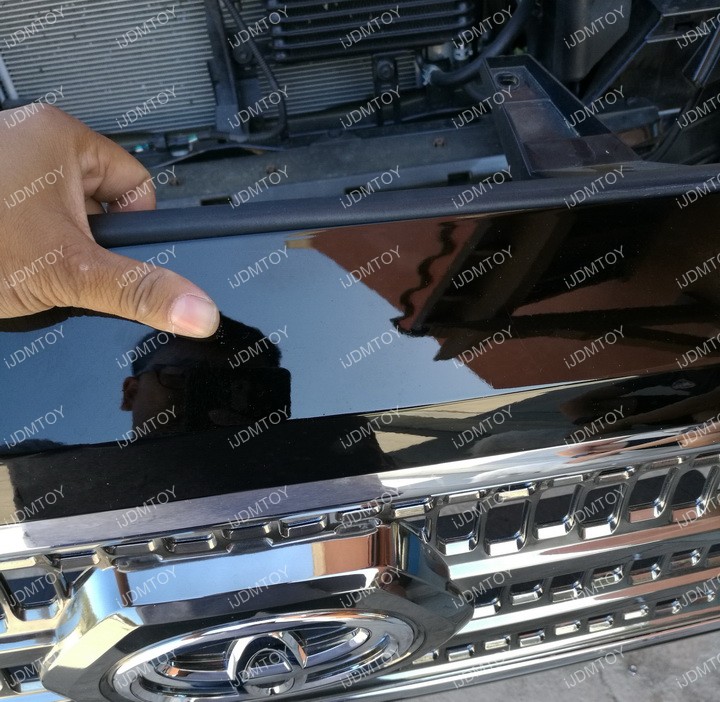
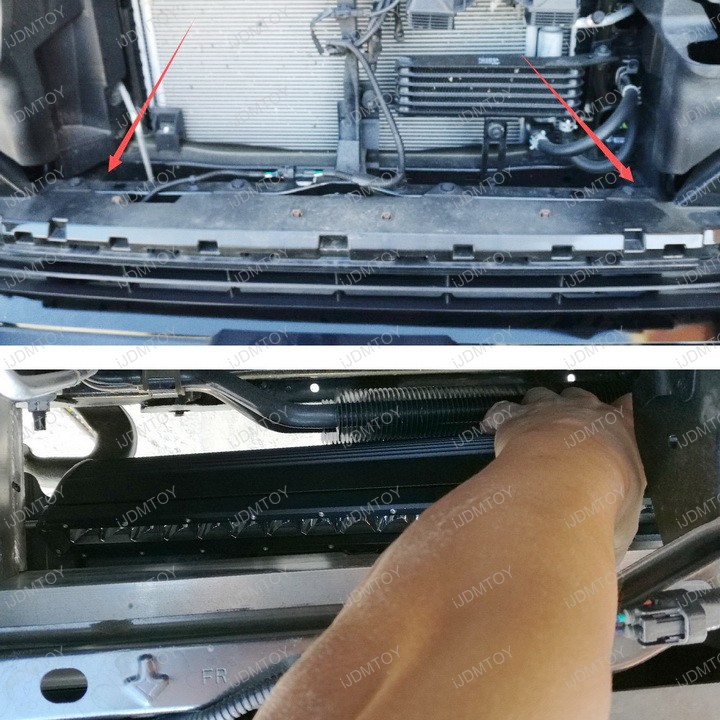
Step 1: Remove the front grille.
The front grille is held on by 2 bolts and 2 clips, one set on each side next to the headlights. Remove the bolts and clips, then remove the grille by pulling it up and back.
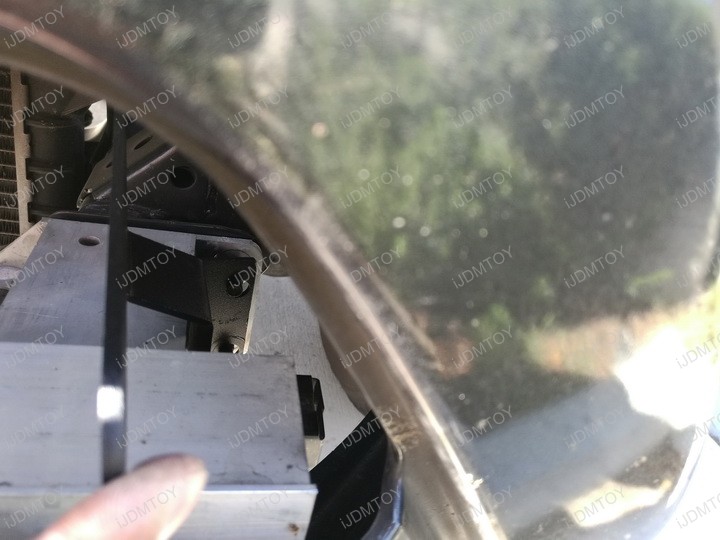
Step 2: Take out the outer two screws on the crash beam on both sides. Unbolt using a #14 wrench. To reveal these screws, peel back the plastic air dams.
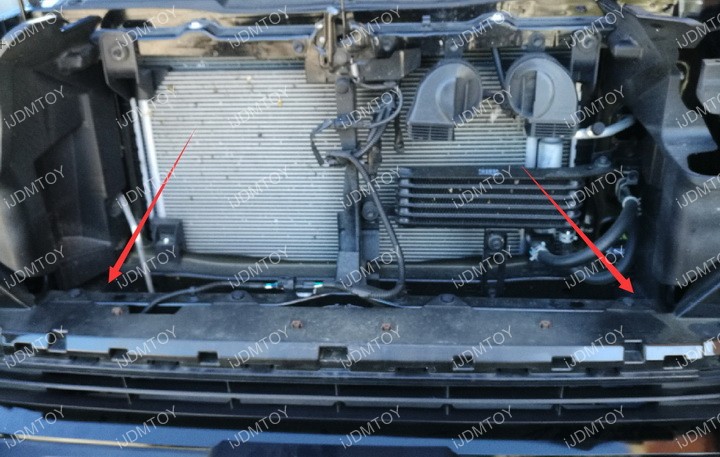
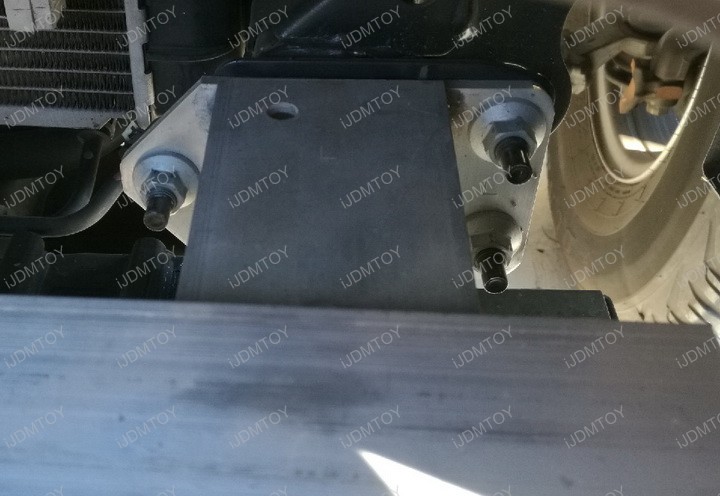
The nuts you are removing are the two outer ones that secure the crash beam.
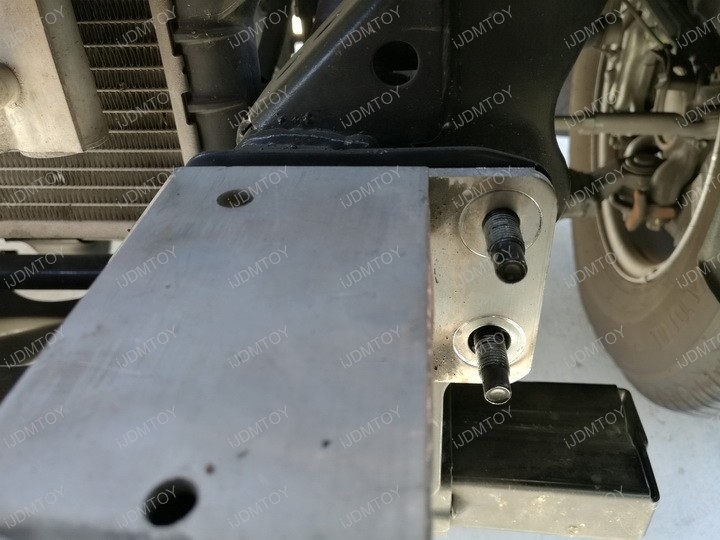
Step 3: Refer to the crash beam diagram as a visual guide. Your Toyota Tacoma double-row LED light bar will include 2 extension brackets to allow you to adjust its height.
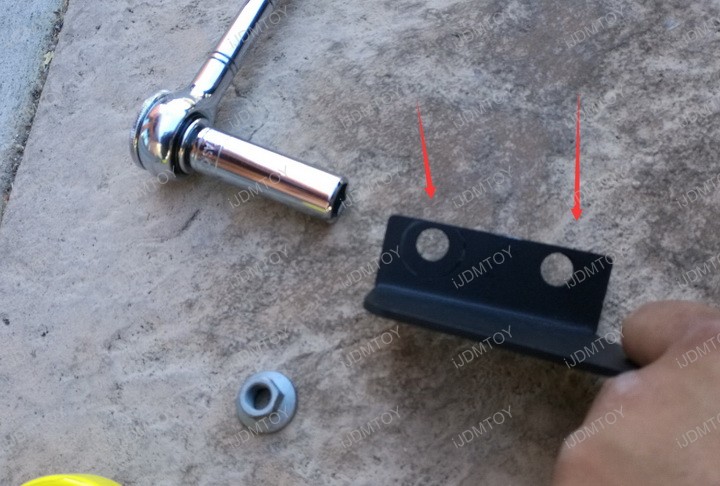
Mount the metal brackets by both holes to the exposed mounting holes indicated in the last step.
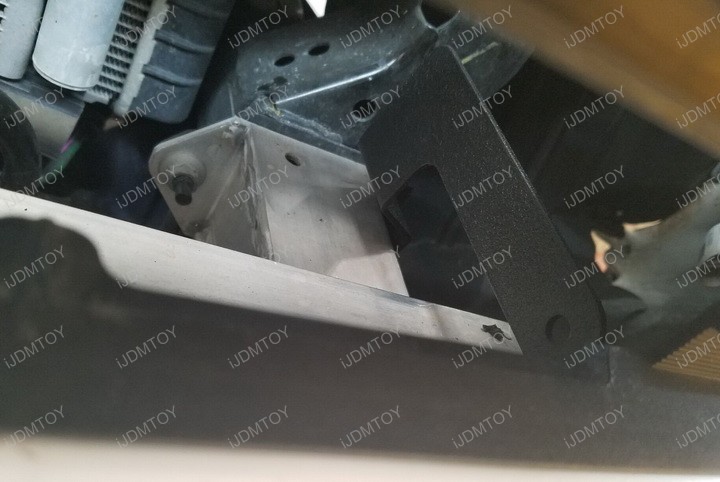
The bracket will be set just below the lower bumper opening.
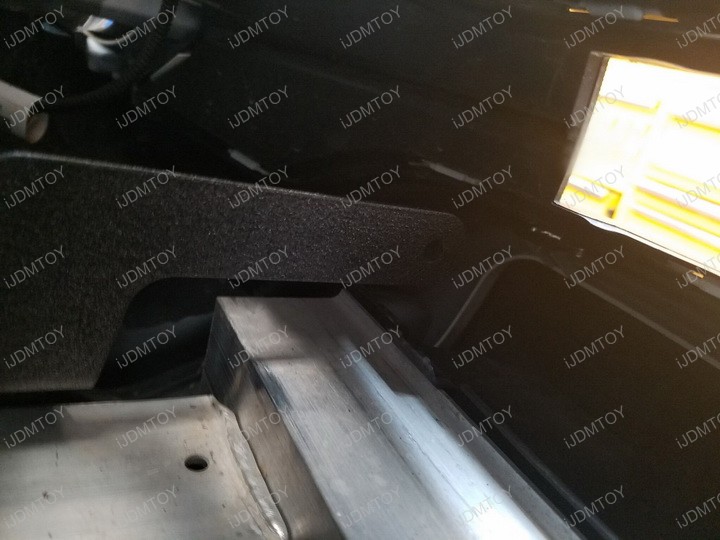
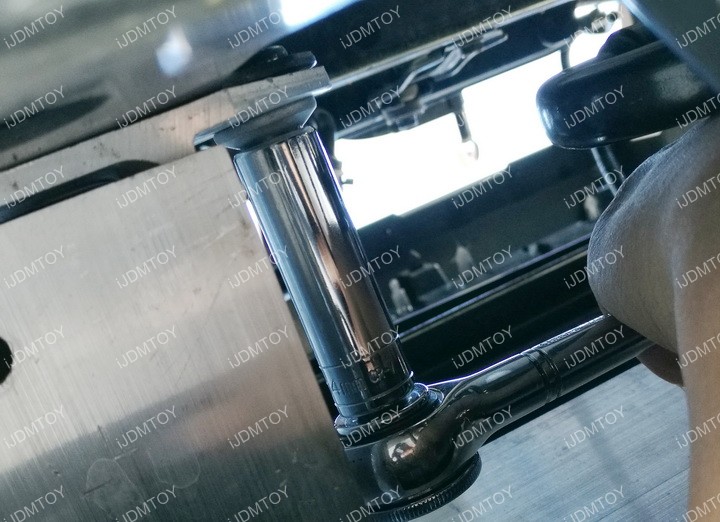
Step 4: Assemble the included rectangular brackets to the mounting brackets.
With the rectangular bracket, you can set your LED light bar as high or as low as you want. You can also adjust how much forward it sits in your Toyota Tacoma's lower bumper gap.
Step 5: Carefully place your LED light bar in between the metal mounting bracket assembly and secure it. There are three options for you to put the LED light bar in.
The first option is to remove the bumper. While this adds a step to your installation process, this ensures your LED light bar will stay pristine and free of blemishes.
The second option is to slide it in through the gap between the bumper and grille area. Going down this route will increase the chance of scratching the LED light bar, which will void its warranty. If you opt for this method, perform this step slowly and carefully.
The third option is to cut off the beams in the lower bumper gap. This will not only prevent light from being blocked, but will also allow you to set your LED light bar as far out as you want it.
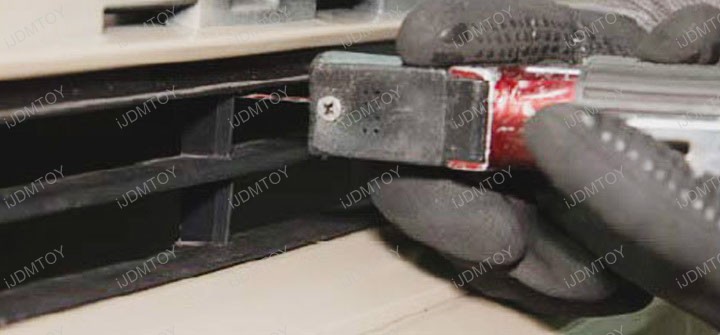
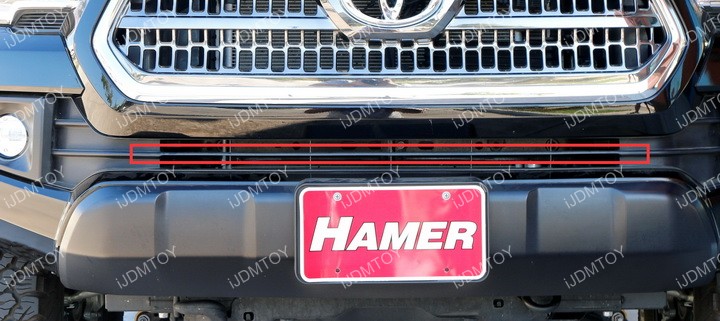
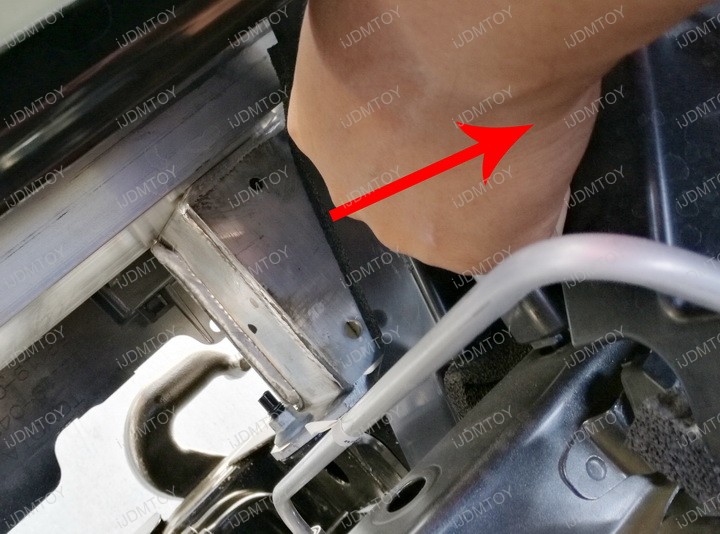
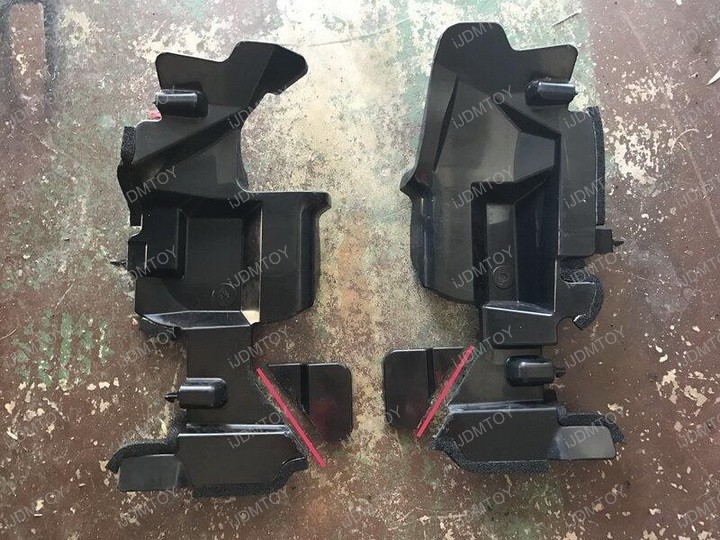
You may also trim the air dams by using a cutter if the fitment is not to your liking. Cut according to the red lines below. This action is optional.
Step 6: Once you secure the LED light bar, connect the wires to power up the LED light bar. If you have a relay wiring harness with switch on hand, check out the Truck LED Lamp Wiring Guide for instructions.
Step 7: Test your LED light bar to make sure it lights up. Once you've confirmed that it does, put back all the components you removed in the beginning, including the front grille.
Enjoy your Toyota Tacoma's brand new LED light bar!
Find this and more offroad truck LED lighting today!