


You can find this product under Clear Door Sill Paint Protection Scratch Film Vinyl Sheet (AA2104).
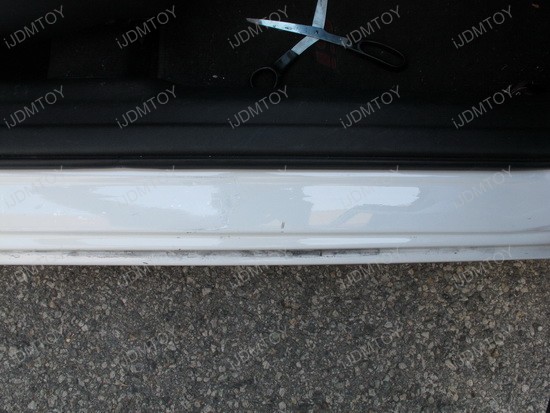
1.) Thoroughly clean the surface of the application to get rid of any dirt/debris/dust. The surface must be spot free in order for the vinyl to apply properly.
2.) Lay out the vinyl sheet on the application and mark a spot to cut the sheet.
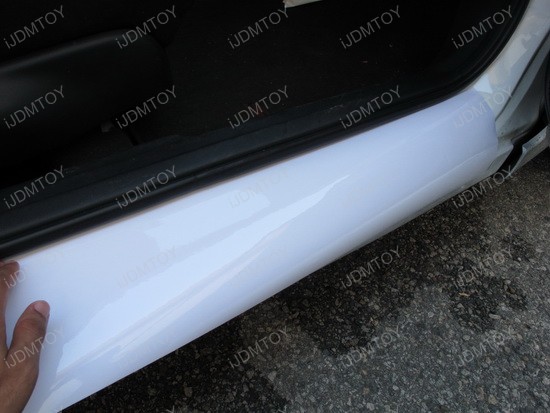
3.) Once you have marked the spots, cut the vinyl sheet with sharp scissors or a razor. The material is made out of polyurethane so dull edged blades may end up tearing or ripping the vinyl sheet which may result in a less than perfect appearance.
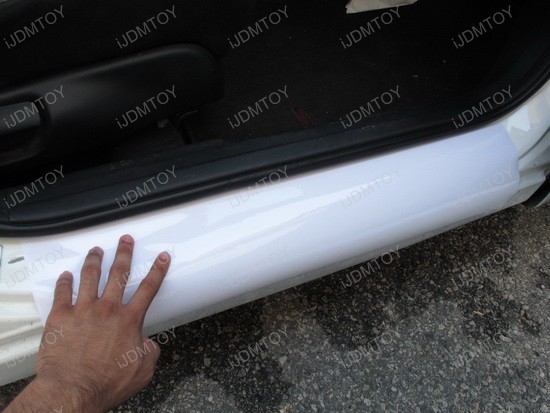
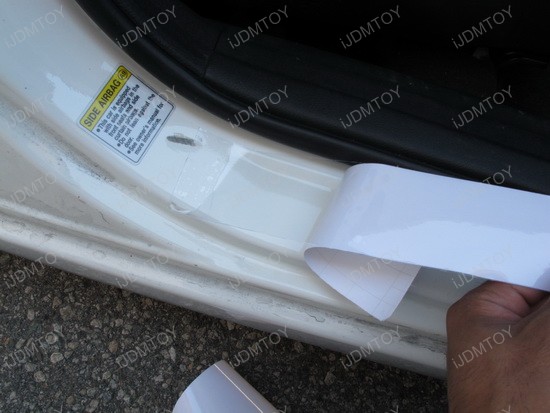
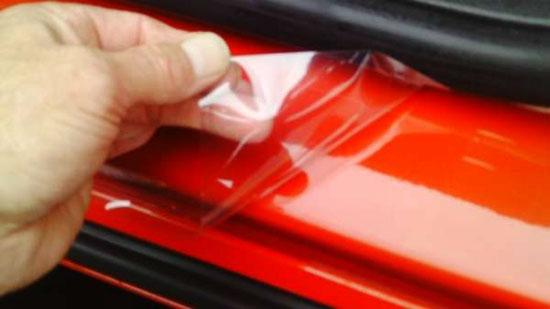
4.) Start by removing the adhesive paper backing on one side and apply to the surface. Have a friend provide you assistance as you slowly pull the backing away from the vinyl sheet and while your friend uses their hand to firmly press down the sheet. WORK SLOW! Rushing this step may cause air bubbles to appear.
5.) Once the vinyl has been installed, use a squeegee or credit card covered in thin cloth, run it across the vinyl with moderate pressure to push out any small air bubbles. For larger air bubbles that are stubborn to get rid of, use a needle to carefully pop the bubble and then go over it with the squeegee/credit card.
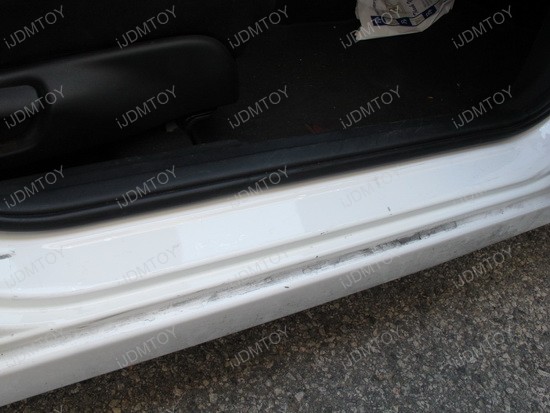
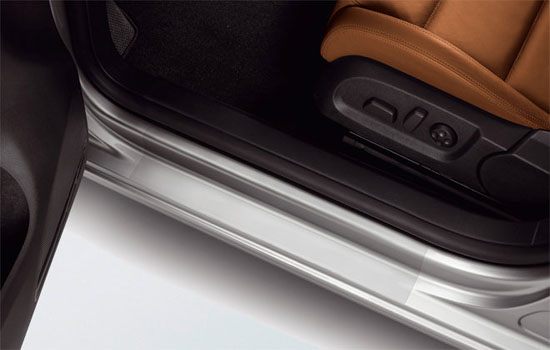
6.) Once installed and all the steps have been carefully done, you should not be able to notice the difference between the side that has been applied (left) and side that has not (right). Enjoy your new protected door sills scratch film vinyl sheet!
![]()

*INSTALL NOTES: Although a wet application was not done during this install, wet application procedures may help you position the vinyl sheet with more ease and allow you to make adjustments if required. A mixture of water and soap should suffice as the lubricating material for this. This is not required but may help with the installation procedure greatly.