


** Please note that this guide is a general guide on how to bake open a headlight. Some headlights may be different than the one shown in this guide. Also, iJDMTOY does not take any responsibility for any damages or injuries that result from attempting this task. This guide is intended to assist your installation and should not be used for any other purposes than what is shown/stated. Professional assistance is recommended. Please proceed at your own risk. **
*The vehicle this is based off of is a Mazda 3
Recommended tools:
-Flat head screwdriver
-Latex gloves
-Heat gun
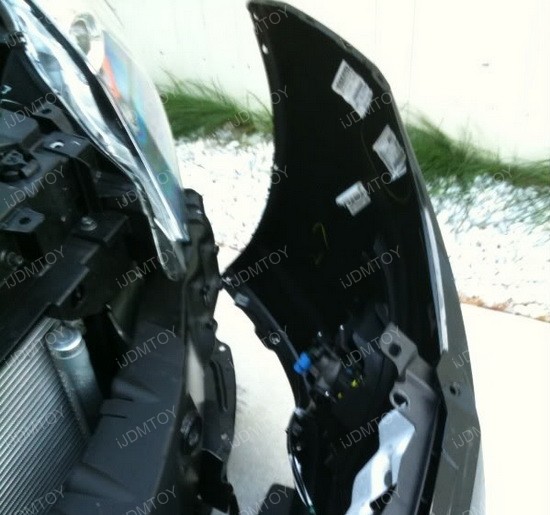
First, you will need to remove your front bumper since it does get in the way of your headlights on most vehicles. The amount of screws and tabs will vary.
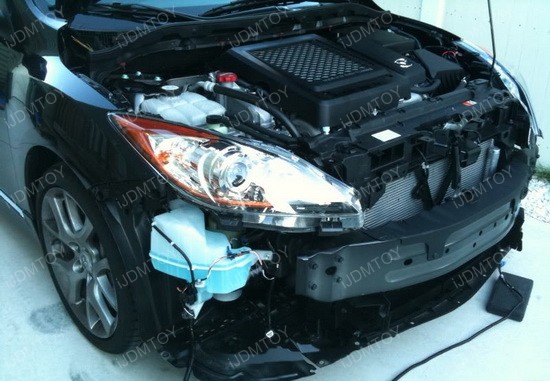
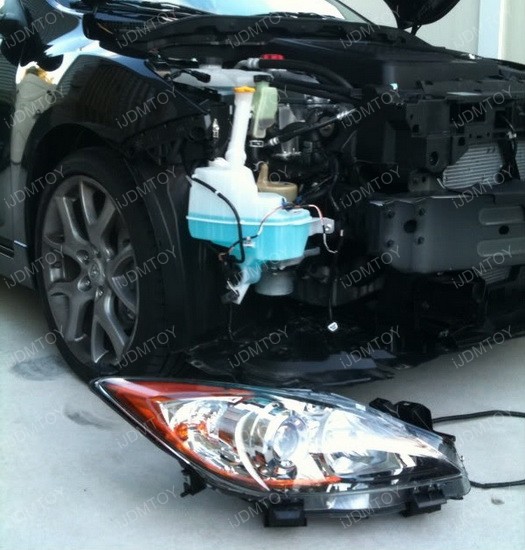
Once your bumper is removed, your headlight should be held on by a few bolts. Remove the bolts and unplug all factory bulb sockets so you can take the headlight off the vehicle.
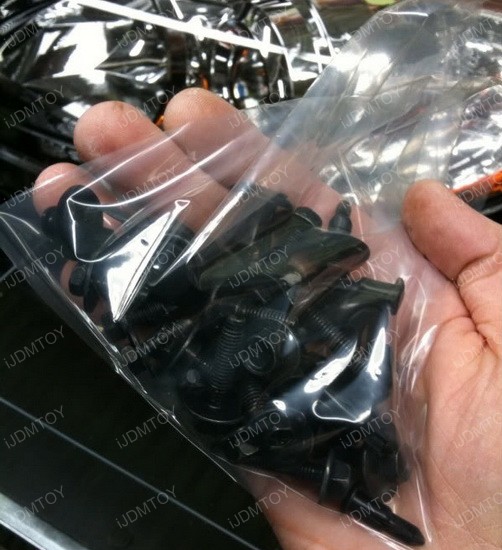
Collect all the bolts and screws and put it into a plastic bag. This will prevent any lost bolts or screws when installing the headlights back onto the vehicle.
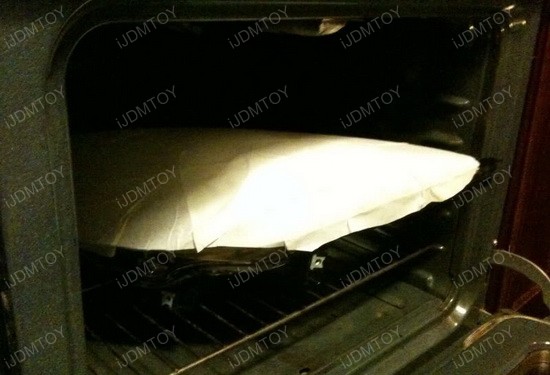
Make sure your headlights are thoroughly cleaned before you continue the next steps. You will need to pre-heat your oven to 350 degrees Fahrenheit and place some soaked paper towels on the headlight lens. It is also recommended to have a wet cardboard underneath the headlight. This will prevent damage to the back of the headlight housing while it is in the oven. Set your timer on the oven for 6-8 minutes.
Once the time is up, always remember to use oven gloves to remove the headlight. Once again, please be very careful when handling the headlight right out of the oven. The headlight will be extremely hot and the silicone sealant around the headlight will be softened. It is handy to have a heat gun and a flat head screwdriver in this step.
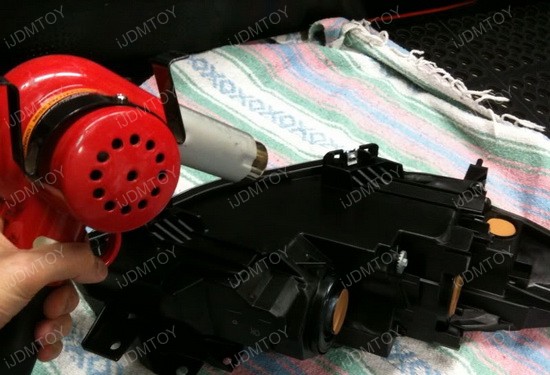
The silicone will dry and harden fast so it is recommended to use the heat gun to keep the edges warm while you are prying the lens off the housing. Start from the corner of the headlight and carefully pry open the lens and headlight using a flat head screwdriver. Assistance from a friend would help with this step as the sealant is strong. There may be tabs around the headlight which will have to be lifted. The sealant is very sticky and will get onto anything and everything it comes into contact with, using latex gloves over the gloves is recommended.
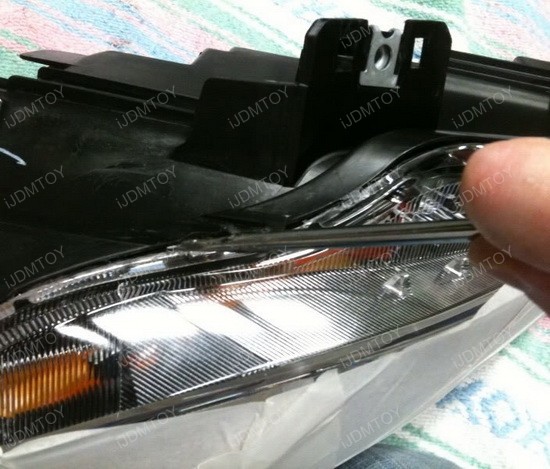
If the silicone is hot enough then you can use your hands to yank it edges off first. You will be able to see the silicone separate slowly while removing the lens.
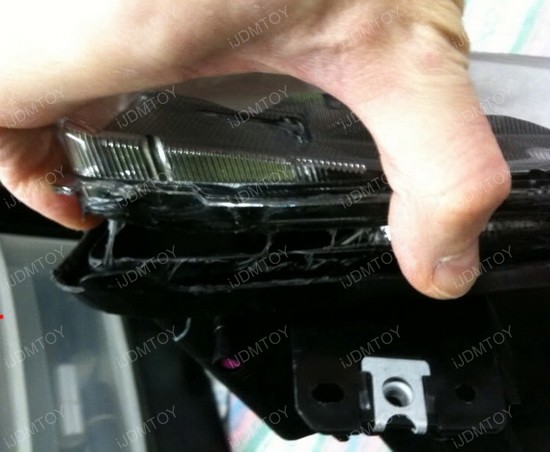
Please remember to remove the lens cover gently and pay attention to how your lens is attached onto your housing. Different headlights may have a combination of screw to the housing and silicone on the edges.