You can find this product under Error Free LED License Plate Lights (90-014).
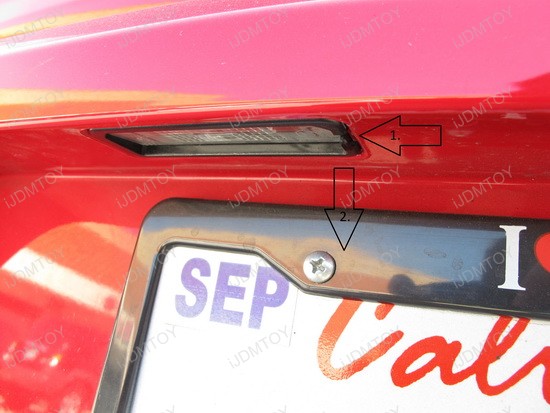
1.) Remove the stock license plate assembly by using a flat head screw driver. Push the plastic clip inward and then pull down.
2.) Install the T10 Canbus Adapter into the stock socket, install the LED bulb, and connect it to the plate assembly.
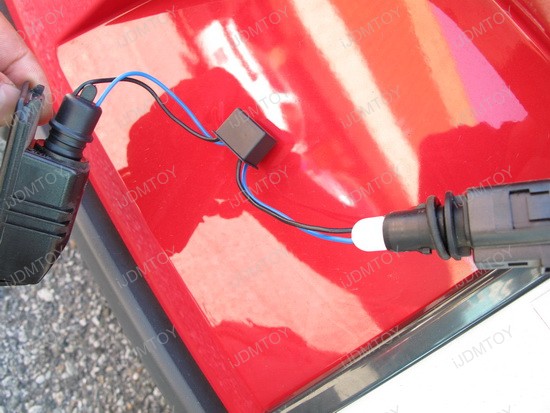
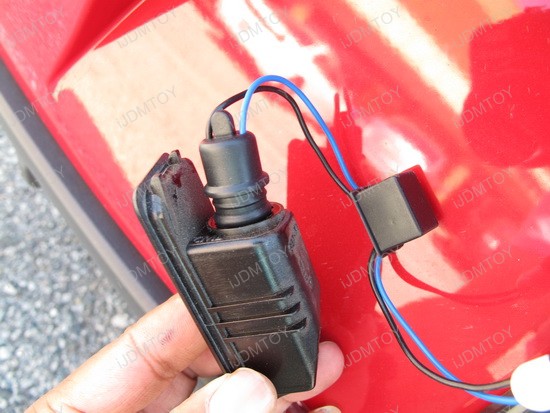
3.) When installing the LED bulb portion into the stock assembly, it will be very tight. The size of the adapter is roughly the same size as the assembly so you will have to twist and push the adapter into the assembly. Once you’ve inserted the adapter into the assembly as much as the picture below shows, you should be fine.
4.) Repeat the same procedure on the other side.
5.) Turn on the lights to test them to make sure they work. If the bulb does not turn on, take out the T10 Canbus Adapter from the stock harness and flip it around. Since LED bulbs are polar sensitive, they will only light up when installed one specific way. The pins on the base of the adapter may also have to be manipulated so it makes contact with the socket walls. Troubleshooting assistance is available in the link below:
http://store.ijdmtoy.com/How-To-Install-LED-Bulbs-a/201.htm
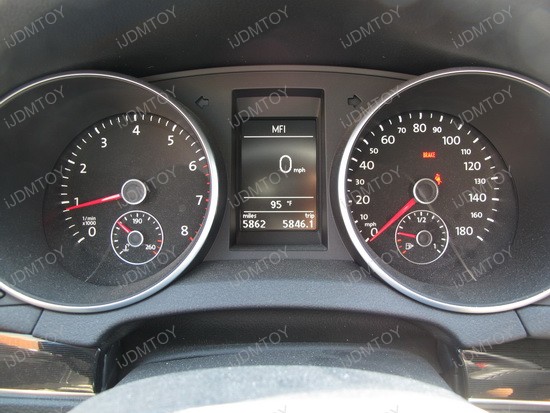
Be advised that if the bulb did not originally light up, the error message on the dashboard may be recorded. After you have successfully solved the issue, you will have to install the original bulbs to clear the error message. After the error message is cleared, re-install the LED bulbs in the correct position.
6.) Once you’ve done this, enjoy your new error free license plate lights!