


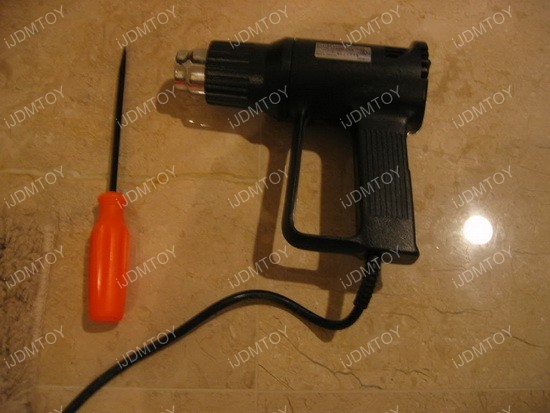
Taking apart the headlights and removing the amber lens in your BMW 3-Series can be tricky, but it's completely possible with some patience and a few tools. Of course you would have to do this at your own risk, but this DIY could definitely be a nice Sunday afternoon project by yourself or with a buddy. After opened the headlamps, you will be ready for several awesome retrofits works such as adding the Morimoto style projector lens or adding the custom LED angel eyes rings. All the extra tools you'll need for the job include a flat head screw driver, a heat gun, and a pair needle nose pliers.
1.) Remove the headlight and remove all the bulbs.
2.) Heat each clip and pry them back with a flat head screwdriver. There are a total of six clips.

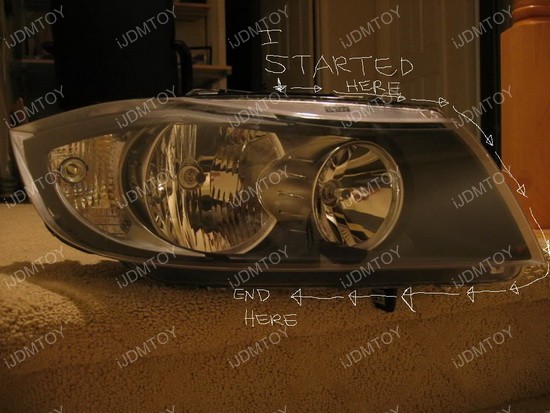
3.) Use a heat gun to heat up the section where you want to begin. You can start from the top and move to the right. Every time you heat up a second, you would have to pry apart the cover from the housing. Continue to the halfway point at the bottom.
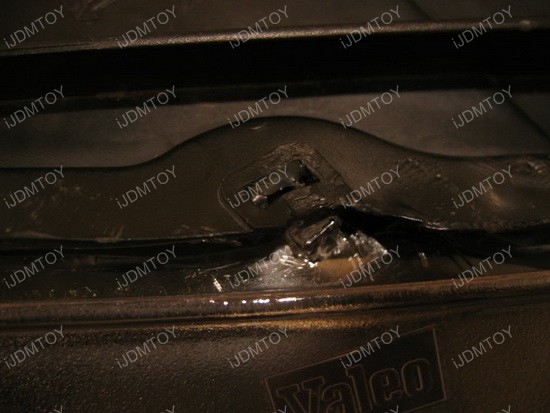
4.) You should be able to see a small opening.
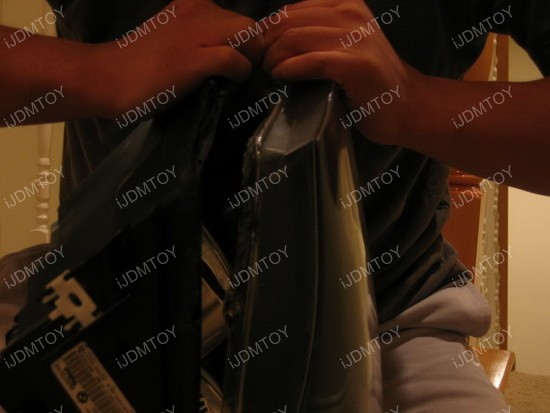
5.) Heat part of the headlight that hasn't been pried yet and pry it open.
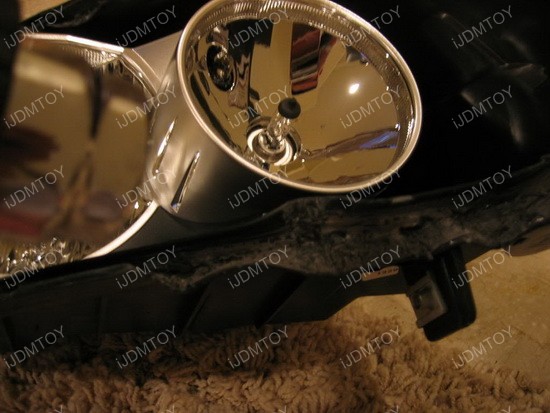
6.) Use a screwdriver to unclip the amber lens.

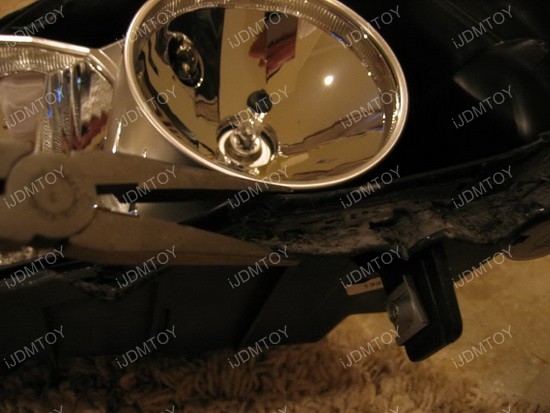
7.) Use a heat gun to heat up this section and use needle nose pliers to put it back.
You should remove all of the old glue and buy some strong glue to seal the headlights back together. This will help prevent any condensation that may get into the headlights. You are well on your way to have a unique looking BMW 3-Series on the road. The credit for the photos and guide go to Longtran of e90post forums.