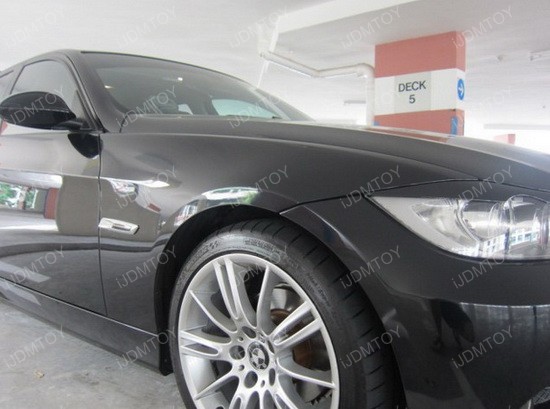
This tutorial will show you how to install, SKU 75-019, BMW LED side marker lamps. While this installation guide is using a BMW as a reference, many of these steps can be used to install any LED side marker lights.
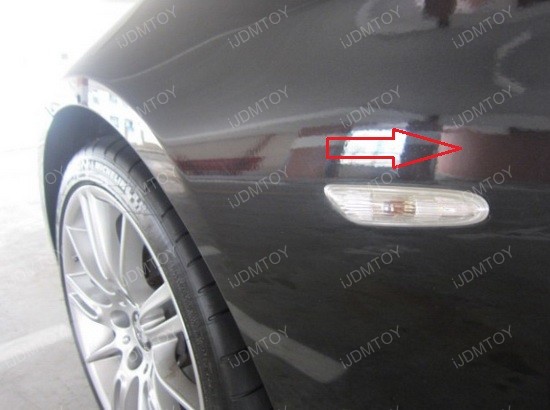
Step 1: Starting on the driver side marker lamp assembly, push the entire assembly towards the back of the vehicle and pull toward you from the front side and it should pop off.
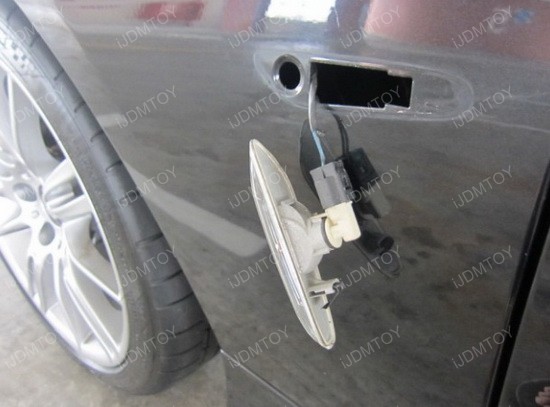
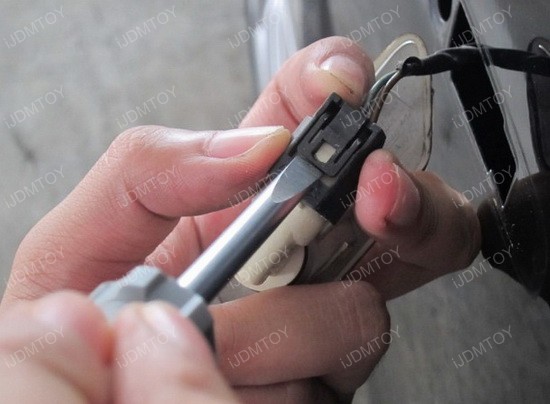
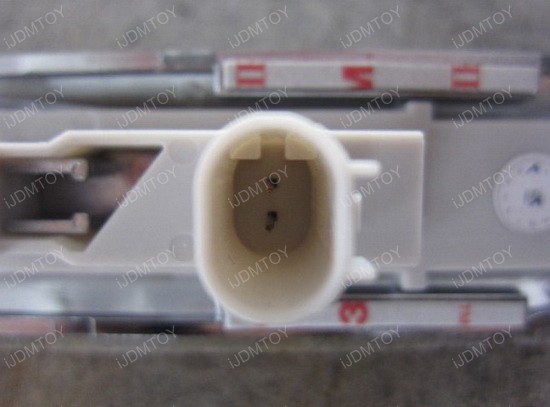
Step 2: Using a flat head screw driver, push the lock tab up and pull the connector off from the factory assembly.

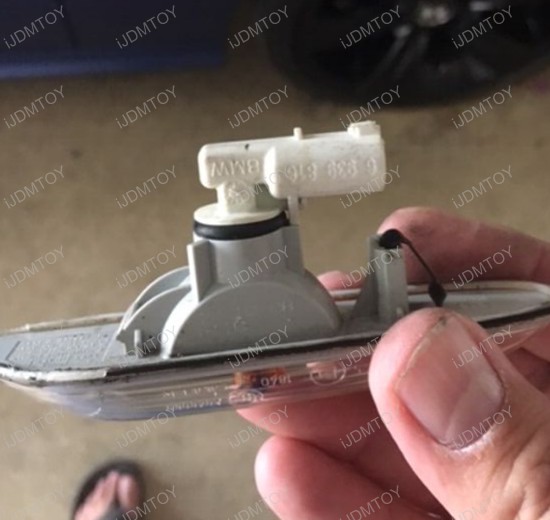
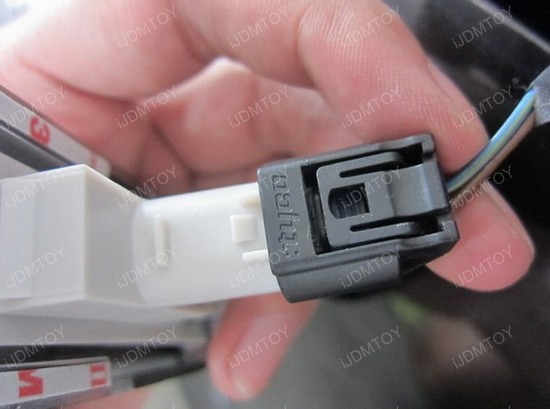
Step 3: Connect the factory connector to the LED assembly. Please note that even though the factory side marker adapter is L-shaped and the LED side marker light is straight, the adapters of the two will still fit each other.
Step 4: Remove the seals off from the adhesive portions on the back of the LED assembly. You may tap the additional red wire to your headlight or fog light positive (+) to enable the xenon white light. When you switch on your headlights or fog lights, the BMW LED side marker lights will shine in xenon white by default. When you engage your turn signals, they will flash in amber yellow exclusively until you complete your turn or merge. If you do not want to enable the xenon white portion, simply keep the red wire tied up and out of the way.

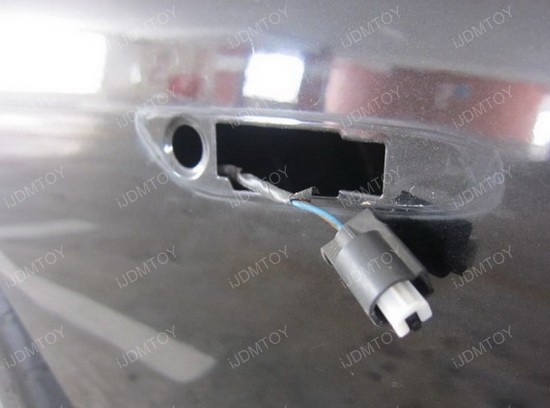
Step 5: Install the LED assembly into the opening by first locking the front side in and then pushing the back portion with the clip in. It should snap in place and the adhesive should hold it sturdy.

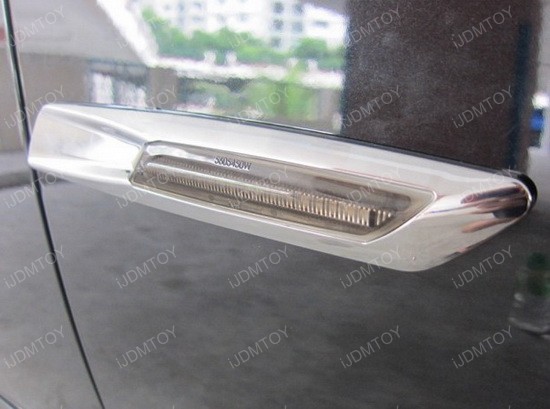
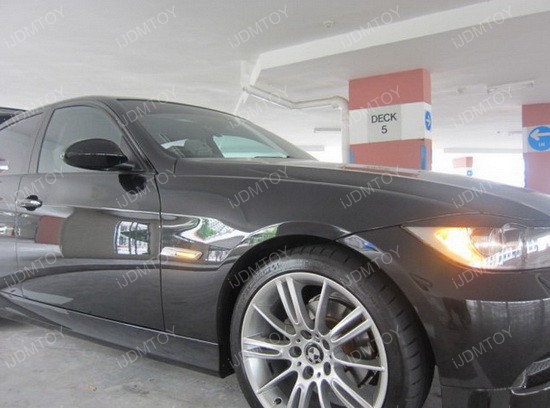
Step 6: Repeat the same procedure on the other side and enjoy your new BMW F10 Style LED side marker lights!