


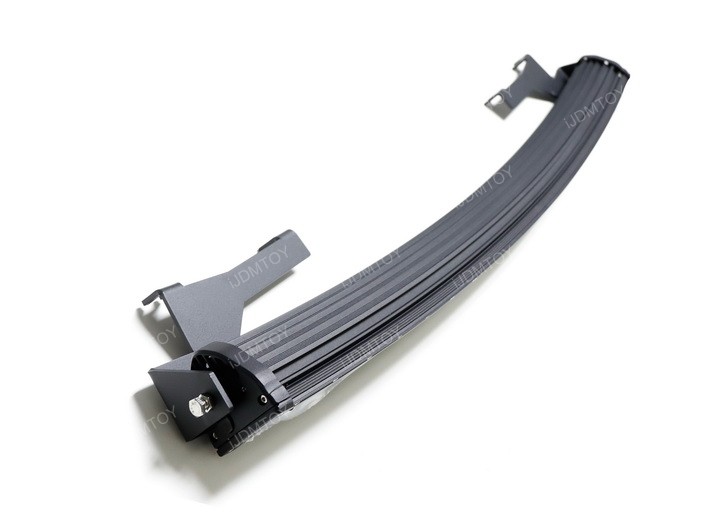
This is a tutorial on how to install the 40" 240W double-row curved LED light bar (35-978) for the 2017-up Ford F-150 Raptor. There are many places to mount a powerful LED light bar such as this one on your Ford Raptor. The advantage of setting it on top of your front bumper is you can display the amount of power your F-150 Raptor holds before you even turn it on while augmenting your vision of the area immediately in front of you. With this LED light bar installed, your Ford Raptor will be in the higher echelon of utility.
While removing the grille is the easier path to installing your new double row LED light bar, you can alternatively install it by loosening your lower bumper.
The front grille removal guide below is based on the 2016 Ford F-150 Raptor, but is identical to that of the 2017 Raptor so the process will be the same.
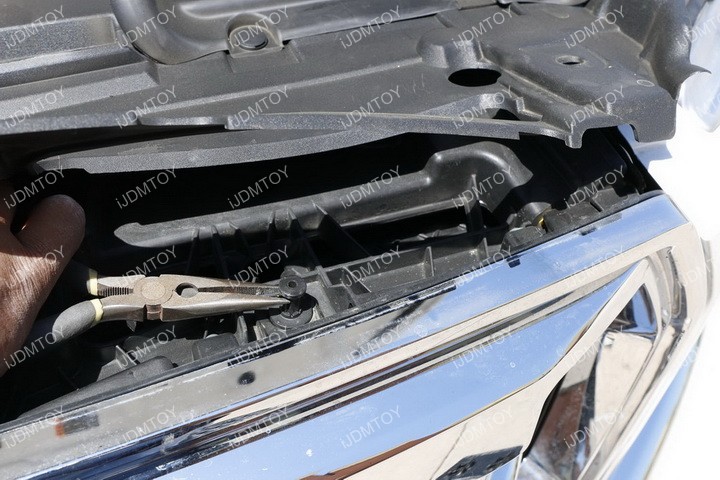
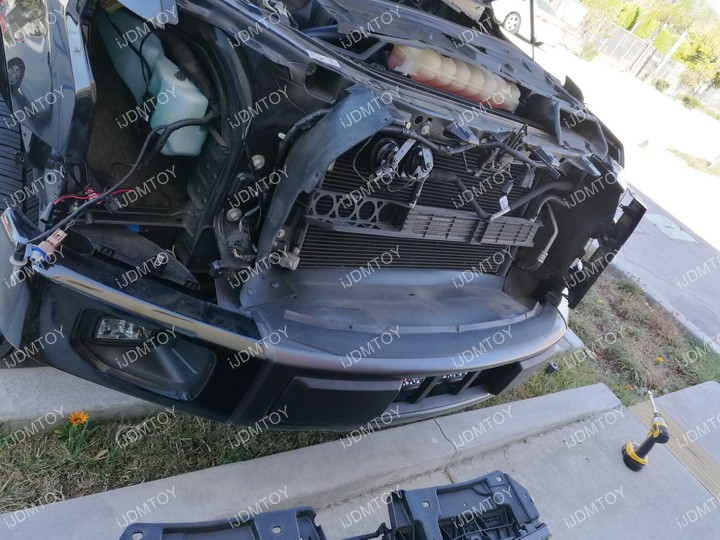
Step 1: Take out the clips and tabs located at the top of the grille.

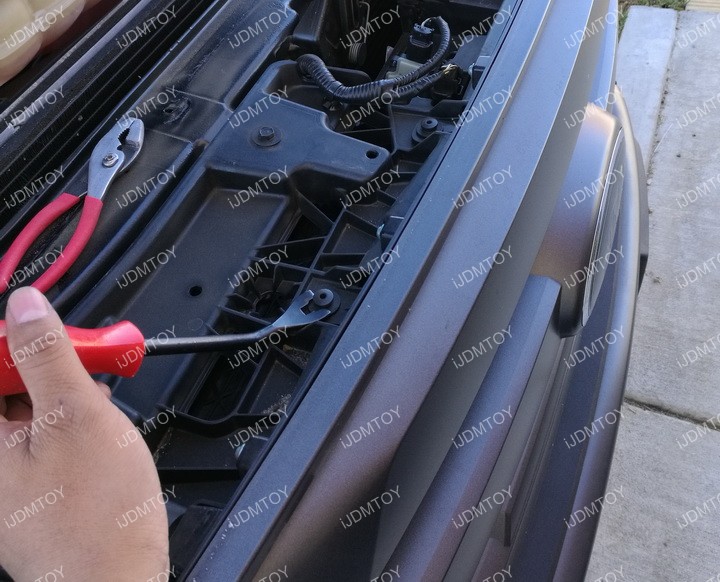
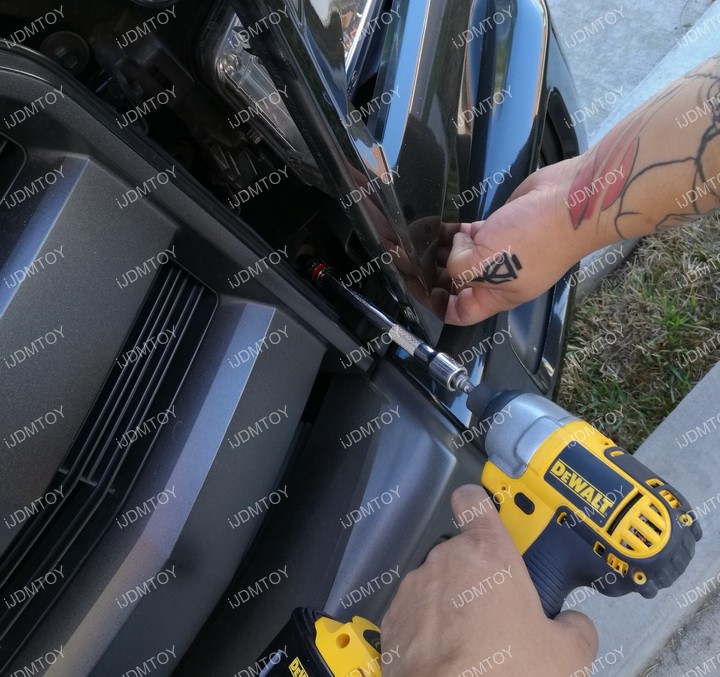
Step 2: Unbolt the screws securing the headlight bezels.
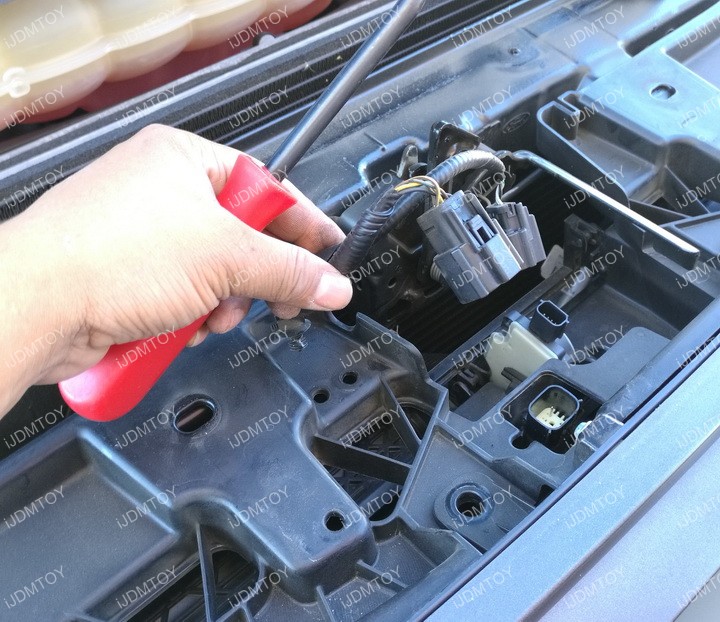
Pull out the stock harness. Your Ford Raptor grille should now be able to be removed.
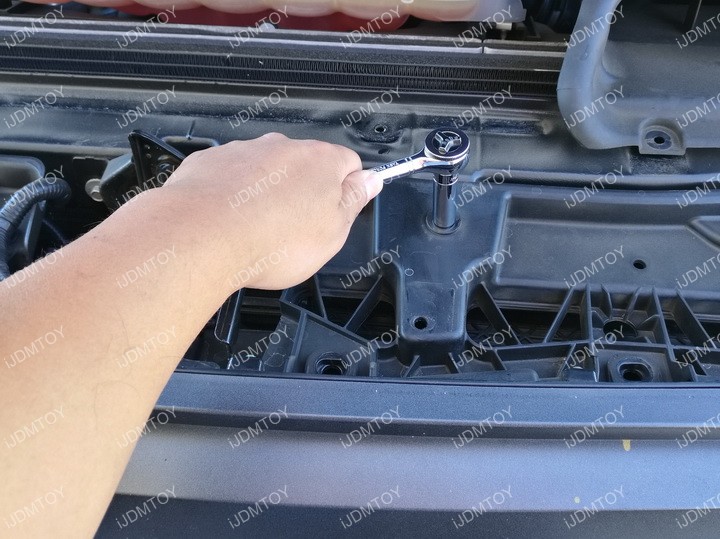
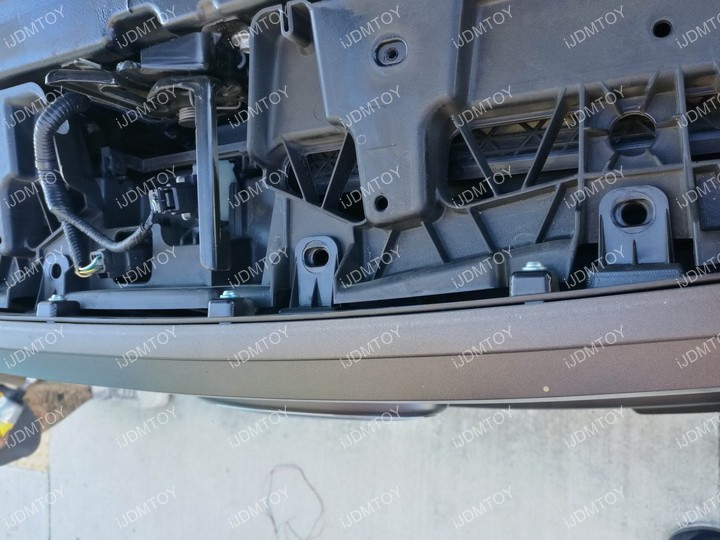
The screws you will be removing will be located under the plastic bed.
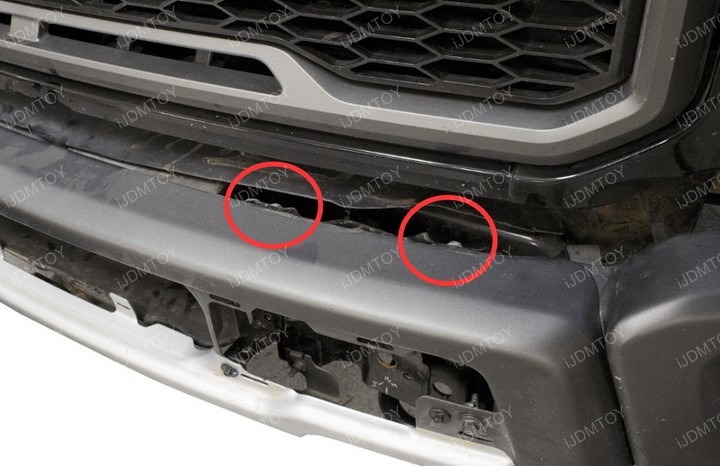
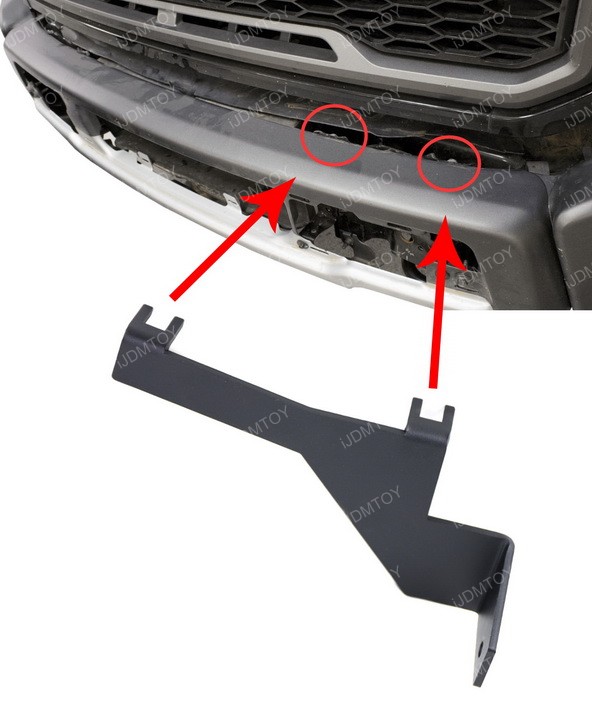
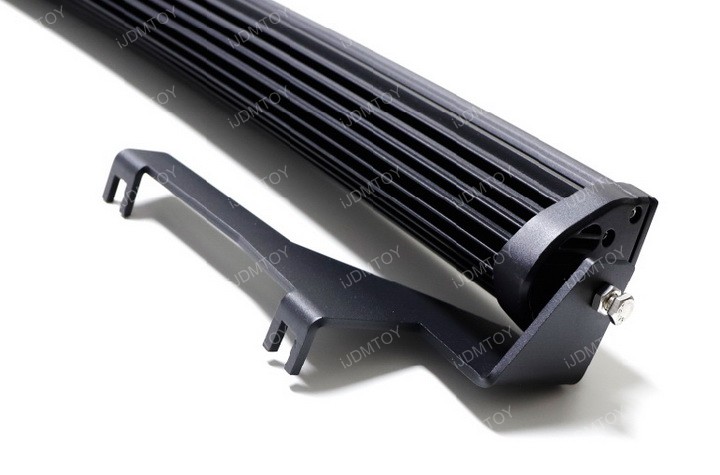
Step 3: Remove the two screws on each side and bolt the LED light bar mounting brackets using the supplied washers and existing screws.
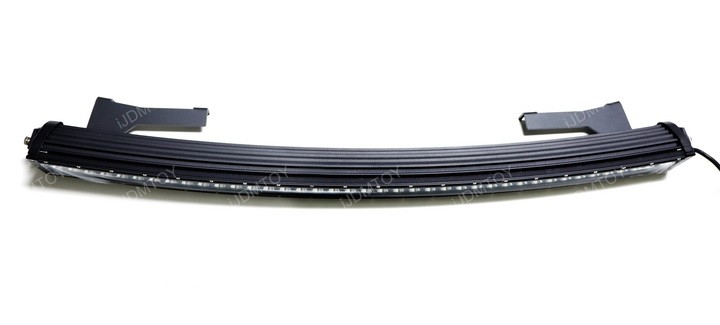
Step 4: Mount the LED light bar in between the two brackets.

Step 5: Re-secure the bumper and other parts you removed by fastening the screws you unbolted. Wire the LED light bar using the included relay wiring harness.
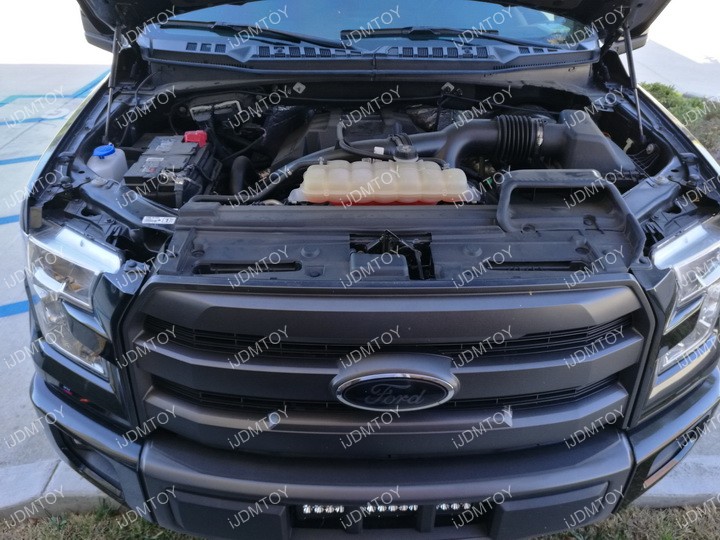
Step 6: Test to make sure your LED light bar fully lights up. Once you've confirmed that it has, you may now enjoy your Ford Raptor's brand new over-the-bumper mounted LED light bar!
Find this and more offroad truck LED lighting today!