You can find the LED Emitter Door Handle Lights (35-369) here.
*NOTE: Please be advised that this installation guide is based on the type of door handles shown in the pictures of this installation. This guide is meant to serve as a general guideline for this type of installation and your vehicle may differ in procedures outlined so please proceed at your own risk. We are not responsible for any damage or injury that may occur due to this installation*
We recommend using our SKU #369 LED lights for this installation.
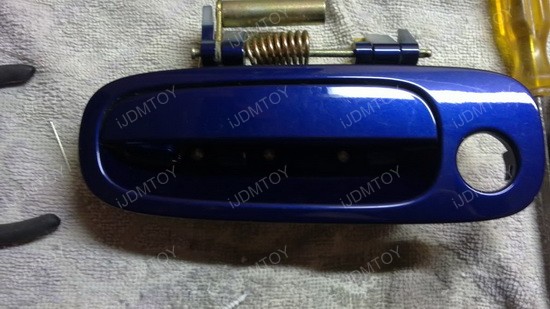
1.) Remove the door handle trim from the vehicle to make the installation easier. Drill holes for the wiring of the LED diodes to go through near the top of the back of the handle. The amount of holes will depend on how many diodes you are installing. Route the wires through and remove the adhesive tape backing and stick it on securely to the handle. Make sure the surface is clean for the adhesive to bond well.
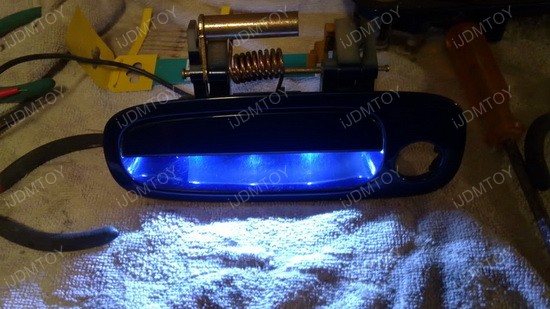
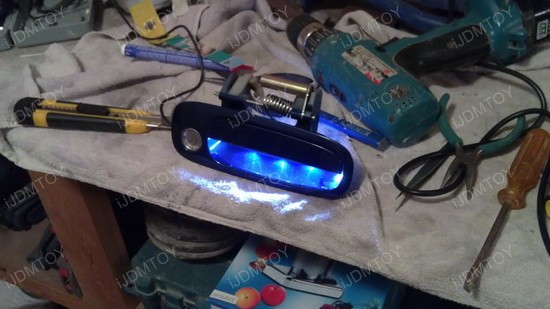
2.) Connect the lights together to create two single wires for the Positive and Negative connections. Connect these to a 12v battery source to test the lights prior to installing them onto the vehicle.
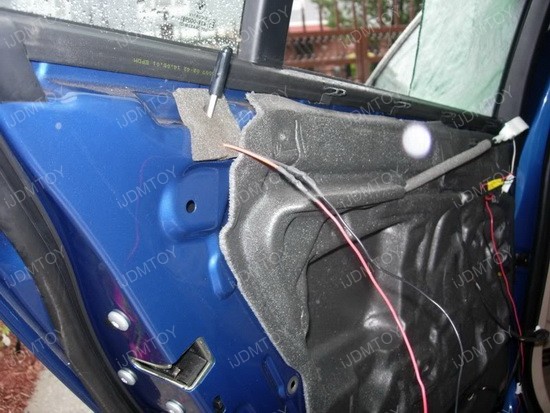
3.) On the vehicle, remove the door panel to gain access to the back of the door handle area. Install the door panel and route the wiring through the opening in the back. Route the wires to a 12v power source you want the door handle lights to come on with; the most common place would be to tap it to the interior lights fuse in the interior fuse box underneath the steering wheel column. If your interior lights are set to turn on when the doors are unlocked, the door handles will also light up if wired this way.
4.) Repeat the same procedure on the other side and test the lights by unlocking and locking the car.
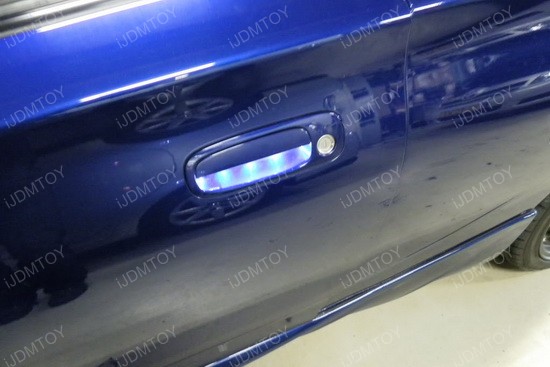
5.) Enjoy your new LED door lights!