You can find this product under LED Scanner Knight Rider Kit
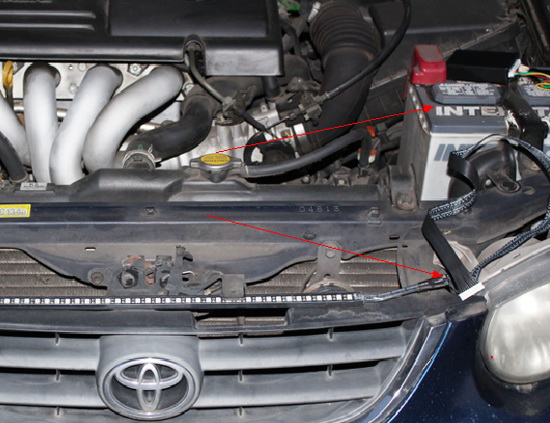
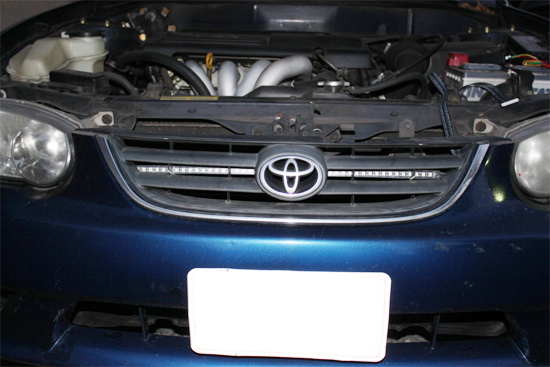
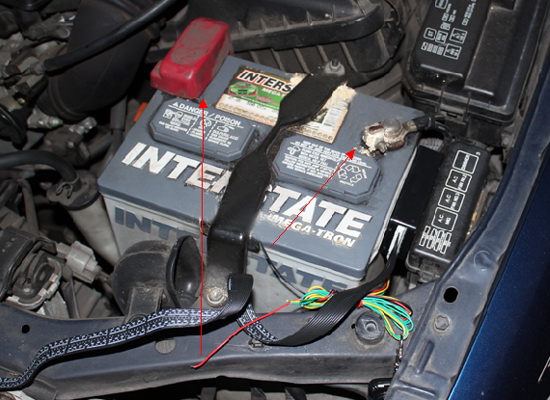
Step 1: Position the LED scanner bar so the wiring side is close to the car battery
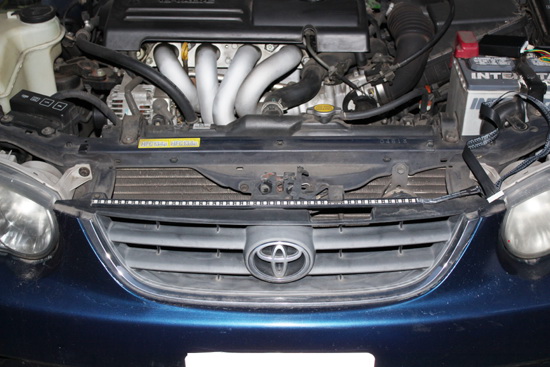
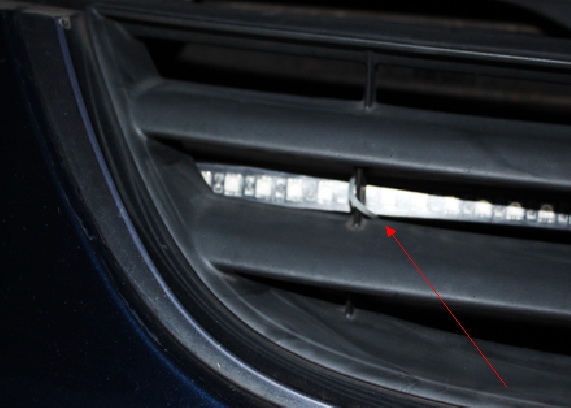
Step 2: Tie the LED scanner bar behind the grille using zip ties
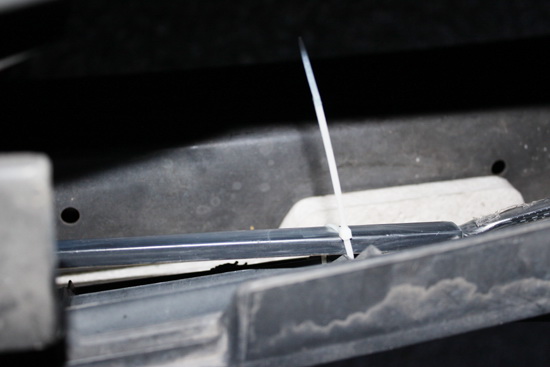
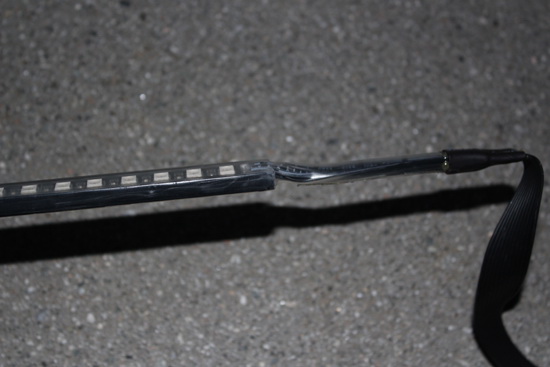
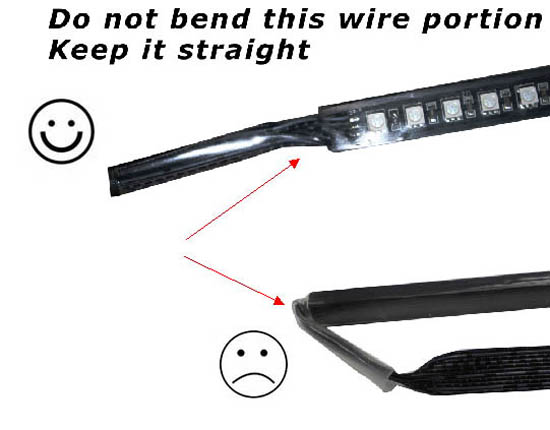
Step 3: Make sure do not bend the end wiring portion
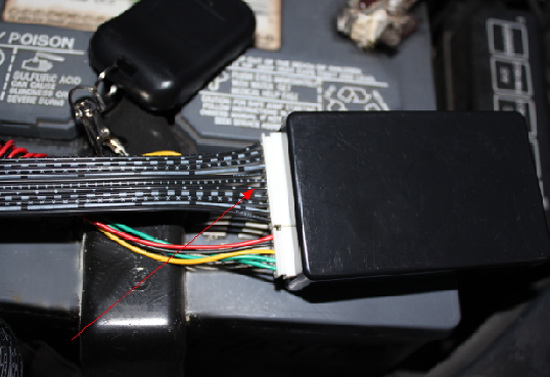
Step 4: Connect the LED scanner bar to the control module
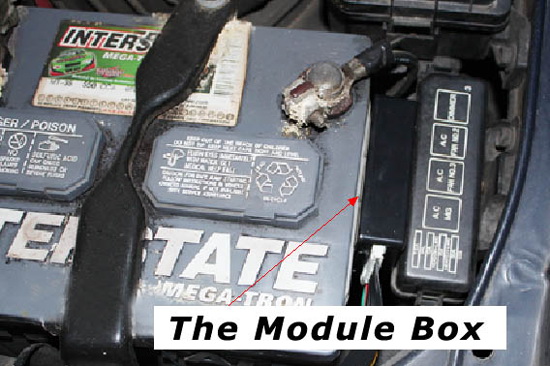
Step 5: Hide the LED scanner bar control module near the battery so it will keep completely dry
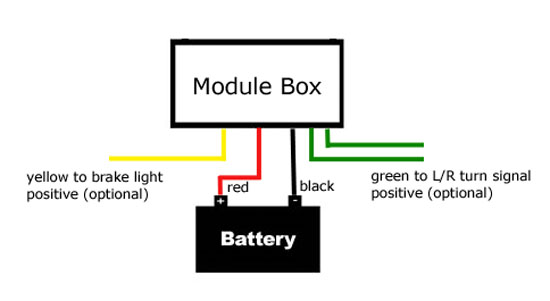
Step 6: Connect only the RED and BLACK wires to battery positive and negative and leave other three wires absent
Step 7: Enjoy the LED scanner lights!
================
Wiring configuration
================
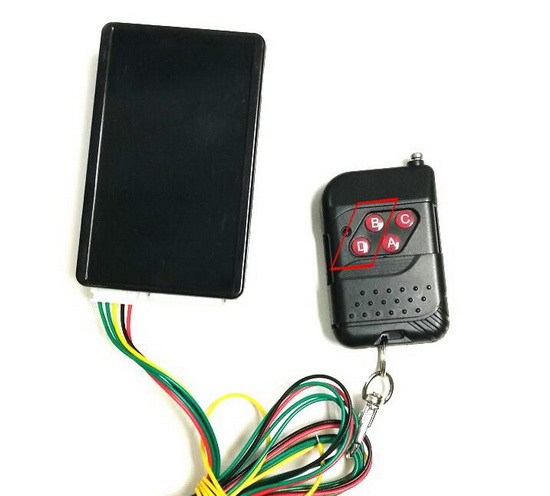
Remote Control Questions
Q: What do I do if the red indicator light on one or more buttons don't light up?
A: If the red indicator lights are not functioning, this means the batteries are running out. To replace it, unscrew the bolt in the back of the remote control to reveal the battery and replace it. This remote control takes 23AE 12V batteries.

Q: What are the functions of the remote?
A: The primary functions lie on the left columns, boxed in red below. The bottom button turns the knight rider LED strip light on and off, while the top button changes its flashing pattern. The buttons on the right column control how fast or slow the LED lights flash.