


You can find these products under LED Side Marker Bulbs.
1.) On the side that you are working on, turn the wheel away from you to allow more access space to the side marker area.
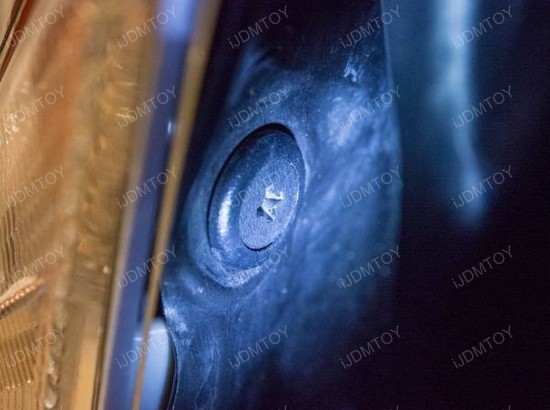
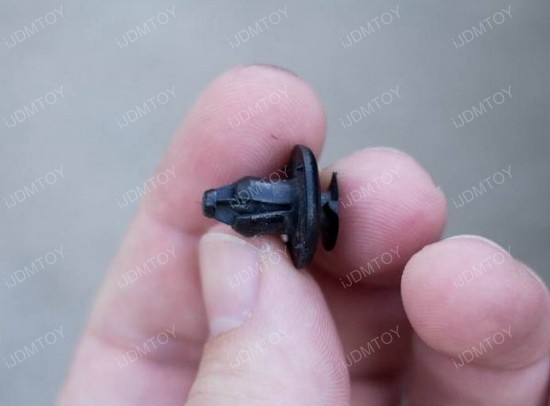
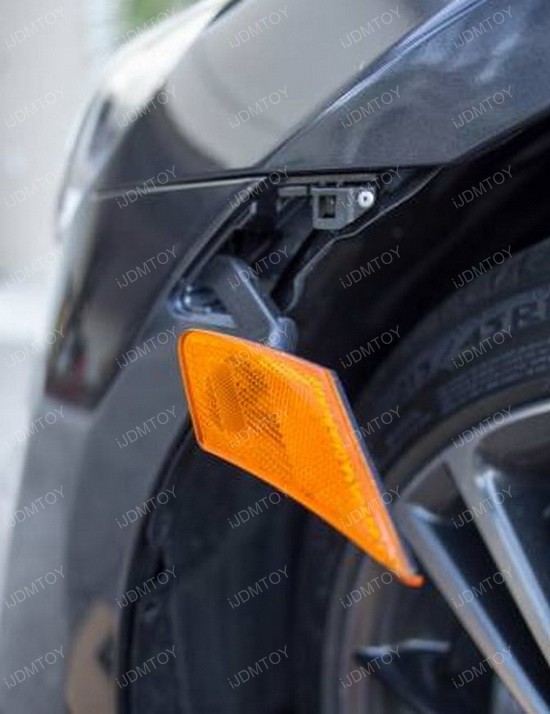
2.) Locate and remote the plastic fastener behind the side marker assembly. Use a Phillips head screw driver to remove it.
3.) Insert your screw driver through the hole in which the plastic fastener came out of and gently press the handle of the screw driver toward the engine. The side marker assembly should gradually pop out. Be careful not to use too much force or else you may break a component.
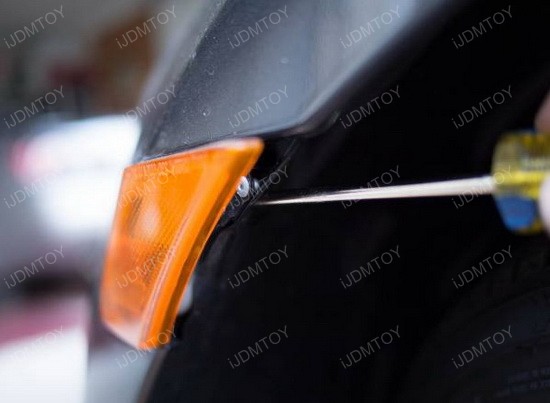
4.) Continue this process until the whole assembly has been removed.
5.) Remove the socket from the assembly by twisting it counter-clockwise.
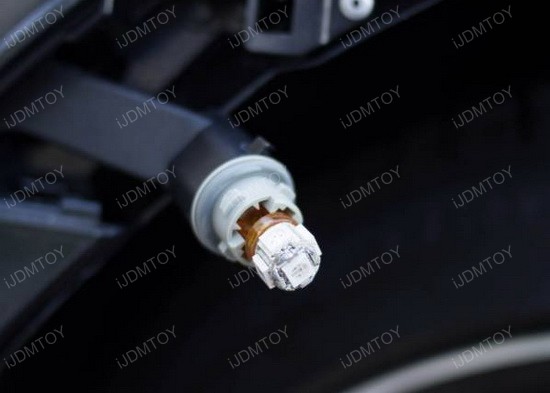
6.) Remove the bulb and install the LED side marker assembly in place of it. Test the lights by turning the first position of your lights on. Repeat the same procedure on the other side and enjoy your new LED side marker lights!