Installation DIY Guide For Special LED Daytime Running Light Decoder Set
You can find this product under LED Daytime Running Lights
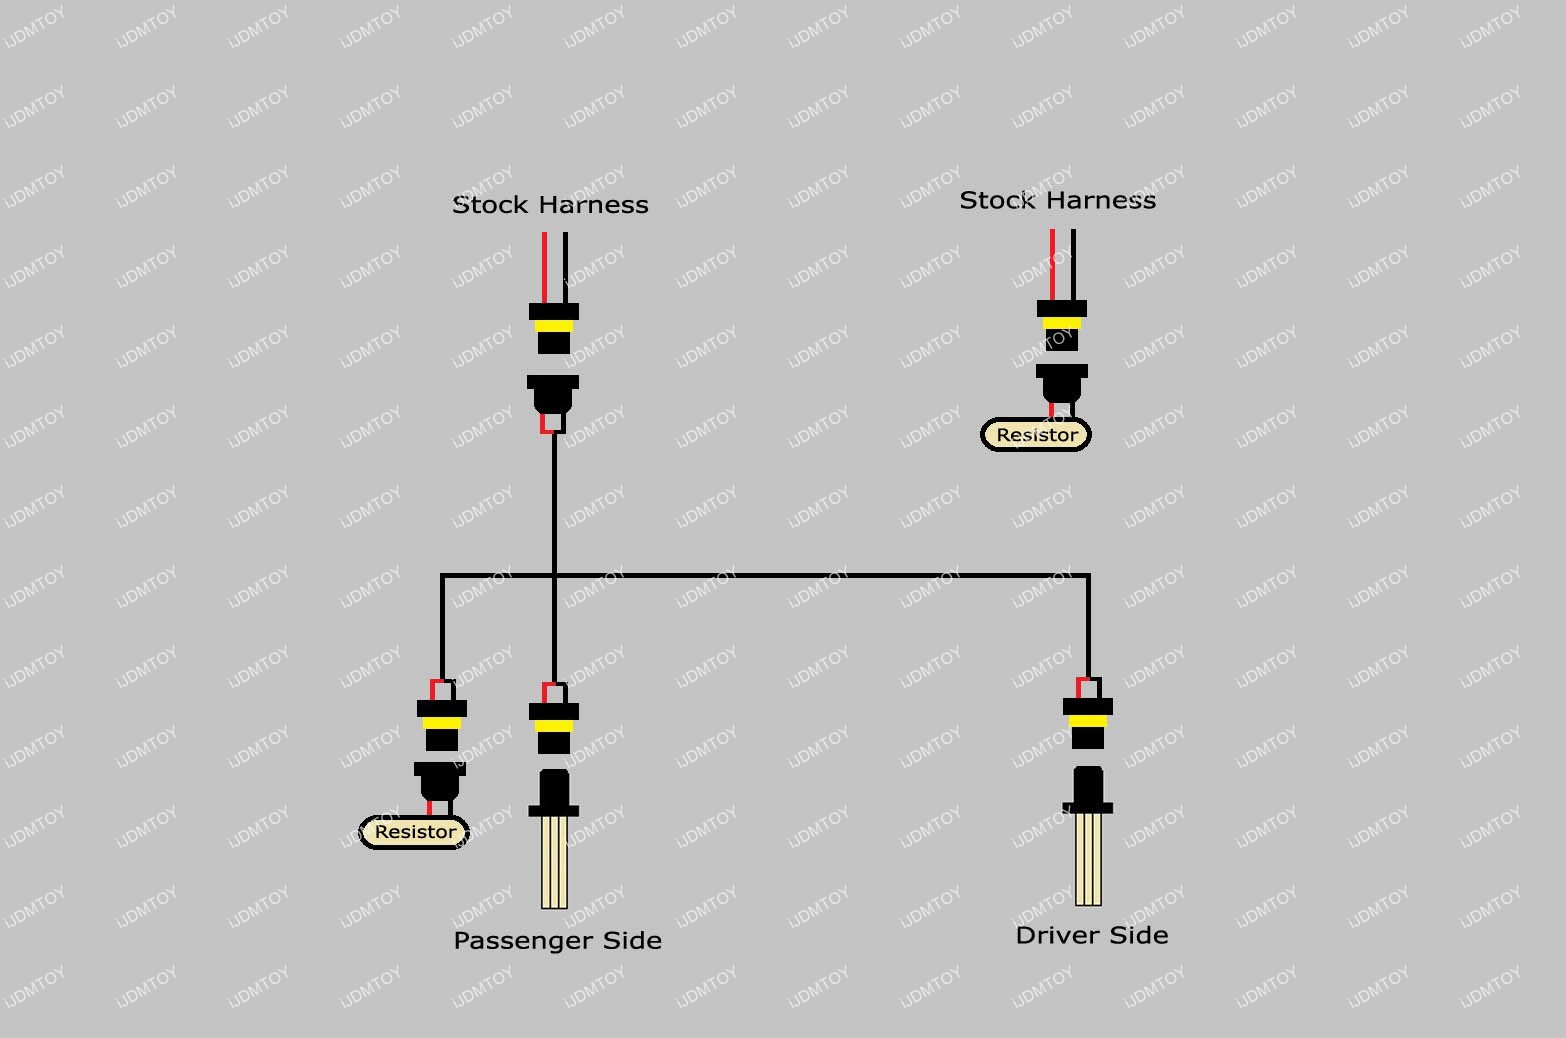
Please take a look at this diagram here for how to install this product:
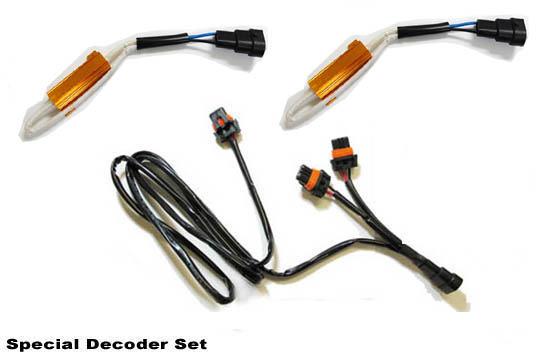
1.) Lay out the components that you need for the installation such as the two (2) resistors, harness, and LED bulbs.
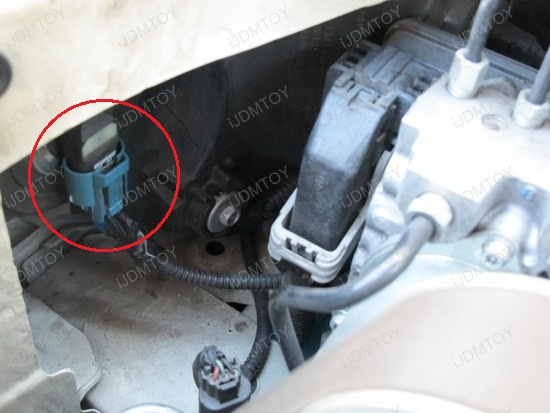
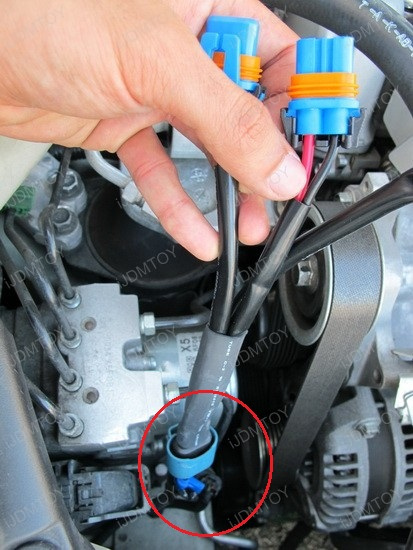
2.) On the passenger side, remove the connector and twist the bulb to remove.
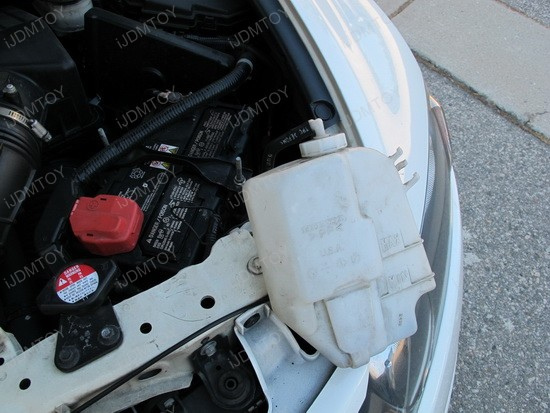
3.) On the driver side, remove the radiator overflow container and set aside. Be careful not to spill any fluid.
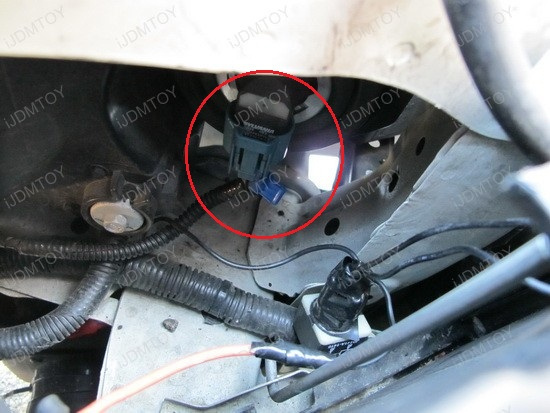
4.) Remove and twist to remove the factory bulb just like how you did for the passenger side.
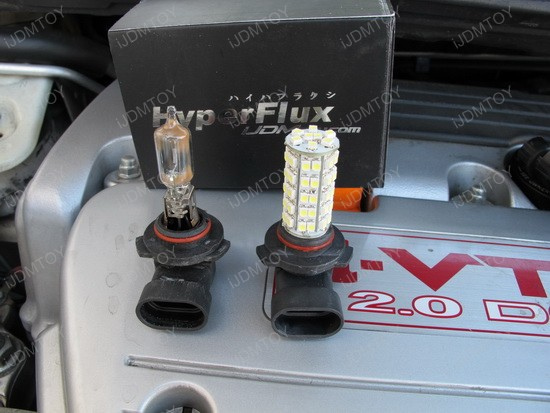
5.) Compare the factory bulb and LED bulb side by side. If you have an issue where the LED bulb does not fully insert into the housing, you may have to swap the orange o-rings from the factory bulb to the LED bulb.
6.) Following the diagram below, connect the harness and resistors to the vehicle as follows; connect the male portion of the harness to the passenger side factory harness.
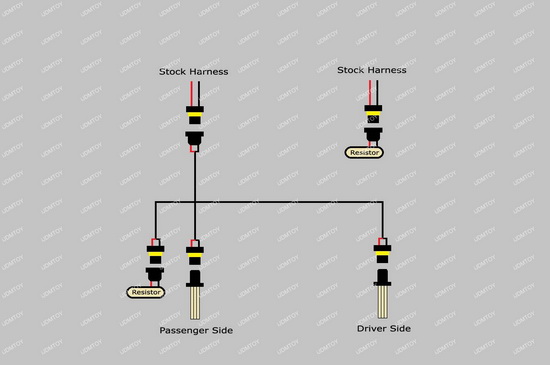
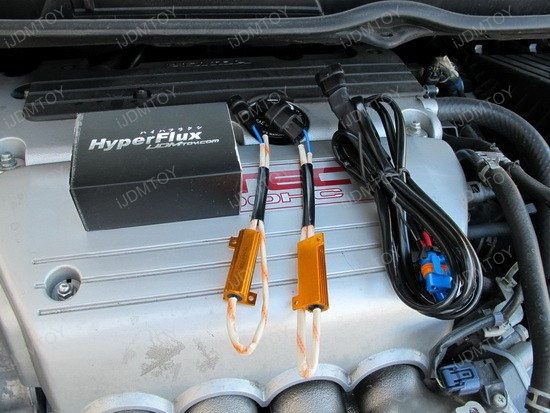
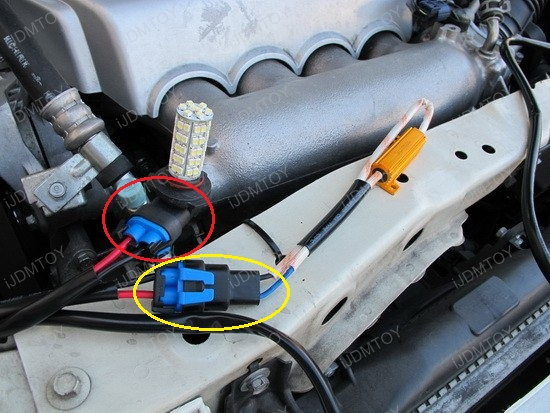
7.) Connect the LED bulb and load resistor to the open connections. Be sure to mount the load resistor to a metal surface as it gets very hot when used.
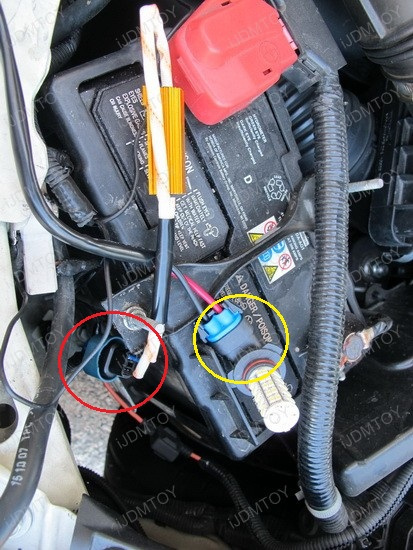
8.) On the driver side, use the extended wire of the harness and connect that to the LED bulb. Install the other load resistor to the factory harness on the driver side; again mount the resistor to a metal surface.
9.) After you have tucked away the wires and finished mounting, turn the vehicle on and release the parking brake; check to make sure the lights turn on and there are no error messages.
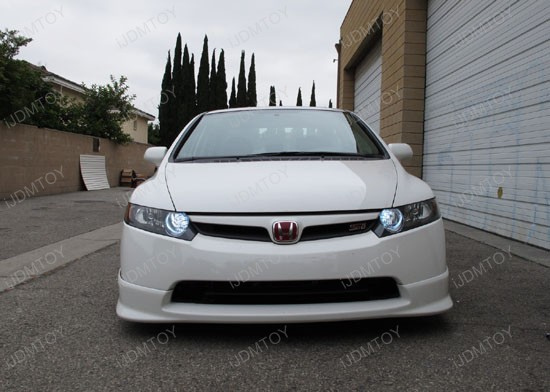
10.) Enjoy your new LED daytime running lights!