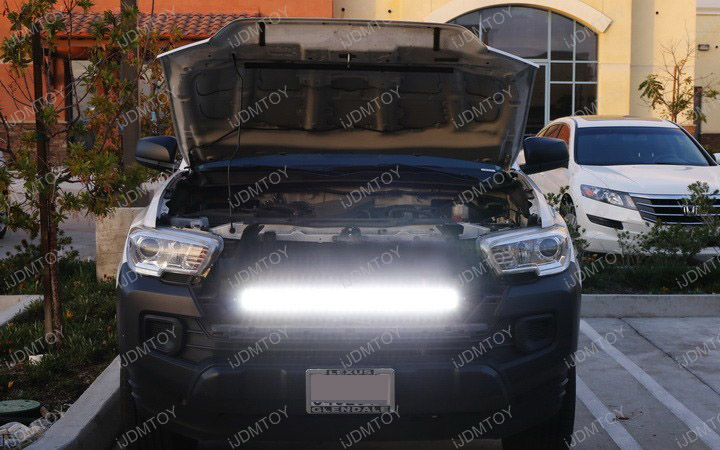
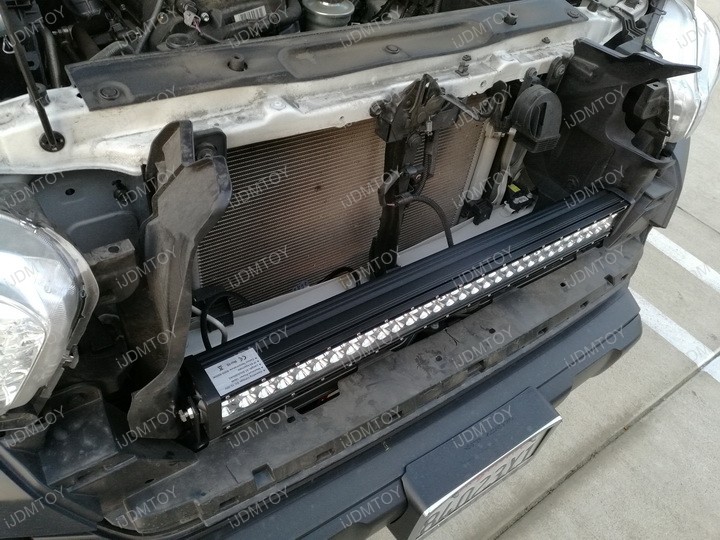
This tutorial will show you how to install the 2016-up Toyota Tacoma LED Light Bar System (35-950).
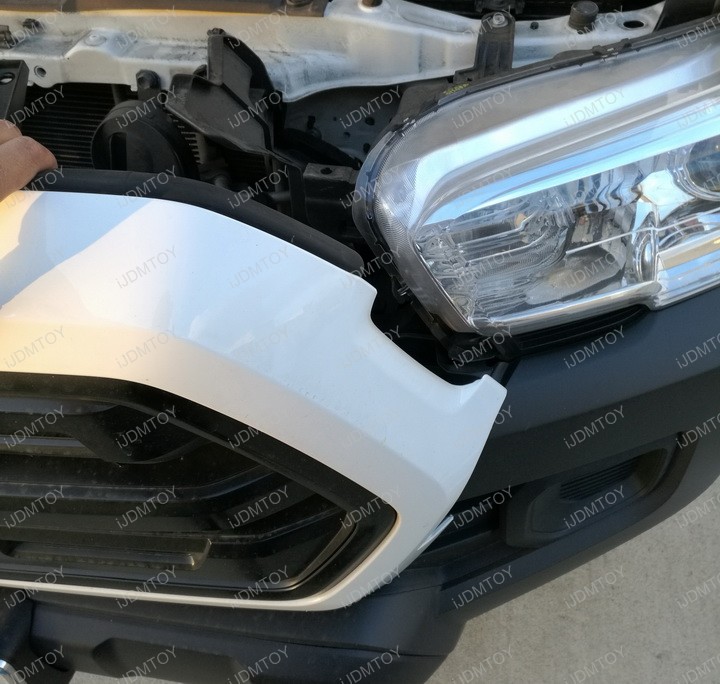
Step 1: Remove the front grille. You can see from the demo pic that there is absolutely no room to insert the LED light bar without taking off the front grille. Taking off the front grille leaves you enough room to accommodate the LED light bar.
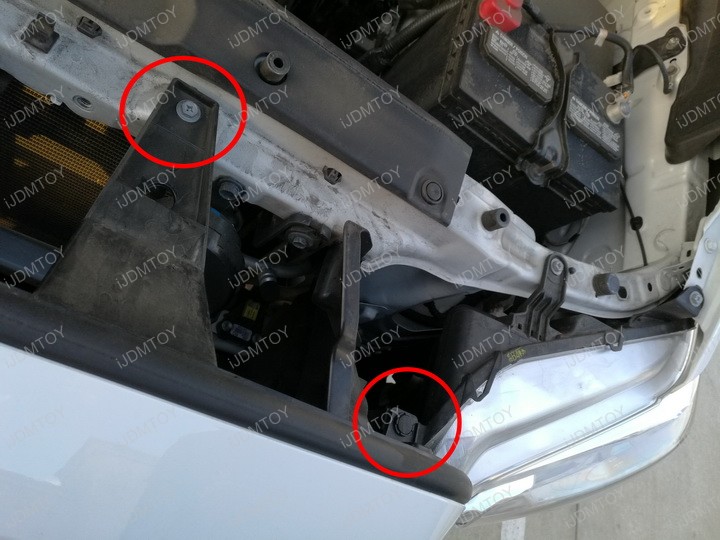
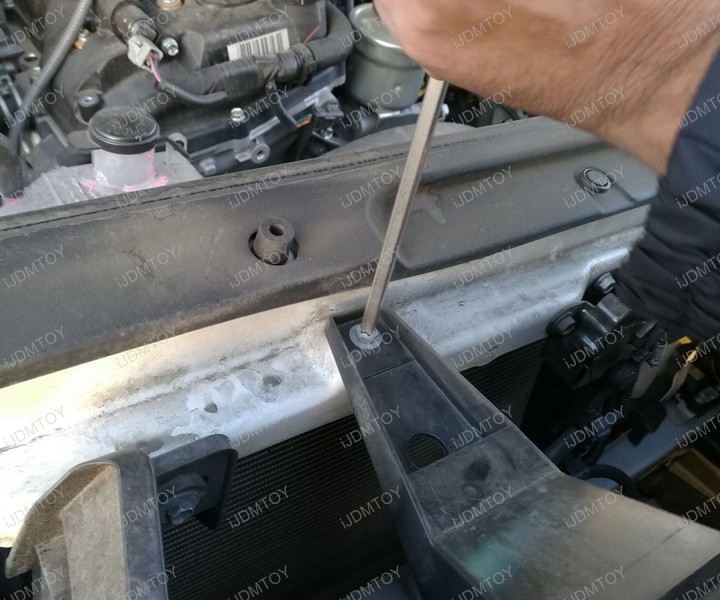
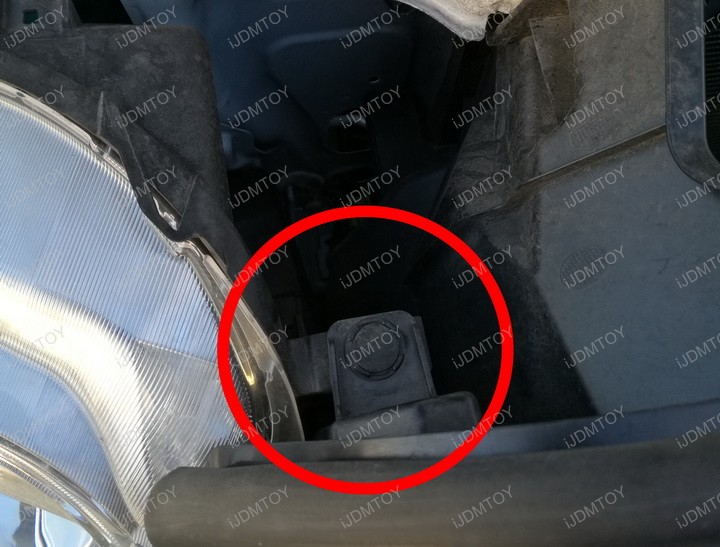
Step 2: To take off the front grille, you'll need to remove the 2 bolts and 2 clips holding the front grille in place. Take a screwdriver to remove the bolt and a flat head to pop off the clip.
Step 3:Grab your muscles, lift up the grille, and pull back to detach from the truck.
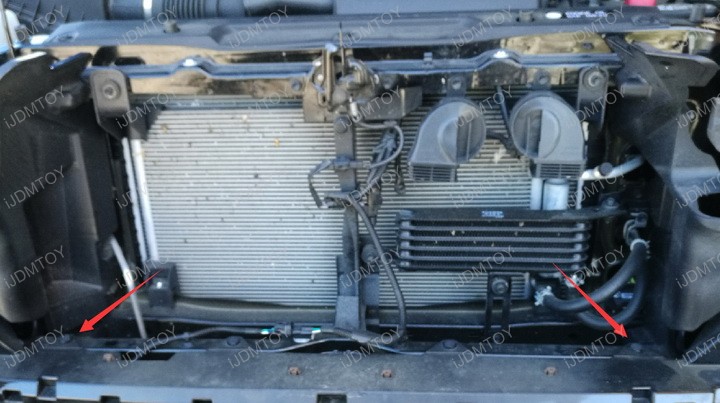
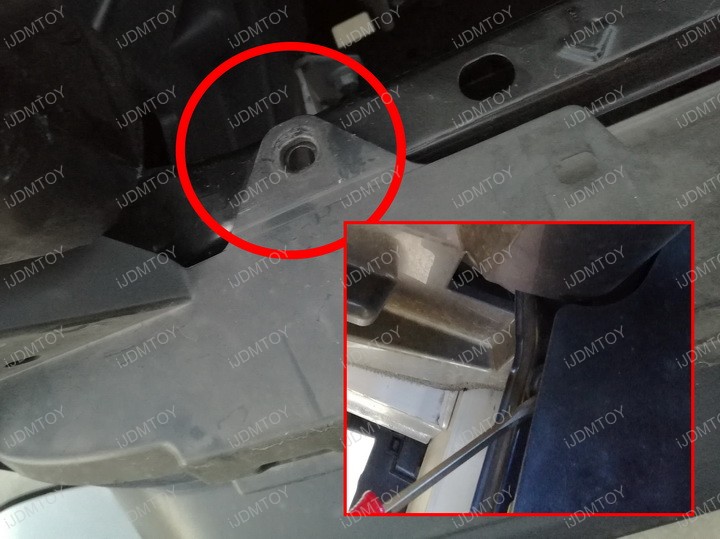
Step 4: Take off the clips on each side of the metal beam. You can use a flat head to pop them off. You'll expose the holes, which are the locations where you will mount the metal brackets.
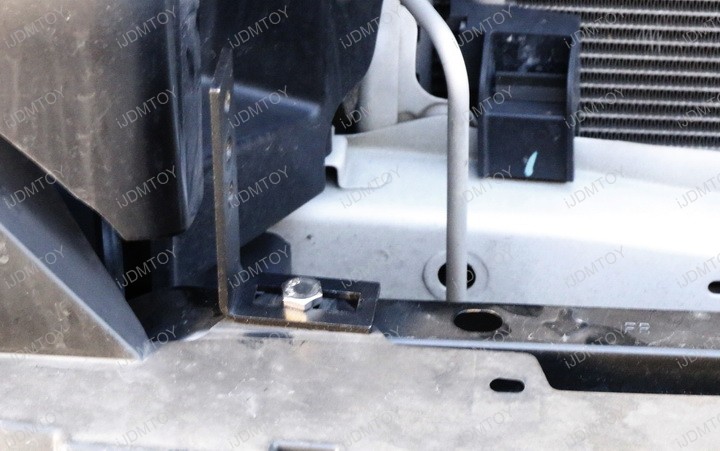
Step 5: Mount the metal brackets in place, with the long arm of the L-shape bracket facing up. Take a bolt and secure the metal bracket onto the frame of the truck via the exposed hole. Repeat on the other side.
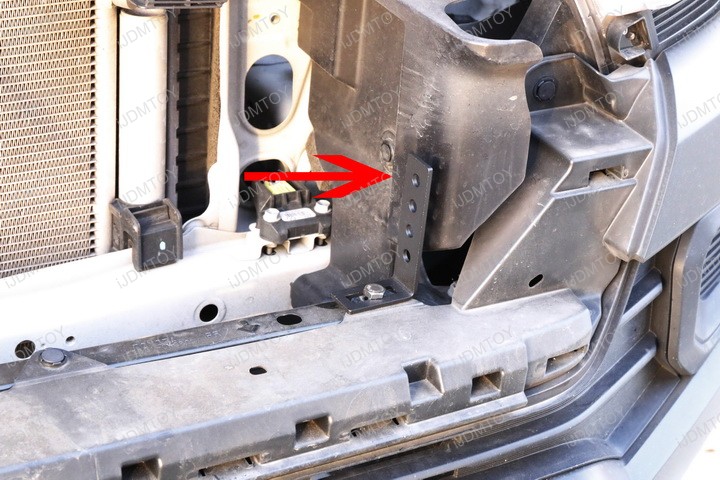
Step 6: There's 4 holes where you can mount the LED light bar. Which hole you select is personal preference as well as based on the grille trim. However, we do recommend the uppermost hole.
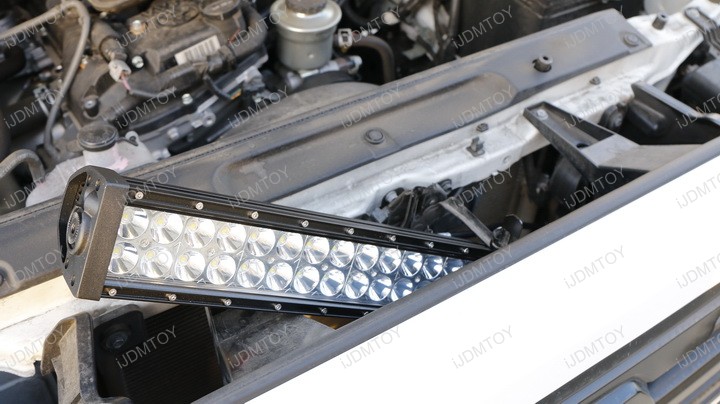
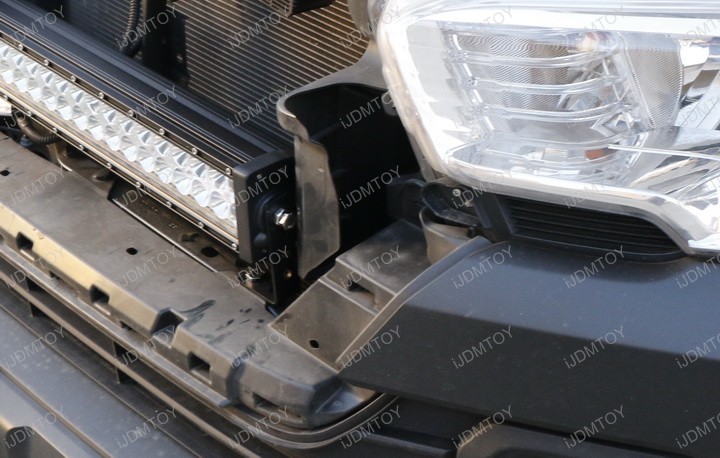
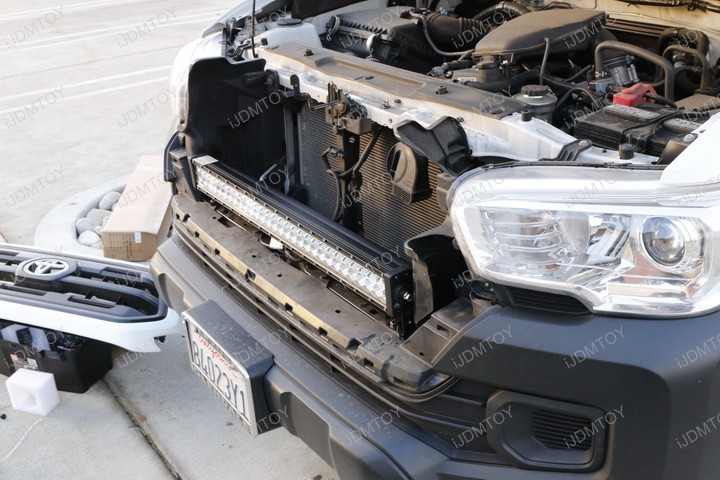
Step 7: Mount the LED light bar in between the metal mounting brackets. There's a plastic side flap you can push out of the way to give you some more hand space.

Step 8: We are using the double bolt and nut combo to secure the LED light bar onto the mounting brackets. The double bolt and nut combo tightens the components onto themselves for a more secure hold.
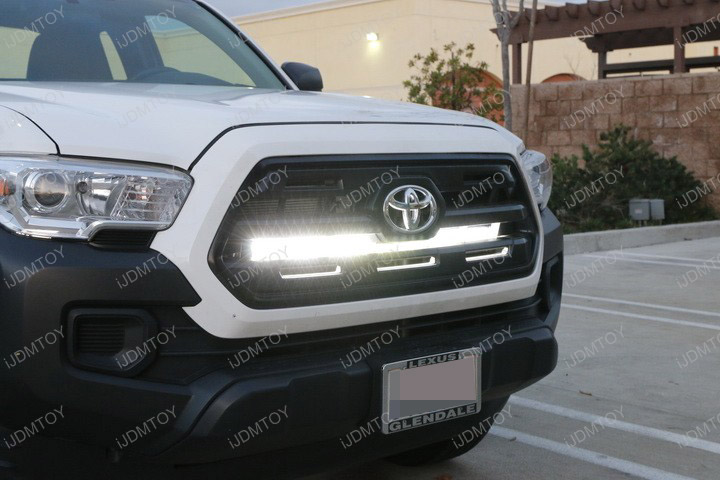
Step 9: Hook up the LED light bar to power by tapping the wires. If you have an additional wiring harness with switch, you can check out the Truck LED Lamp Wiring Guide for instructions. Test to make sure everything works. Then put the grille back.