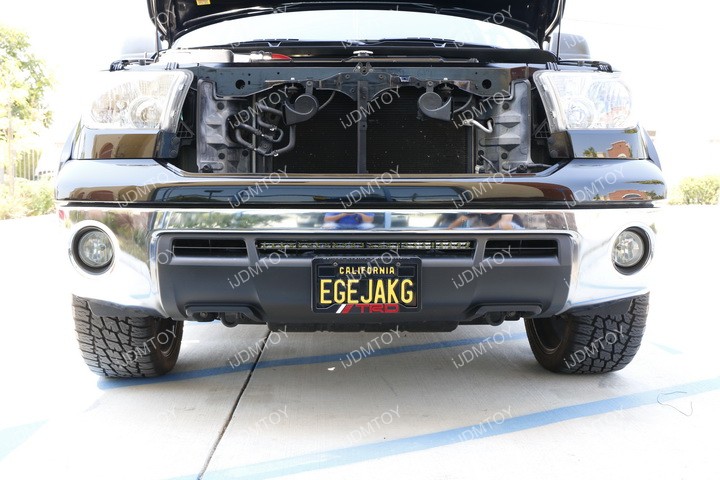
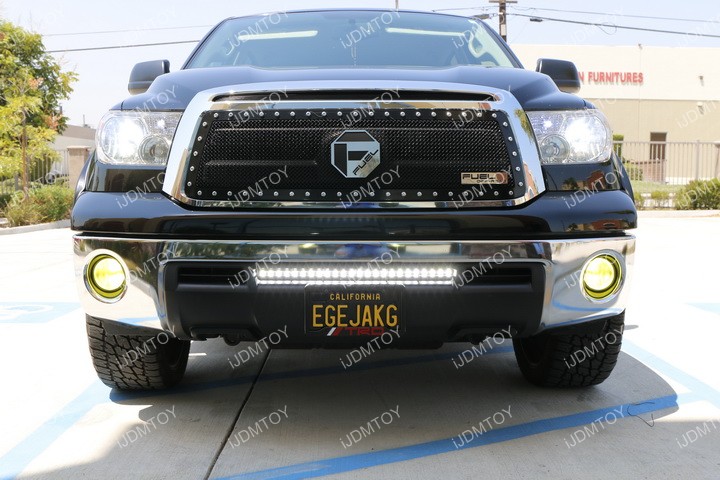
Check out the 2007-2013 Toyota Tundra LED Light Bar System (35-926).
The 2007-2013 Toyota Tundra is a very popular choice for truck drivers due to its reliability and affordable price tag. Some truck drivers like to outfit their trucks with additional lighting, but there aren't many options available for this particular Tundra due to the small gap in the lower bumper that makes it kind of difficult to accommodate many LED light bars. iJDMTOY has designed a special single row LED light bar that is able to fit into this small space as well as custom brackets to mount the LED light bar. This 2007-2013 Toyota Tundra LED light bar is the first ever on the market and will definitely catch the fancy of plenty of Tundra owners.
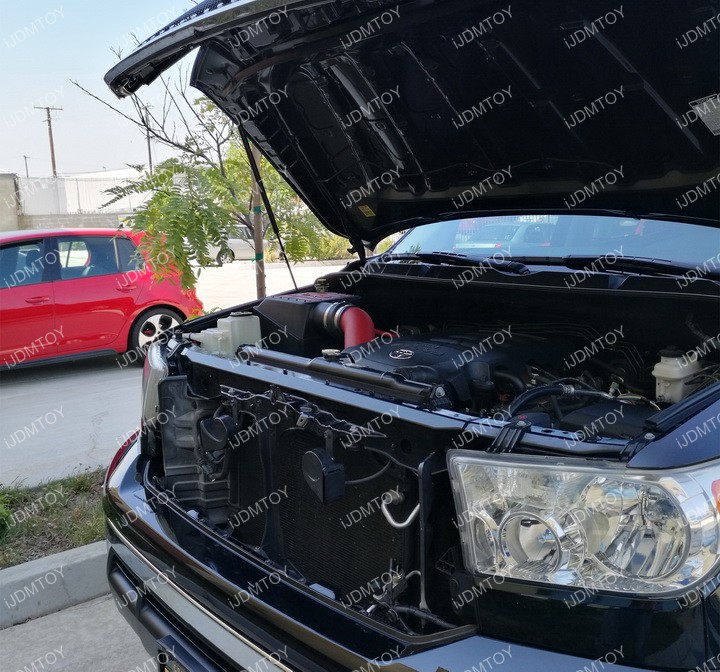
Step 1: Open the hood.
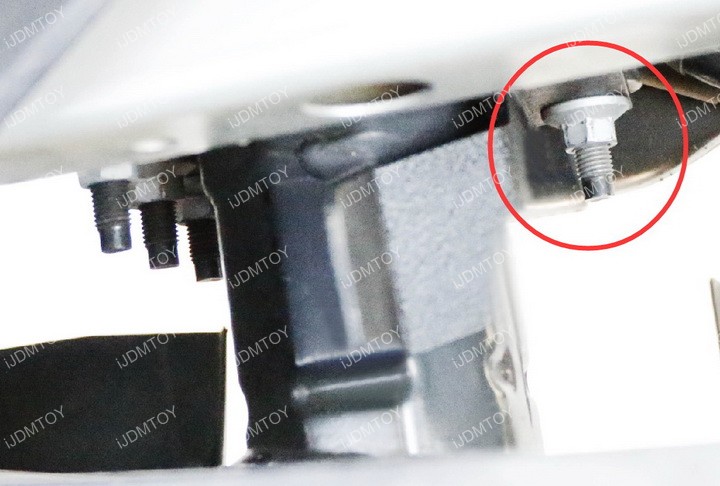
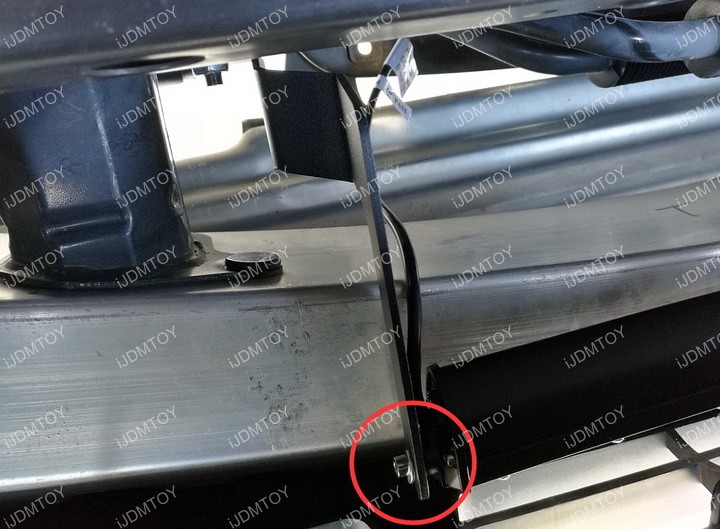
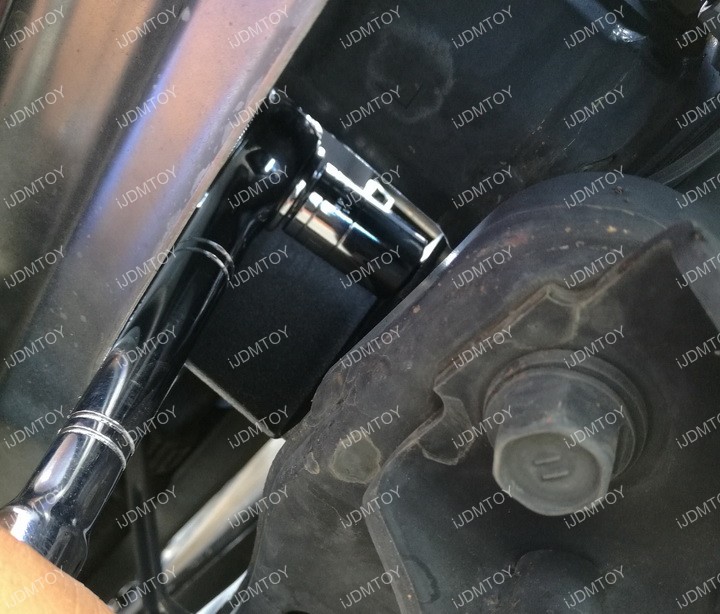
Step 2: Locate the support that holds the crash beam. You will see that there are 3 screws on one side and 1 screw on the separate side. We are going to focus on the single screw.
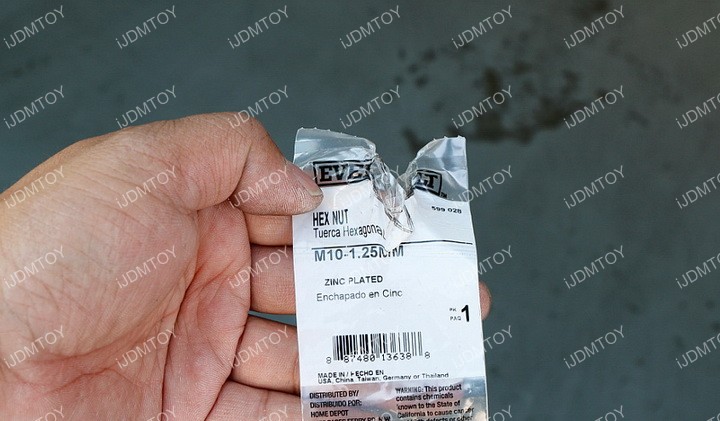
Twist the bolt counter-clockwise to remove (lefty loosey). The bolt may be very tight, so if you can't remove it, you can also easily get separate Hex Nuts (M10-1.25MM) from Home Depot and just screw it on top of the original bolt. There will be enough threading on the single screw to accommodate an additional Hex Nut. We chose Hex Nut option will bolt the nut on top of the existing one when we mount the bracket later.
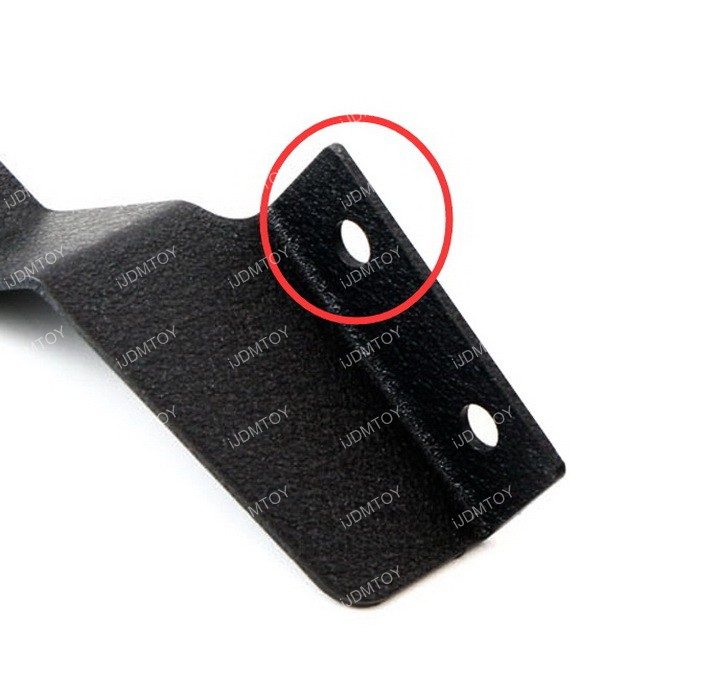
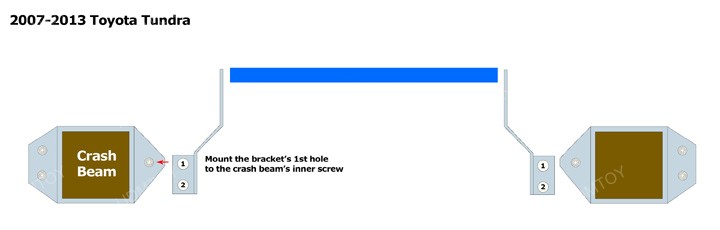
Step 3: Now we are going to mount the bracket. Take note that we will be using the upper hole. If you hold the bracket in the way it's oriented below, with the part that is supposed to be fastened onto the LED light bar facing you, you'll have a better idea of which hole is considered the upper hole.
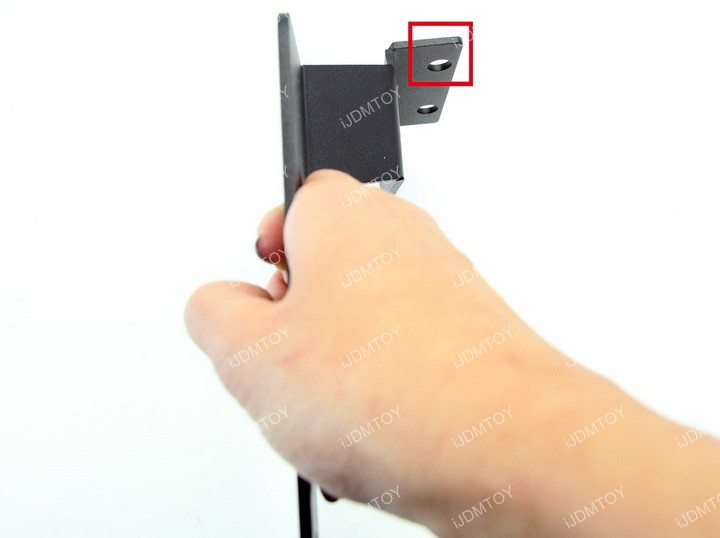
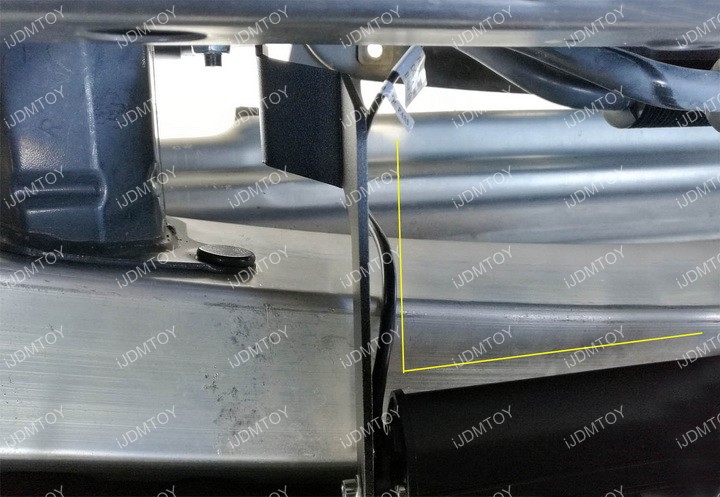
Here is a mounting diagram to show you which mounting bracket hole to use and where on the crash beam to mount the light bar brackets on.
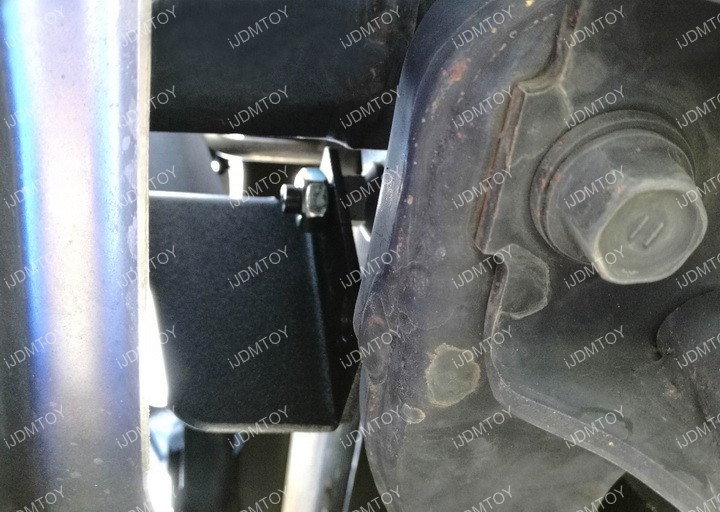
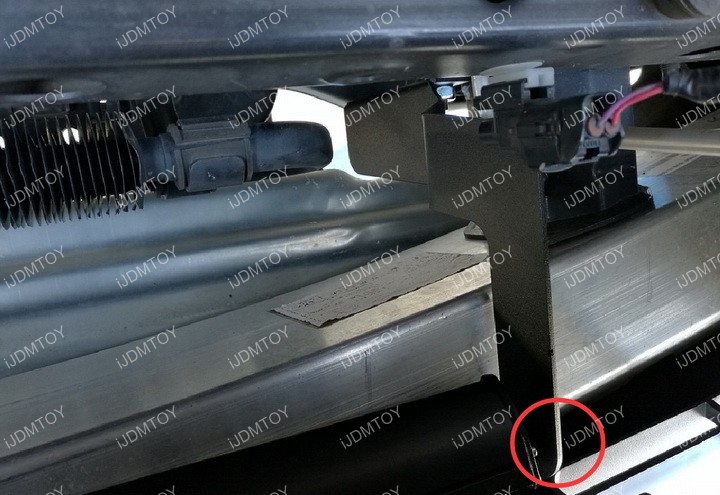
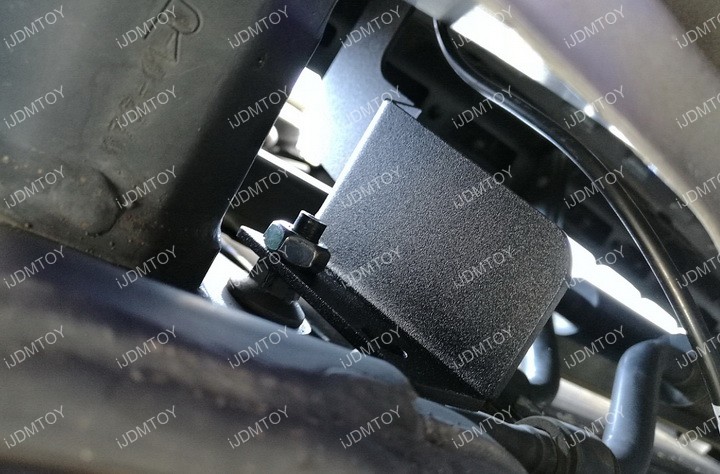
Step 4: The space is tight in the Toyota Tundra, so it helps to physically get under the truck to mount the brackets. You'll easily have enough room since there's more space opening. The photo is a view from the under carriage. After we inserted the mounting bracket, we used the additional hex nut to secure the bracket onto the screw. Don't tighten the bolt all the way so you can have a bit of wiggle room later when you need to attach the LED light bar.
Mount the bracket on the other side.
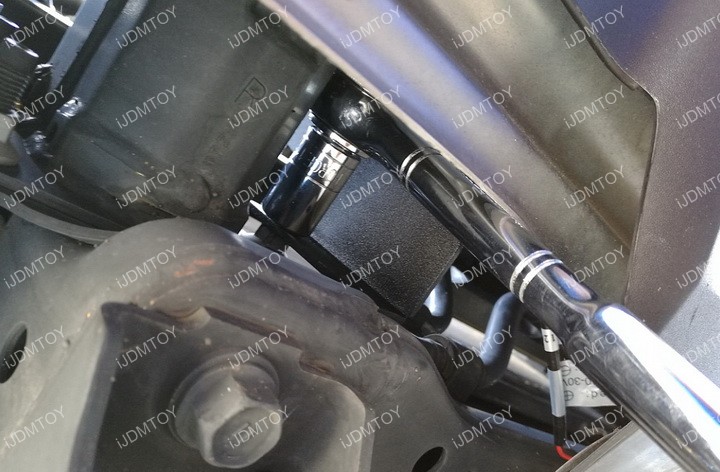
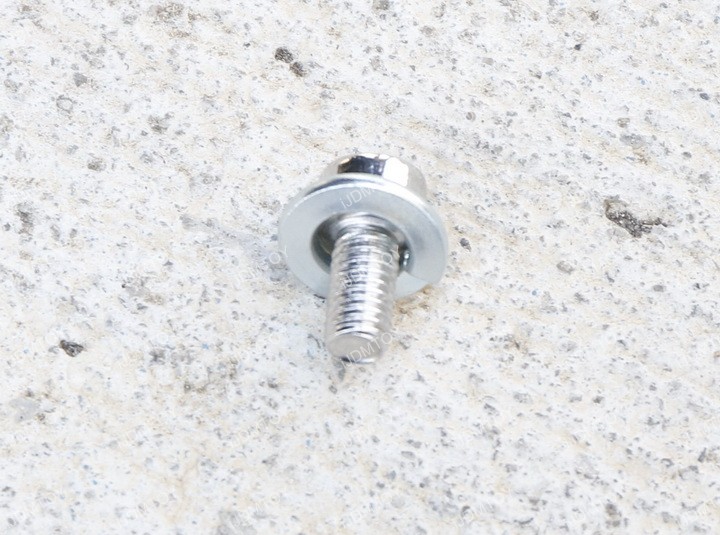
Step 5: Time to bolt on the LED light bar onto the mounting brackets. Take the washer and put it around the screw. Then screw in the LED light bar in between both of the mounting brackets.
Step 6: You might notice that after attaching the LED light bar onto the brackets that the assembly is not exactly perpendicular. This small tilt is completely normal, but you can slightly adjust the angling of the brackets with your hand to fit the LED light bar perfectly in the center of the lower bumper opening. When the LED light bar is positioned to your taste, then you can fully tighten all of the bolts from the previous steps.

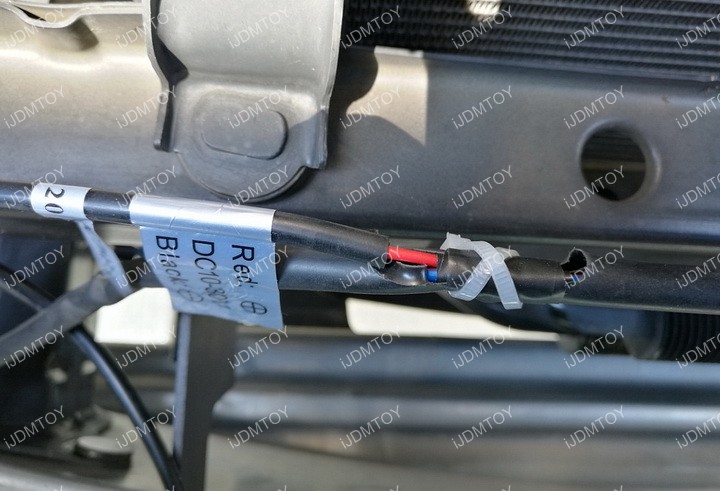
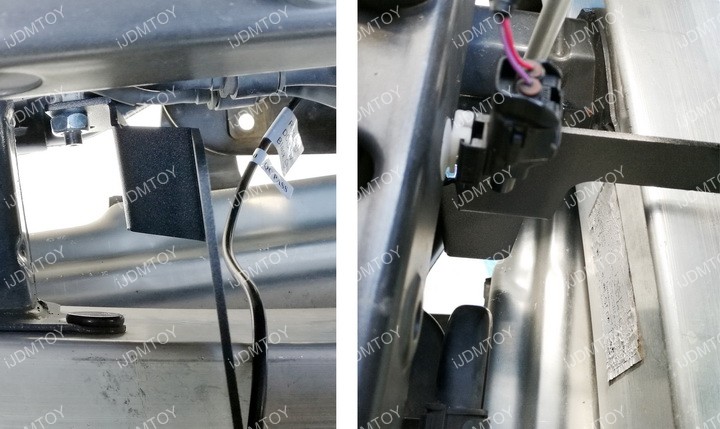
Step 7: Connect the wires.
If you bought a separate switch, please check out: Truck LED Lamp Wiring Guide