


Check out the Truck LED Pod Light Kits
This is a quick guide to show you how to assemble the LED pod light kit with the brackets and all the necessary components included in the package.
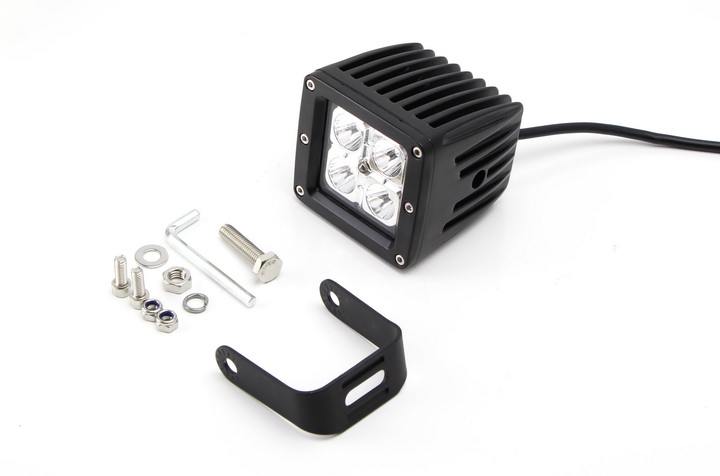
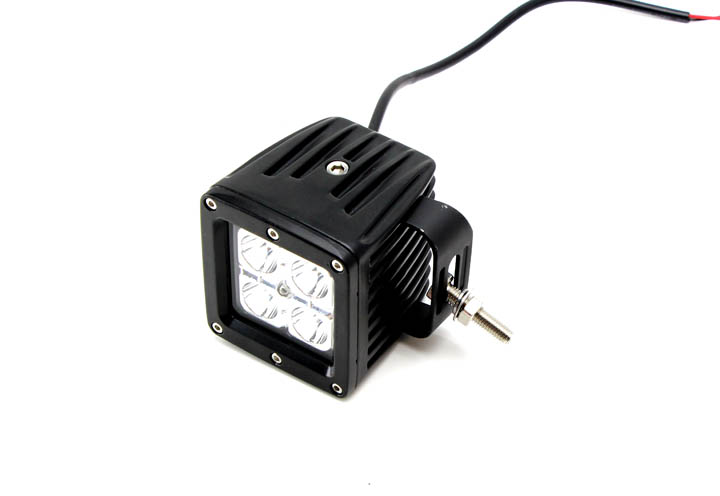
Step 1: Take a look at all the tools and components that come with the LED pod light kit. You'll get the LED pod light, bracket, screws, bolts, washers, and hex tool.
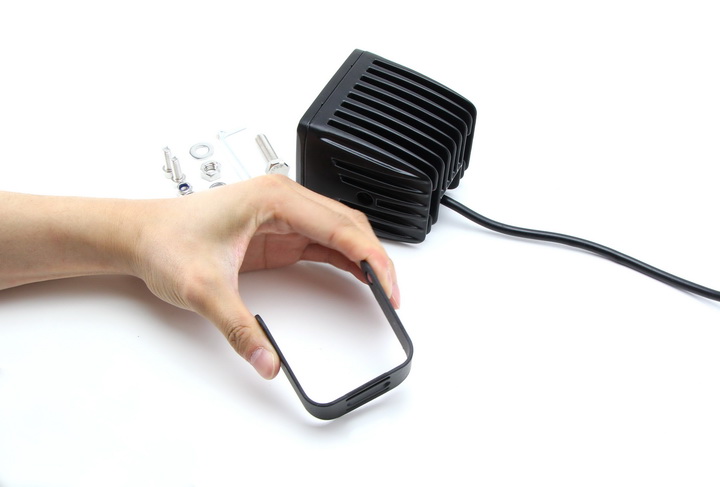
Step 2: You may find that the adapter bracket is a bit wider than the allotted area on the LED pod light. This is intentional! Once you squeeze the ends of the bracket, you'll be able to insert it into the first inner layer of the LED pod light for a tight fit.
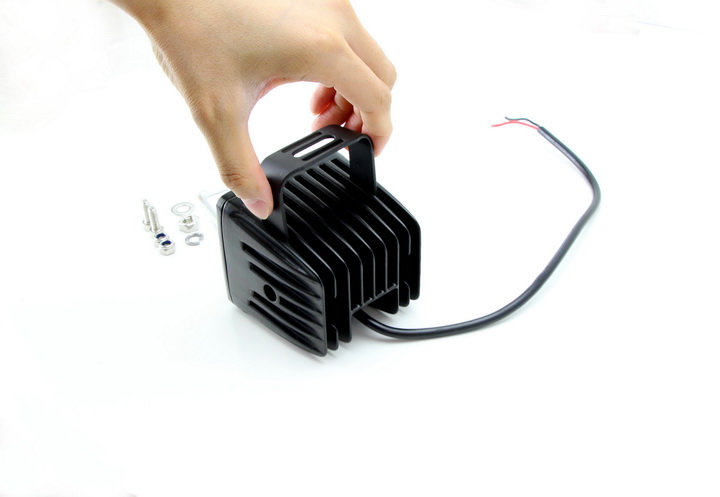
Step 3: Before you tighten, we recommend that you tentatively insert the screw into the flat part of the bracket. In this particular instance, this screw is the thicker one. After you tighten the bracket adapter, it will be difficult to insert the screw in through the adapter so it's a good idea to insert the screw ahead of time.
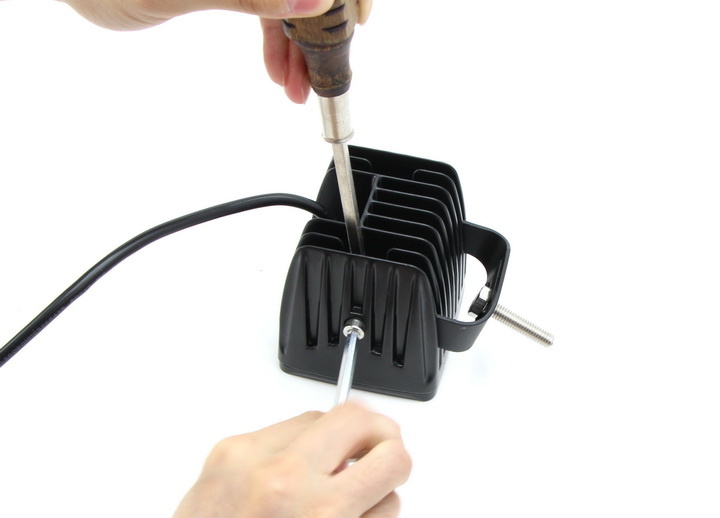
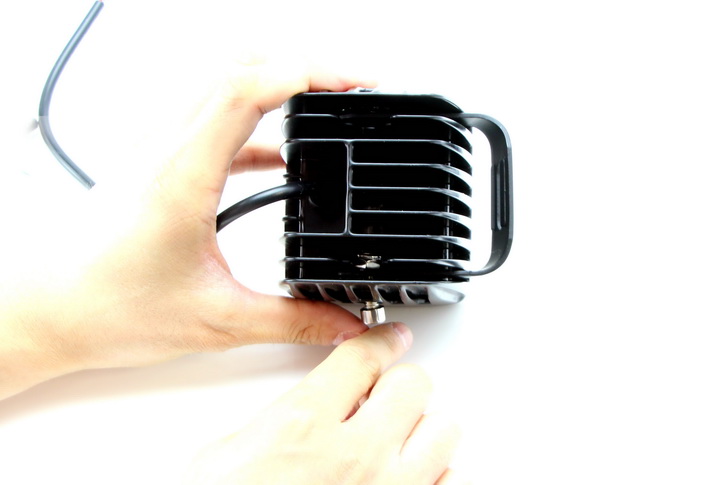
Take a smaller bolt and drop it into the inner side of the light. There will be a location where the bolt can catch into the LED pod light grooves where it will not slide around. Take a thin screw and insert it into the other side of the LED pod light.
Use a screwdriver to press down on the bolt to prevent it from sliding around when you tighten the screw and the bolt together with the hex tool. Once the screw and bolt have caught enough of the threading, you can take out the screwdriver and finish securing the nut and bolt.
Repeat the process on the other side.
Step 4: Now for the screw on the mounting bracket. Take the spring washer and then the flat washer. Insert them into the screw in respective order. Then take a bolt and tighten all the components of the bracket to mount your new LED pod light.
Check out the LED Pod Light YouTube Installation demo here!