


You can find this product under Halo Projector Fog Lights
Since these projector fog lights are a universal fit product, there isn't just one way that this product can be installed. Your vehicle may require additional brackets or other support in order to accommodate this product.
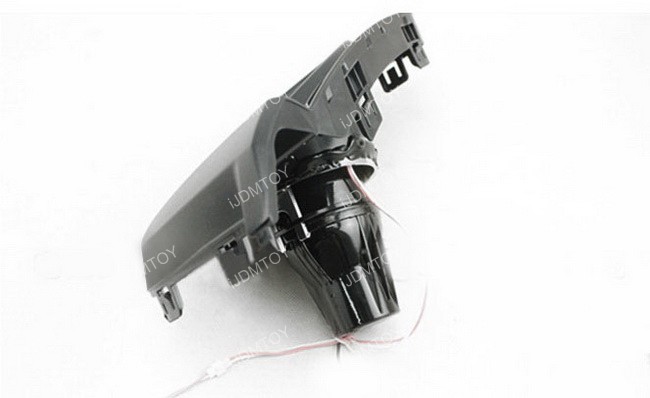
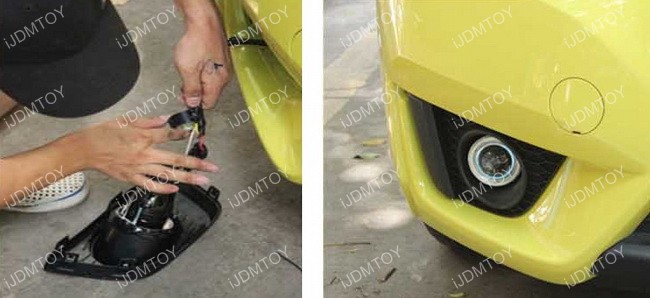
You can try to glue the projector fog lamps to your fog lamp if the bezel opening is approximately the size of the fog lamps. Otherwise, you can use the brackets included with the product or use some additional support with brackets you can find at any hardware store.
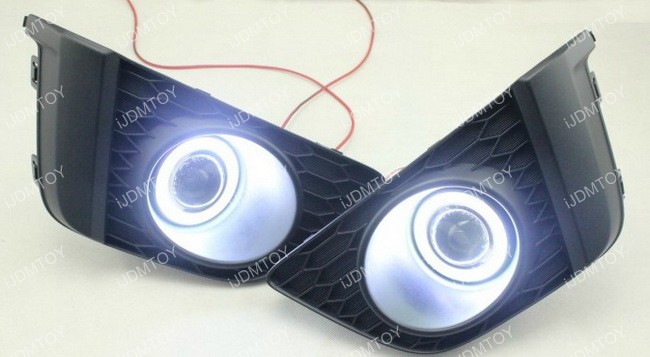
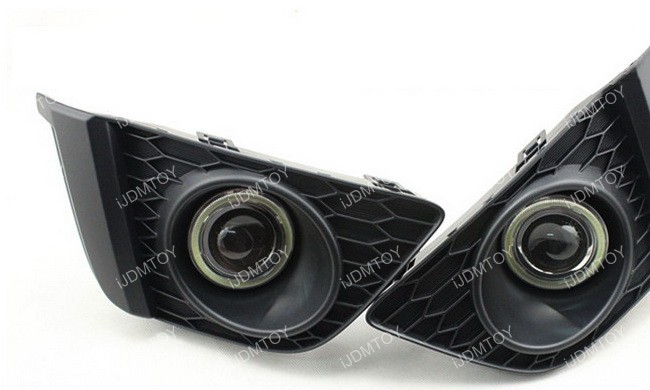
This is an example how the projector fog lights will look after they have been secured onto the fog light bezel.
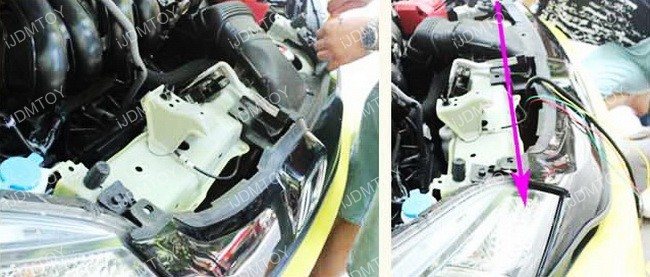
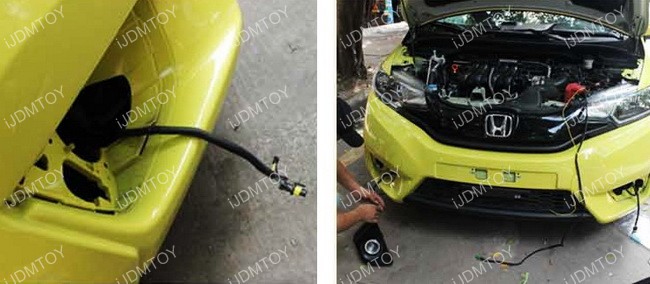
Step 1: Use a pry tool to open the existing fog light opening. If there are some surrounding plastic parts, you can remove those as well. Always take a look at how you mounted the projector fog lights before you mount back the bezel.

Step 2: Once the covers are open, you will see an empty space that you can use as a pathway to route the wires from your engine bay to the fog lights.
We will be installing these projector fog lamps with a relay wiring harness so that you can add a switch to control the angel eye and the fog lights independently.
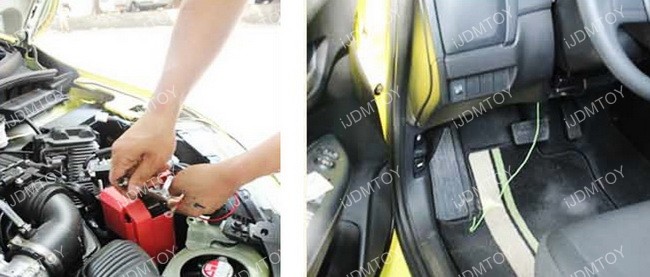
Step 3: Lower the wire down to the opening. You will connect it with the fog lights later so you can use the switch.
Step 4: Once everything is connected you may need to extend the wire.
You will need to tap the halo rings to the ground and the ACC for the daytime running light portion.
You'll also need to install the relay wiring kit to the projector fog lights so that you can turn them on/off with a switch.
For the harness:
Red wire goes to battery +
Black wire to battery -
Single white wire to the switch
Remaining wires to the fog lamp.
For the switch:
Red wire goes to the ACC
black wire to ground
White wire should already be connected to the relay
Shorter wires go towards the side where the battery is located, longer thicker wiring is routed to the other side of the vehicle. After you connect the wires, if you see the wiring indicator on the switch light up red, it means that the wiring is successful. Press the button and the indicator will light up green and your fog lights will light up as well.
Step 5: Draw the wire through the firewall and install the switch onto an empty slot.
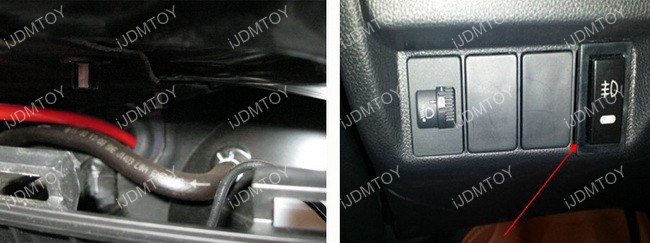
Test to see if everything works and enjoy your new projector fog lights and halo ring LED daytime running lights!