


You can find this product under LED Strip Light For Car Trunk Cargo Area (50-049).
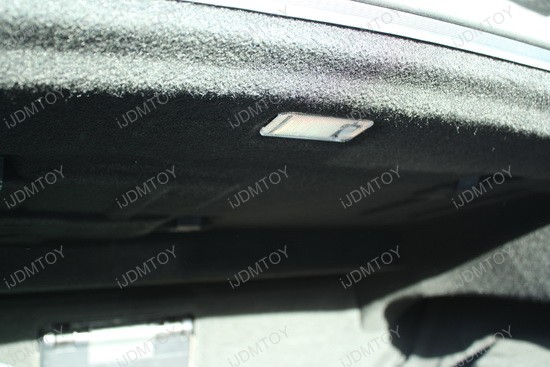
1.) Open the trunk and locate your existing factory trunk light.
2.) Using a flat head screw driver, carefully pry down the assembly from the trunk carpet.
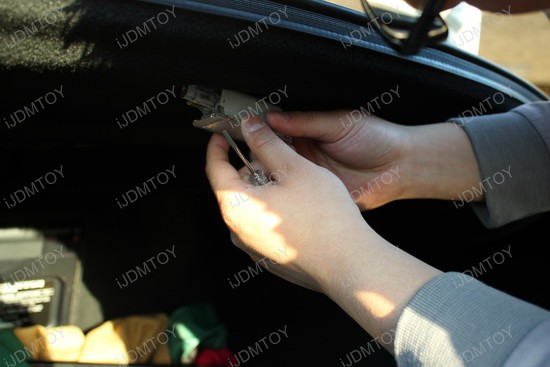
3.) Remove the light assembly by disconnecting the clip.

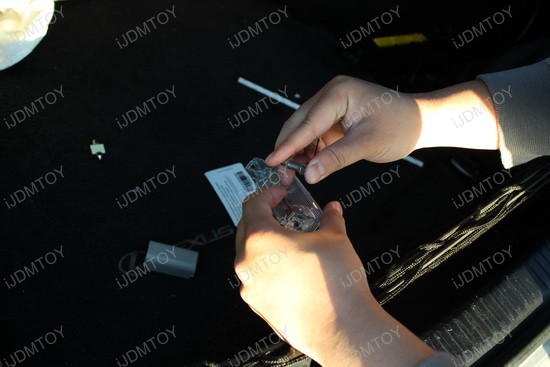
4.) Open the back cover of the trunk light (if sealed) and install the appropriate adapter connector provided with the LED strip.

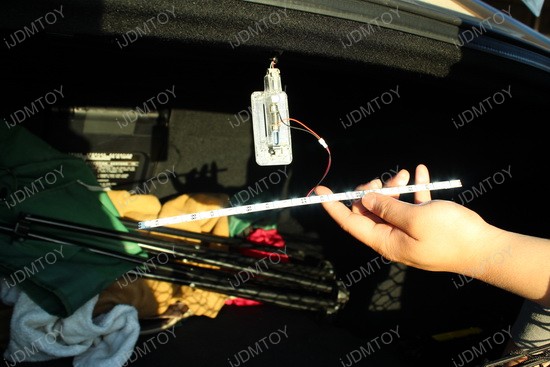
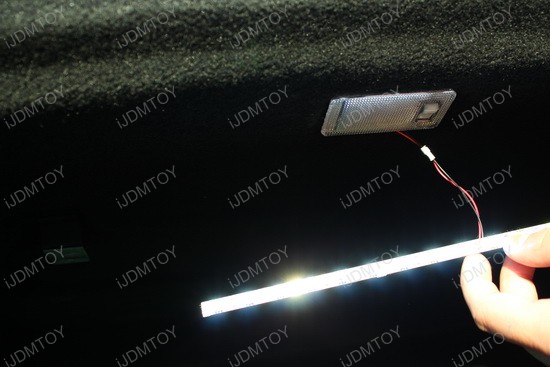
5.) Once connected, attach the adapter connector to the LED strip to test the light. If it does not light up, try turn the adapter 180 degrees and try again, also, you can perform the various LED troubleshoots we have in the link below:
http://store.ijdmtoy.com/How-To-Install-LED-Bulbs-a/201.htm
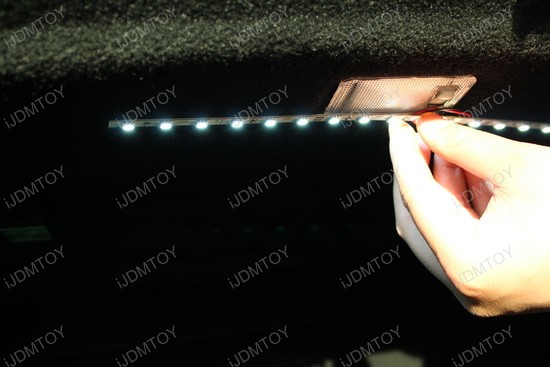
6.) Install the trunk light assembly into the carpet again with the wire hanging out.
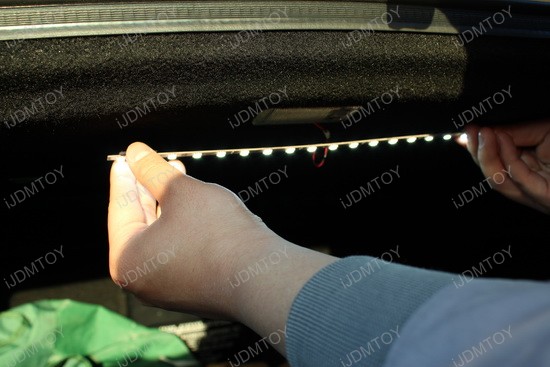
7.) We highly recommend that these lights should be installed on a flat and smooth surface using the adhesive on the back of the LED strip. For this installation, there was nothing smooth to install the LED strip on so the customer opted to stick the strip onto the trunk light assembly itself. Or you can also get some Velcro from any supermarket and stick the LED strip to the Velcro and then the Velcro to the carpet.
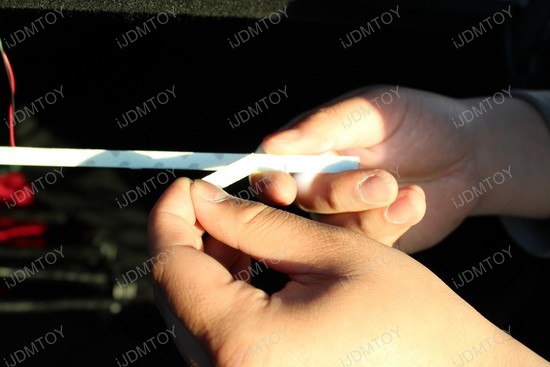
8.) Once you’ve found a position to mount the LED strip, peel away the protective layer over the adhesive and apply the strip to the application. Please be sure to apply the strip once, repetitive installing and removing of the strip will cause the strip to lose its adhesive glue.
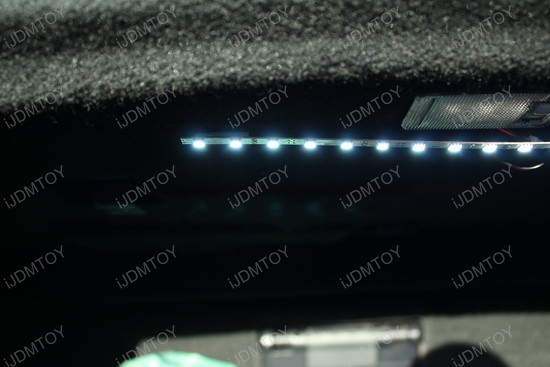
9.) Enjoy your new LED trunk lights!