You can find this product under MINI Cooper LED Rally Driving Lights (70-799).
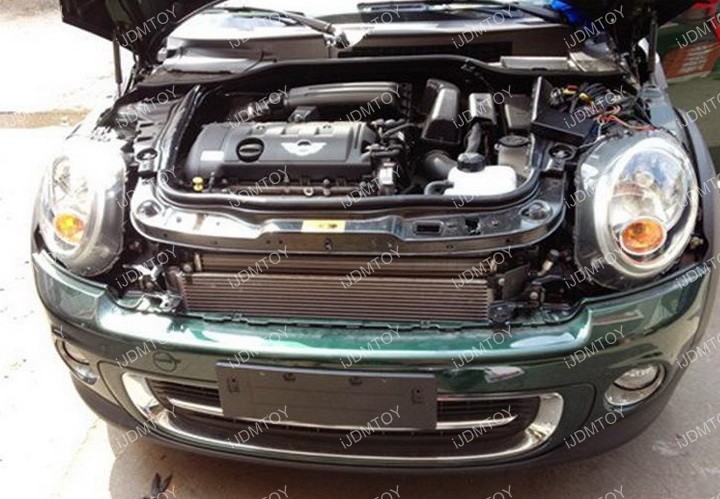
Step 1: Open the hood. For better access, you may also remove the hood.
If your MINI already comes with stock halogen rally lights, you will need to replace the stock rally lights with the new LED rally lights. Mount the LED rally lights on the stock brackets and connect the wires to power up the LED rally light.
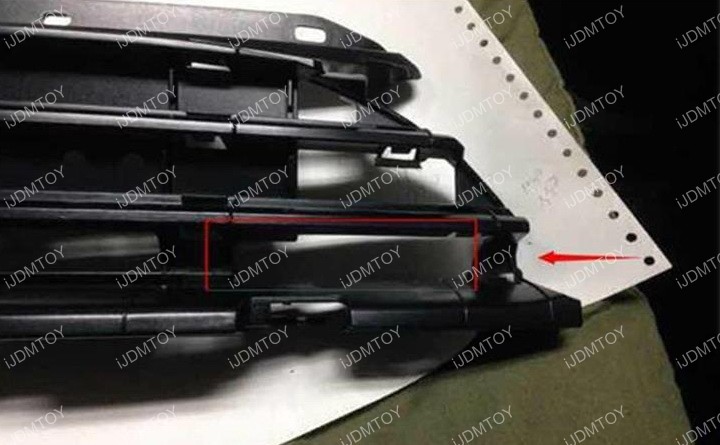
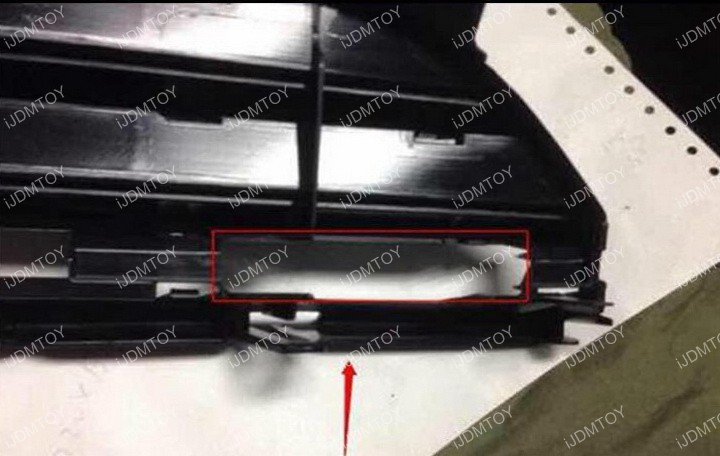
If your car does not come with stock rally lights, you can still install this product since this LED assembly comes with all of the necessary wires and brackets needed for installation. Depending on your MINI model there may be some grille cutting involved in order to proceed with installation.
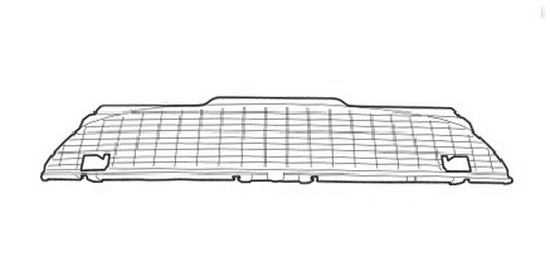
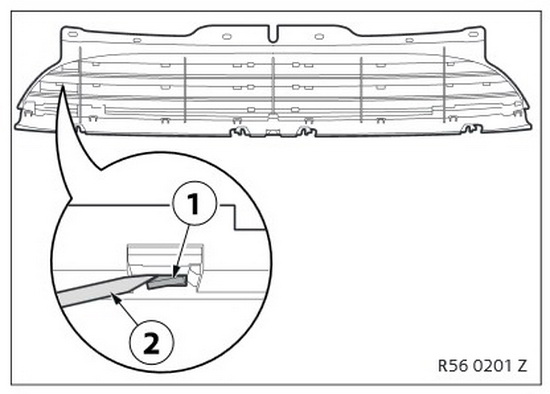
This center grille piece below shows the two locations on the outer corners where you may have to cut the grille prior to installation.
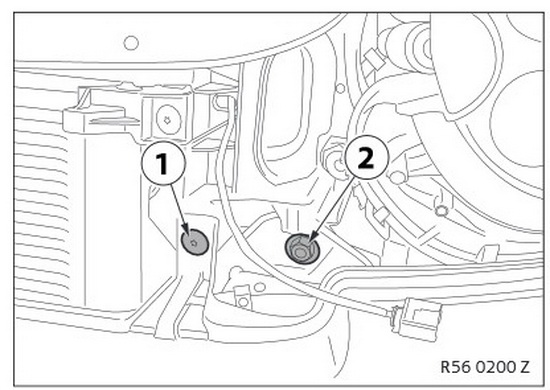
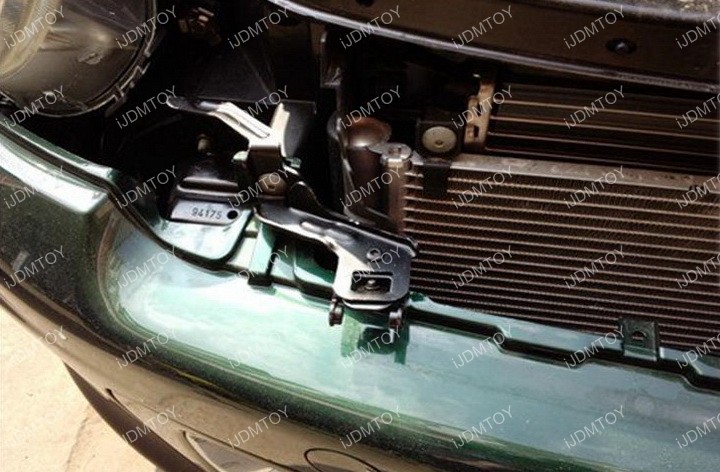
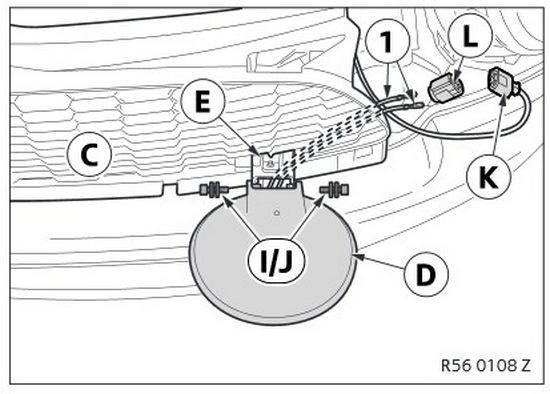
Step 2: Undo the two bolts that are holding the bumper trim and support to the vehicle. Repeat on the other side of the vehicle.
Step 3: Install the mounting brackets both on the driver and passenger side. Secure the bracket using nuts and bolts. Repeat on the other side.
During the installation process, you may notice that the brackets you have in your kit are not exactly the same as the brackets in this installation guide. That is because you are holding a newer version that's crafted to be compatible with different models.
Step 4: This step is for cars that have a chrome front grille only.
Place the grille on a protective cover to protect the chrome trim. Use a screwdriver to remove glue from the retaining lugs. Push the retaining lugs downward and remove the chrome trim from the front grille.
Step 5: Now it's time to attach the new LED daytime running lamp onto the center grille. Attach the LED rally light with some bolts and washers and secure it onto the brackets.
Step 6: Wiring Portion
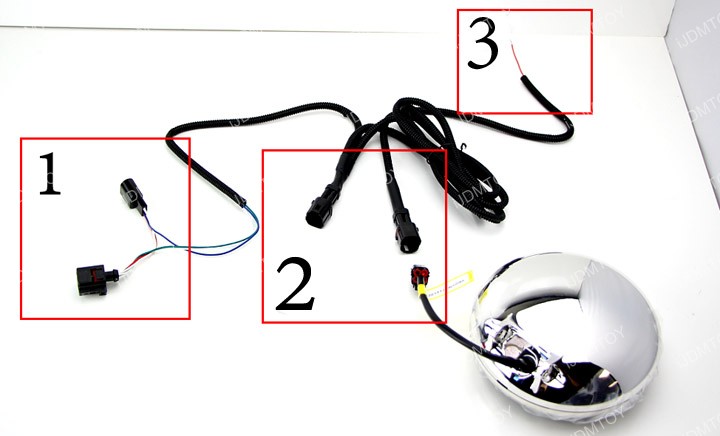
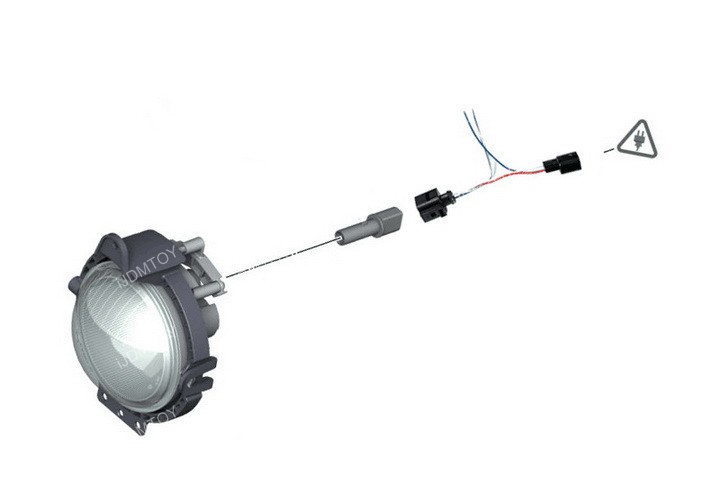
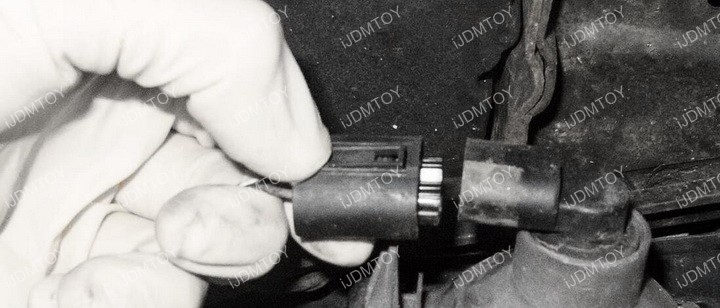
Unplug the stock parking light harness and insert the two parking light adapters (on left) between the stock parking lamp and stock harness. (BOX 1)
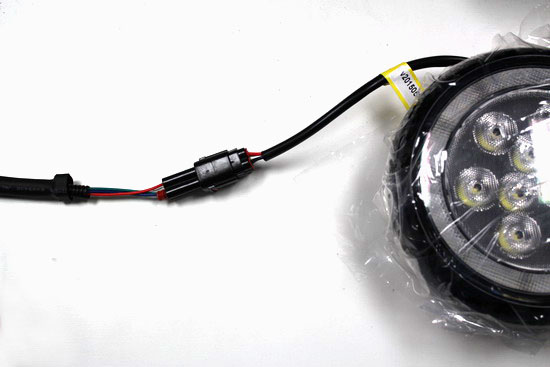
There are 2 square 4-pin adapters that will be plugged back to the MINI Cooper LED Rally Light. (BOX 2)
The single red wire must be tapped to the ACC or any other 12V source to enable the the lights. You must tap the red wire otherwise the LED rally light will not turn on. (BOX 3)
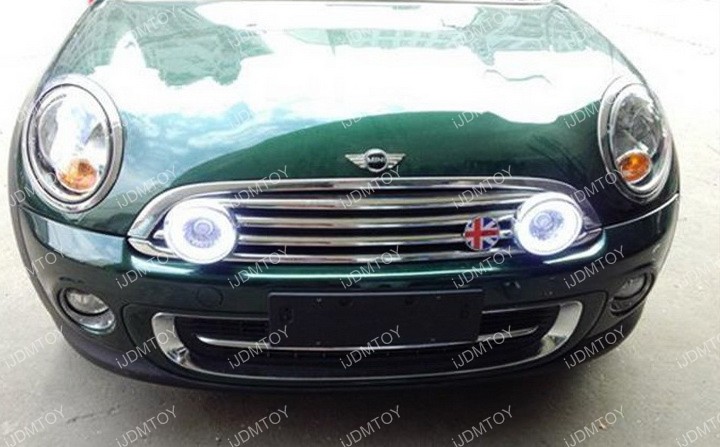
Daytime: The halo ring will light on as daytime running lights.
Nighttime: When the headlights are on, the parking lights will turn on, triggering the inner rally light to turn on. The halo ring portion will turn off.
This MINI Cooper LED rally is extremely high powered, so it has been equipped with a special design that delays the the light-up process when the halo rings are switched to the inner rally light portion.
Special note: if you are to test this product on a 12V power supply, you need to first connect the black pin (2) to battery negative and then the red wire (3) to battery positive to light up the LED halo ring; then connect the red pin (1) to battery positive too, wait about 10 seconds for the LED fog to turn on. (If your power supply is not powerful enough, less than 25W, the LED fog might not get power up).
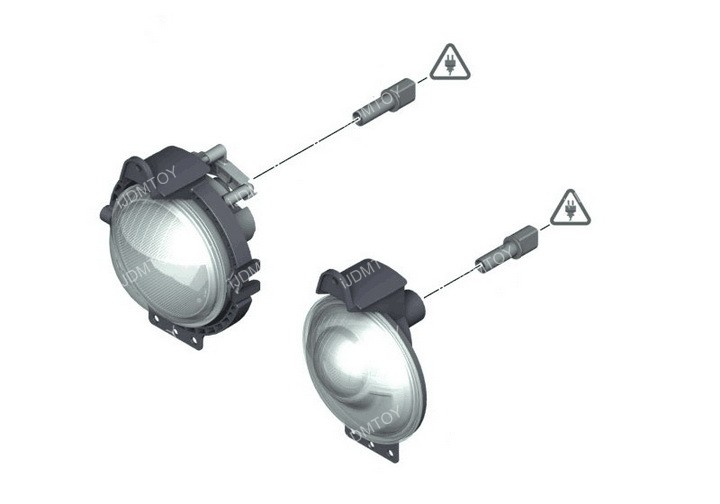
The diagrams below show how you will unplug the stock parking light and insert the two parking light adapters in between the parking light and stock harness.


After you have finished wiring up the components, test to make sure everything works and enjoy your new MINI Cooper LED Rally Lights.