This DIY is to demonstrate the installation of the iJDMTOY 7440 Switchback LED Bulbs and replacement LED Flasher unit.
The bulbs will appear as DRL's and illuminate white with the parking lights on. They will flash amber when the turn signals are used.
The LED Flasher Relay will allow the LED lights to flash at the factory speed without the need to install resistors at each lamp location.
The installation will require several small hand tools and some wiring skill.
Needed for job:
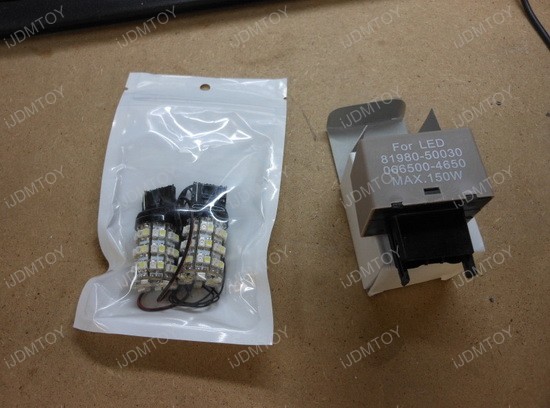
2 LED Switchback 7440 Turn Signal Bulbs
1 Toyota LED Flasher Relay
2 Inline wire connectors
Vinyl tape
10mm socket and ratchet
Phillips screw driver
Flat head screw driver
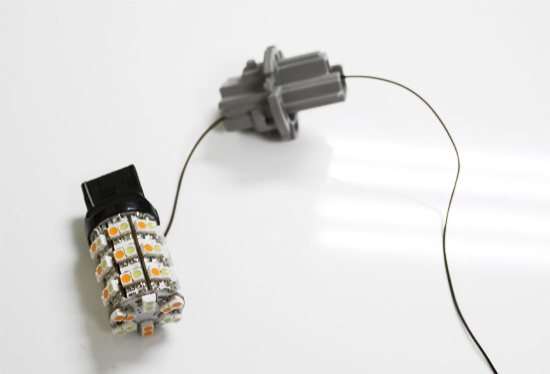
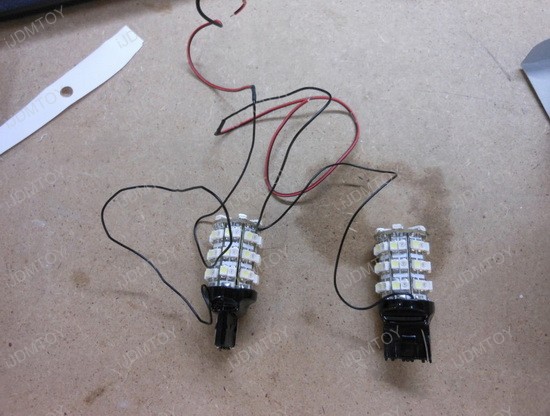
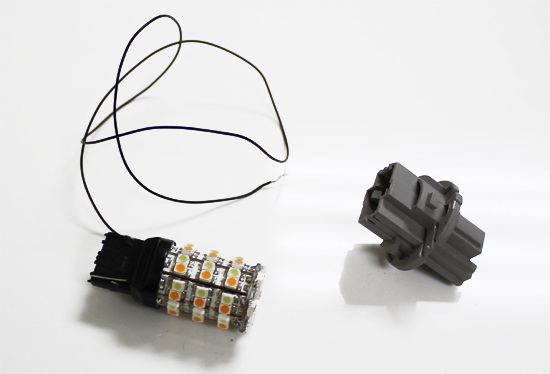
The switchback LED bulbs and flasher...
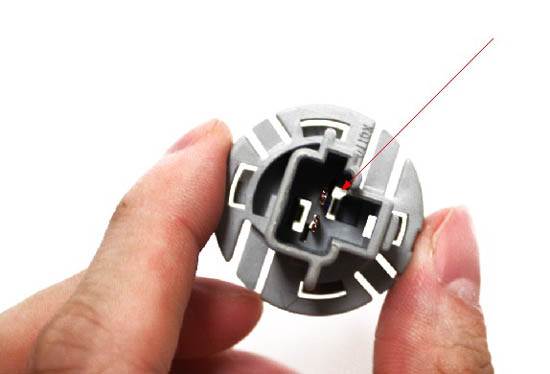
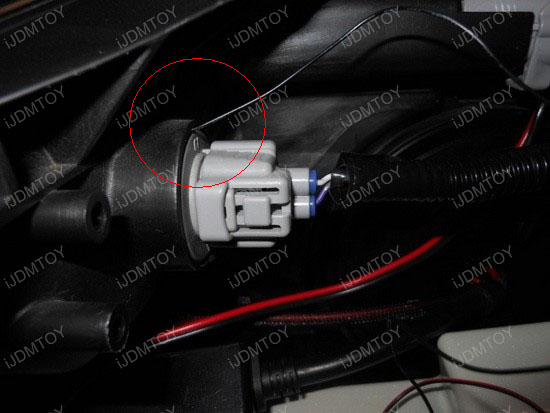
Here you can see the third wire that will connect to the stock parking light positive wire...
Remove the stock turn signal bulb and replace with the 7440 switchback LED bulb...

Replace the bulb in the socket, the third wire will thread through the outside of the rubber seal. Be very careful not to pinch the wire in one of the plastic tab slots when closing the socket.
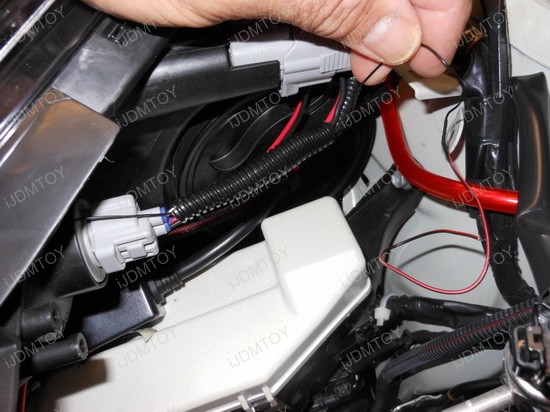
Run the third wire along the stock wire loom. For a clean installation appearance you can remove the vinyl tape from the loom and insert the wire then tape it back...
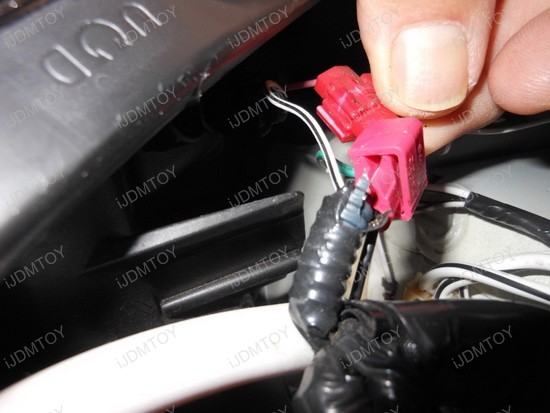
Using a butt in connector splice the third wire to the positive wire of the parking light...
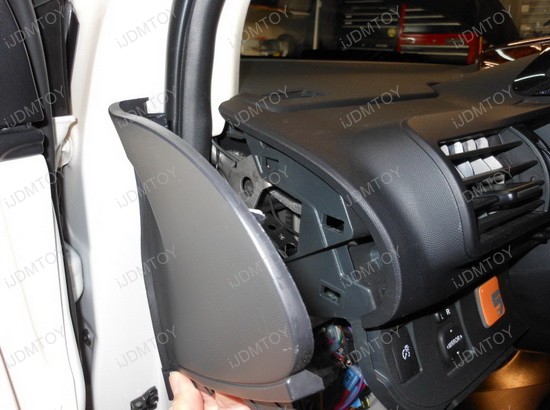
To install the 8-Pin LED flasher relay, remove the center "v" piece of the console below the head unit housing, remove the head unit housing, remove the lower kick panel on the driver side then remove the end dash piece...
(Here's another installation guide for how to install 8-pin LED flasher)
Remove the dash piece above the gauge cluster by pulling towards you...
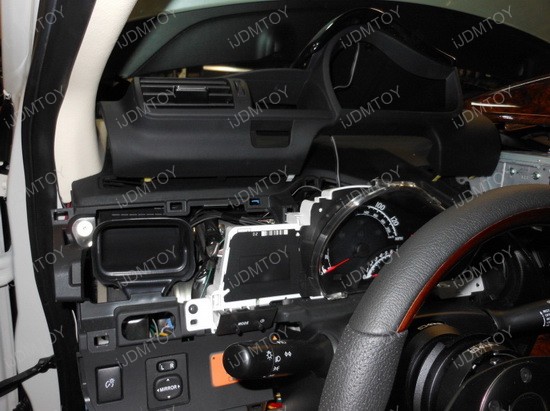
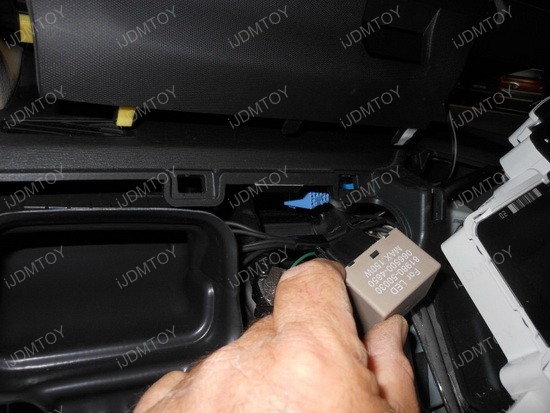
Here you see the location of the stock flasher relay...
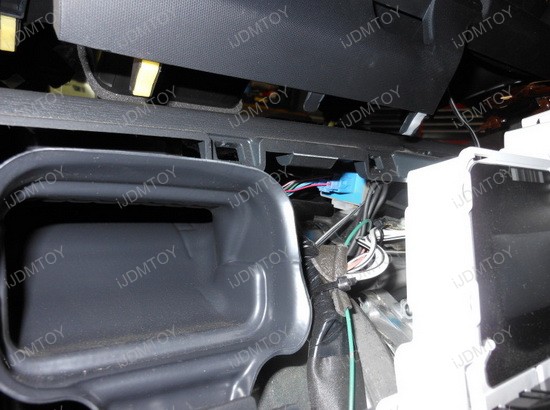
For easier access you may remove the gauge cluster by removing the two Philips head screws. Unplug the wire plug by using a pair of long nose pliers to disengage the clip...
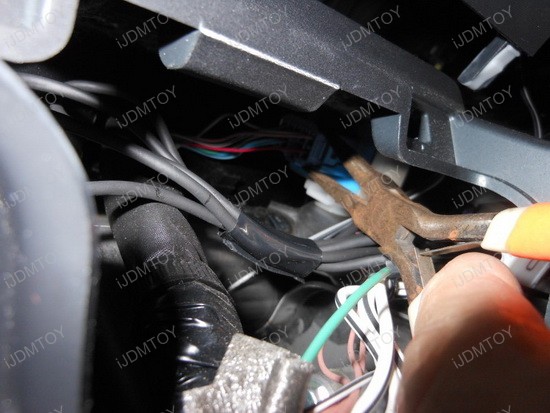
Here is the wire plug removed...
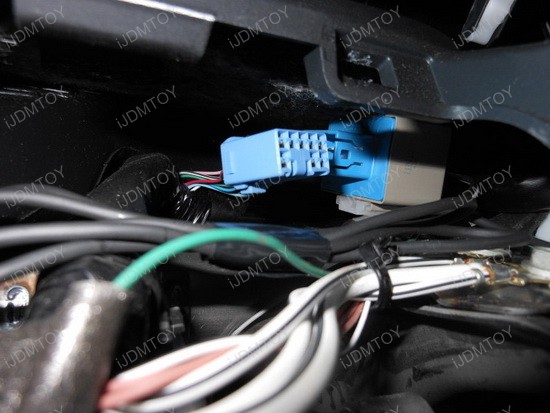
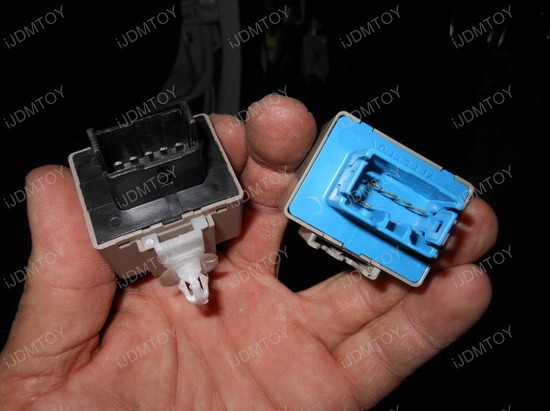
At this point you may plug the new flasher unit into the stock wire plug and place back in the dash opening or you can remove the stock flasher by prying up the white anchor plug...
The new LED flasher unit mounted to the stock white anchor plug...
Place the new LED flasher relay in the stock anchor hole in the dash and test that everything works before reassembling the dash...
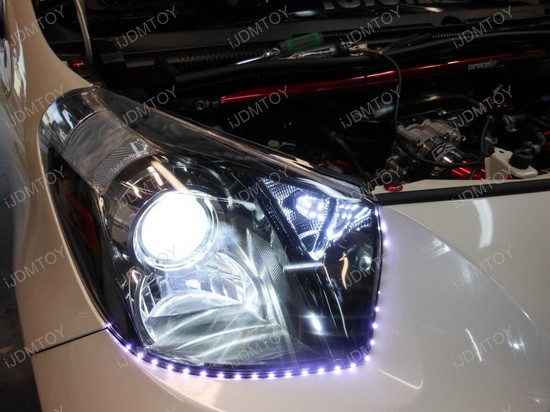
The new single filament 7440 LED switchback bulb with the parking lights on...
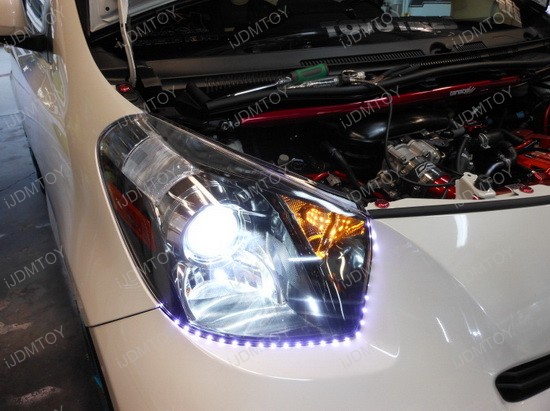
The new single filament 7440 LED switchback bulb with the turn signal flashing amber...
Once you have ensured that all bulbs are working correctly you can put the dash back together and enjoy your new LED turn signals.
Installation Tips for how to install 7440 switchback LED bulb (see pictures)
For more 7440 adapter, there are several small holes like this one shown on the picture, you can put the wire thru this hole, so the wire won't get damaged easily.