This installation guide is base on a 2013 Honda Civic, and you can find this product under Acura/Honda LED License Plate Lights
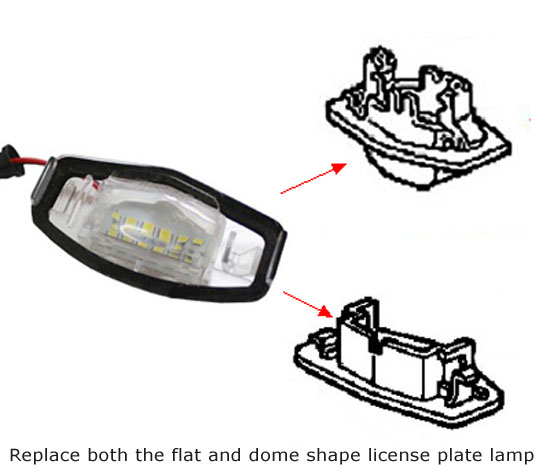
Please noted, this OEM fit LED license plate lamp will replace both the flat and the dome shape stock license plate lamps.
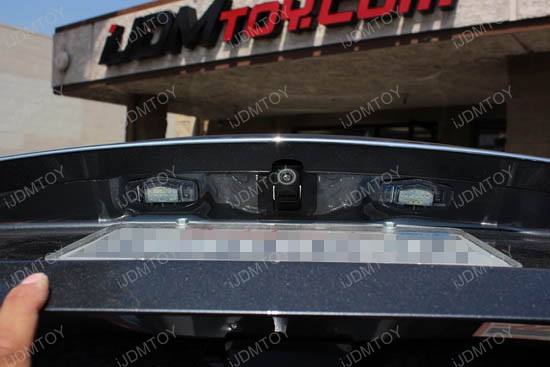
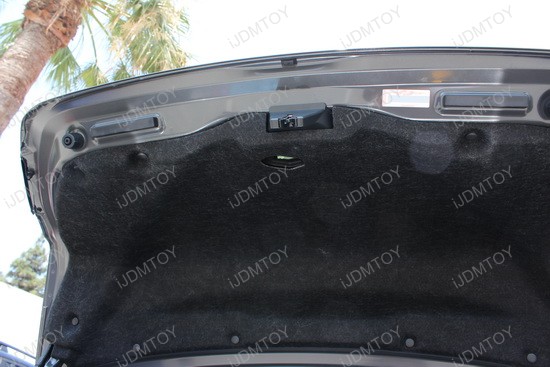
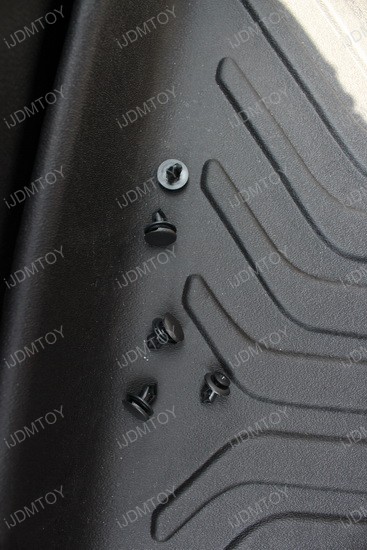
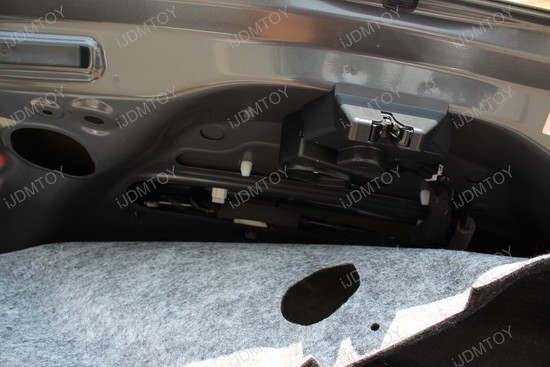
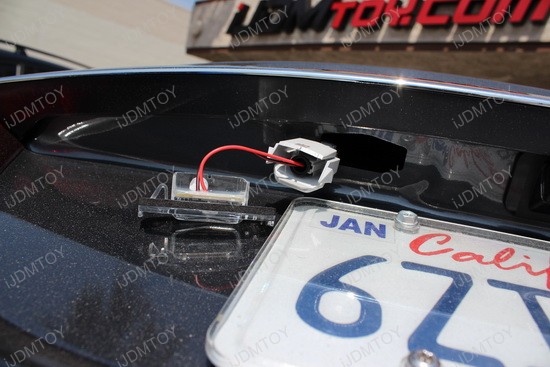
1.) Open your trunk and remove the various plastic retainer clips that hold the liner to the trunk. Once the clips are removed, move the trim out of the way to access the license plate lights. For vehicles such as Acura TSX, Acura ILX which requires to remove the trunk lip trim, please take a look at trunk lip removal for how to do so.
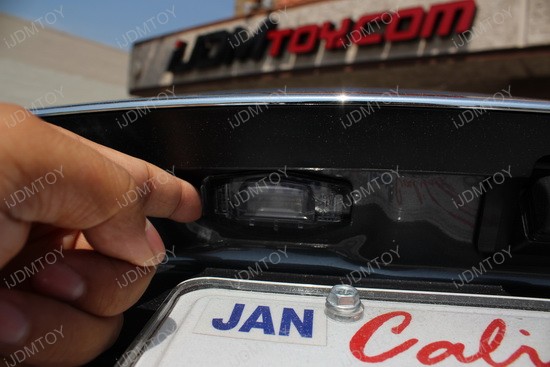
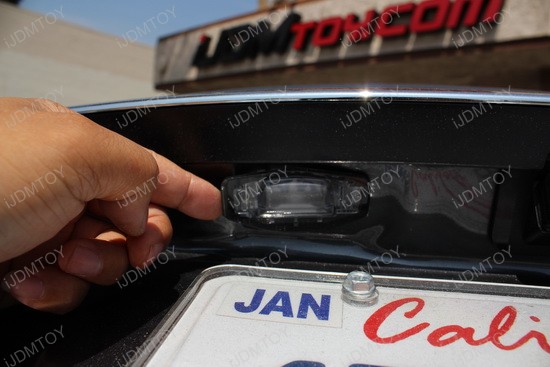
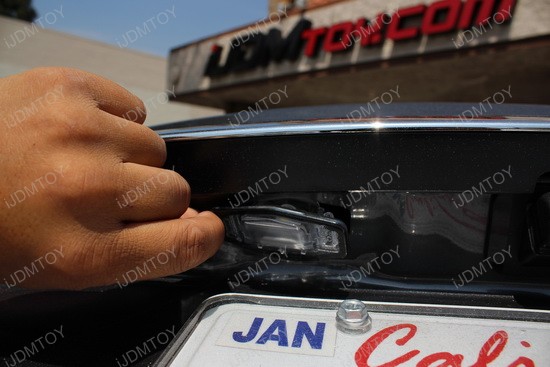
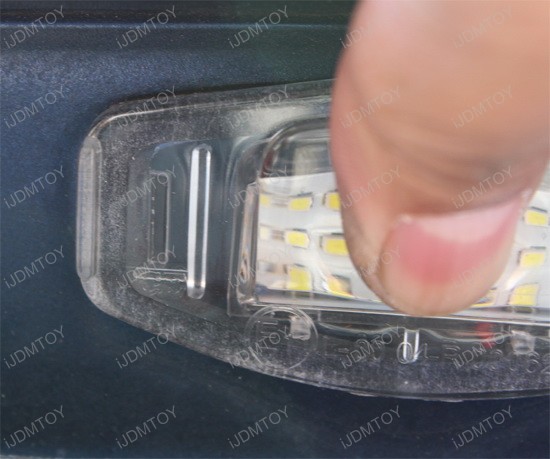
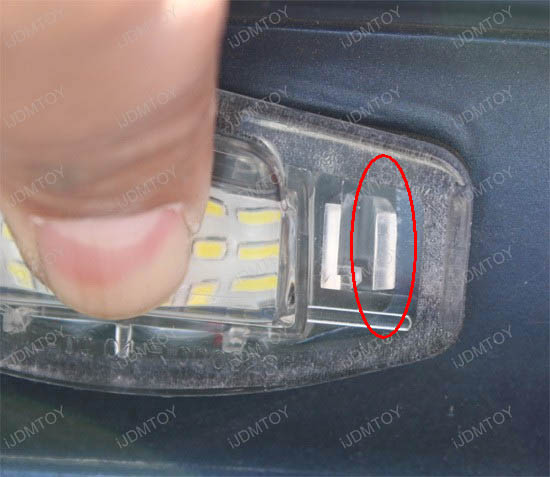
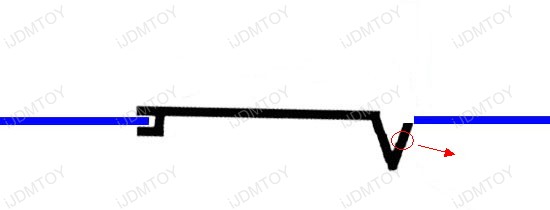
2.) On the outside, using your finger or flat head screw driver, push towards the other directly. Pull down on the outside edge of the license plate lamp assembly. It is held in by a plastic compression clip, it should easily pop off after you release the tension from the clip by pulling it down.
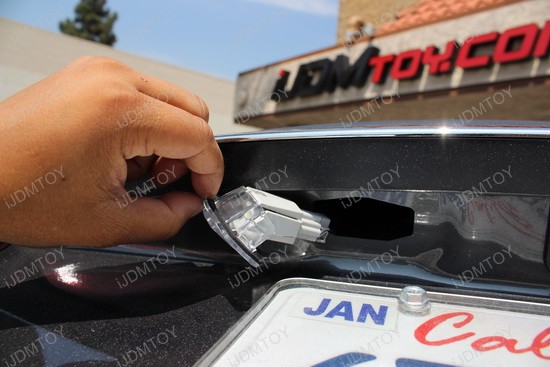
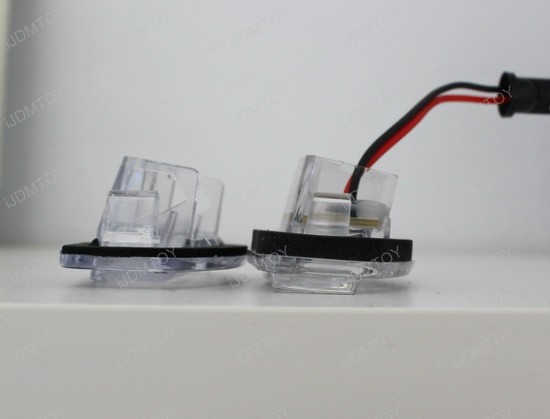
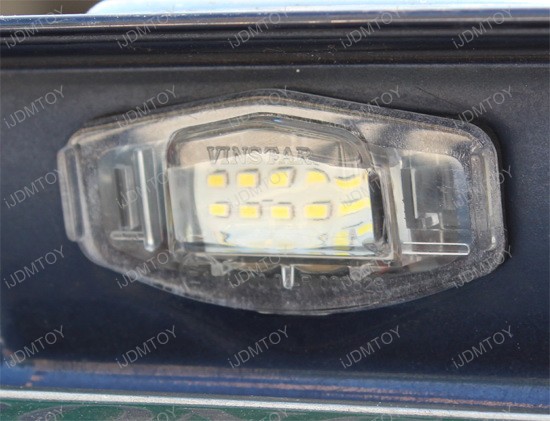
3.) Remove the OEM lens from the plastic base and remove the stock license plate light bulb. Make sure that you're only detaching the lens and not the clear adapter as well. Replace the stock bulb with our LED adapter bulb. The plastic adapter from the LED license plate lamp has a tight fit into the OEM harness to ensure it won't fall off after the installation. We recommend you use two thumbs to push the adapter into the stock socket.
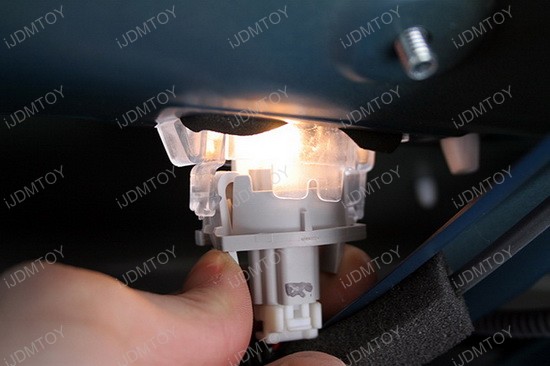

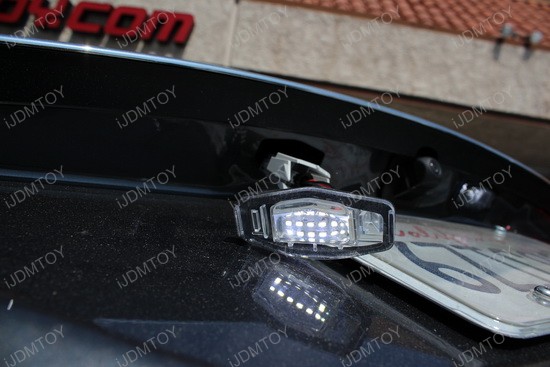
4.) Test the LED light. Make sure it lights up before putting it back.
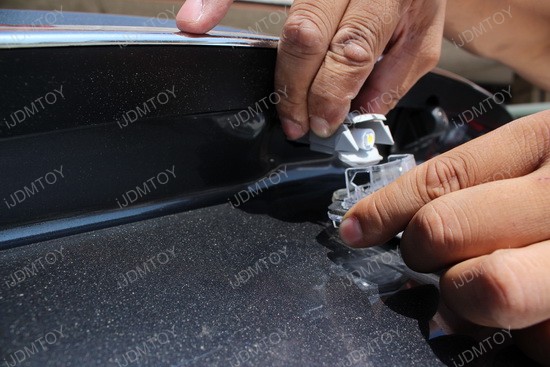
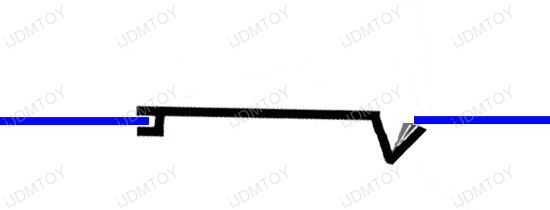
5.) When installing the assembly into the trunk, please be patient as the newer foam gasket is thicker than the original since the original foam gasket is used and became much thinner . Start by inserting the side-1 and then click in the side-2.
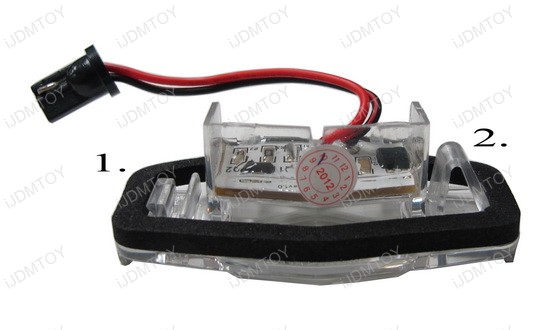
After, insert and push the compression clip side into the trunk.
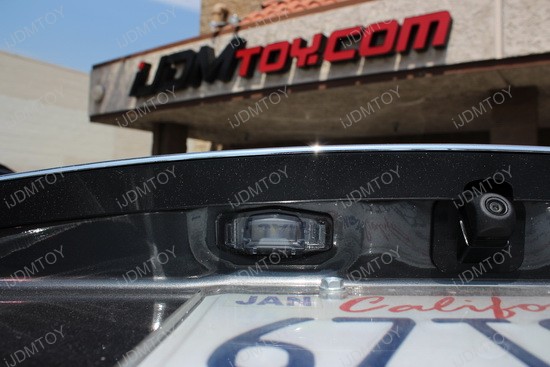
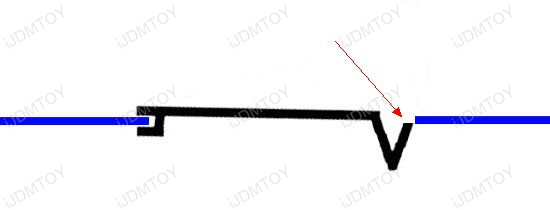
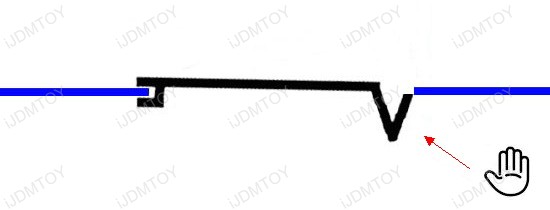
Since the trunk is open, you have full access to the license plate portion of the vehicle. Put one hand behind the trunk lid to guide the compression clip when you insert it through the trunk. Take your pointer finger and position it where the compression clip will expand after it locks into the trunk. Your finger acts as a buffer to prevent the compression clip from springing out too quickly. This helps to lock the clip under the metal.
5.) Repeat the same installation on the other side, re-install all the components by following the steps in reverse order and enjoy your new LED license plate lights!