


You can find the Raptor Style LED Grille Lighting Kit (35-036) here.
This set of Raptor Style LED Grille Light Kit is compatible with 2009-2014 / 2015-up Ford F-150. We are going to start with the 2015-up Ford F-150. To see the installation for 2009-2014 Ford F-150, please scroll down to the second installation.
Important: This Raptor Style LED Grille Lighting Kit comes with a pair of L-shaped brackets. You will need to use these L-shaped brackets if you have a 2015-up Ford F-150. If you have the 2009-2014 model, you will not be using these L-shaped brackets for installation.
2015-up Ford F-150 Raptor-Style LED Grille Lighting Kit Installation:
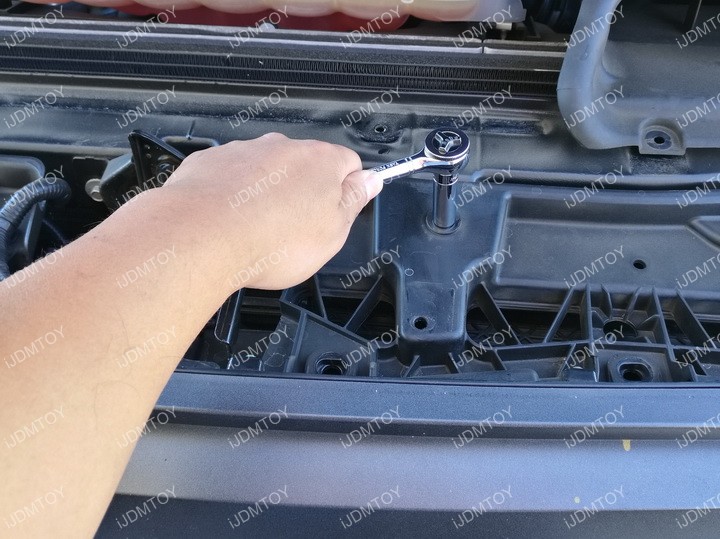
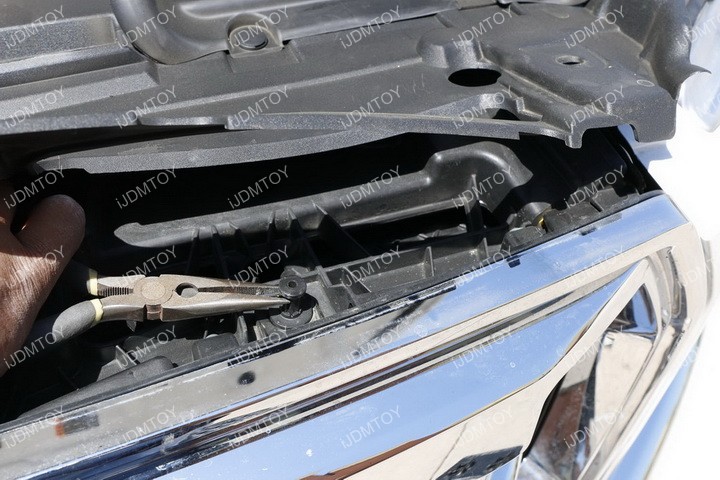
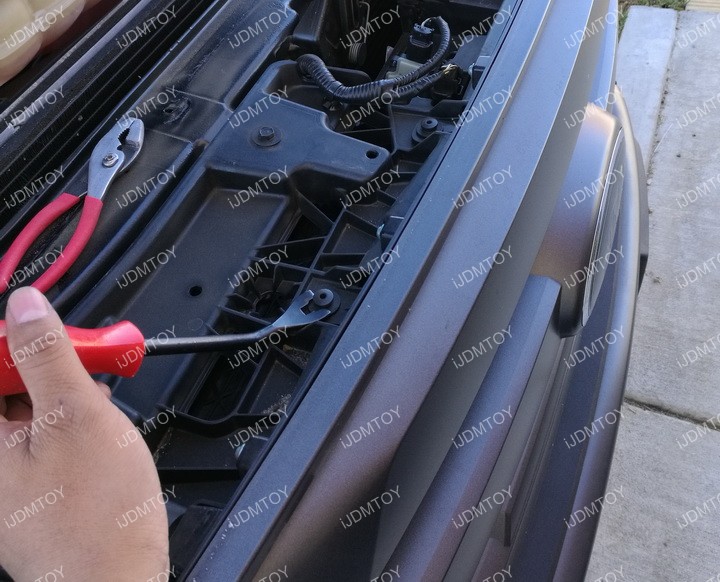
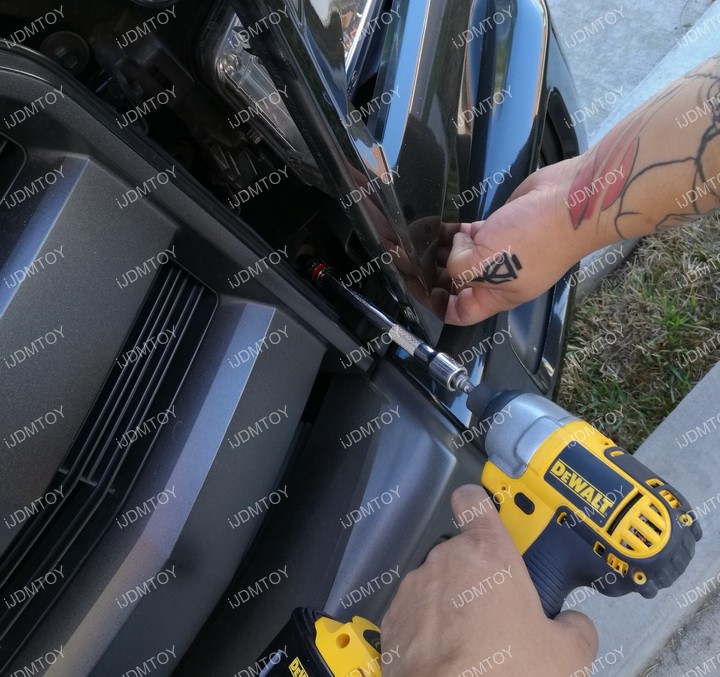
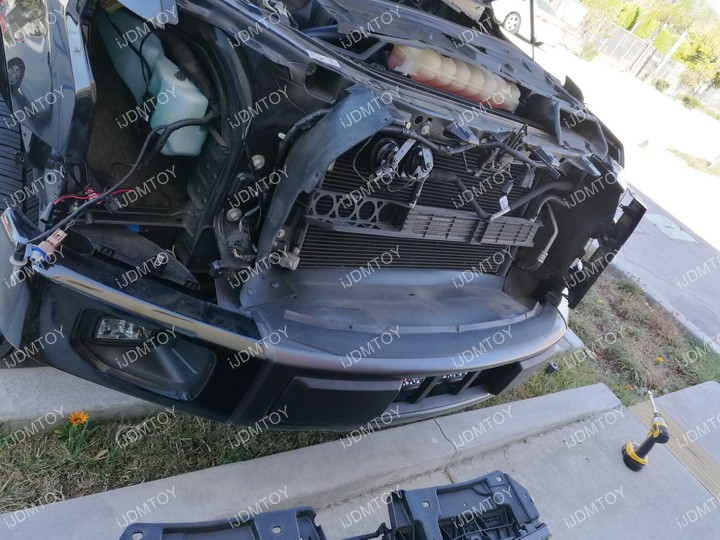
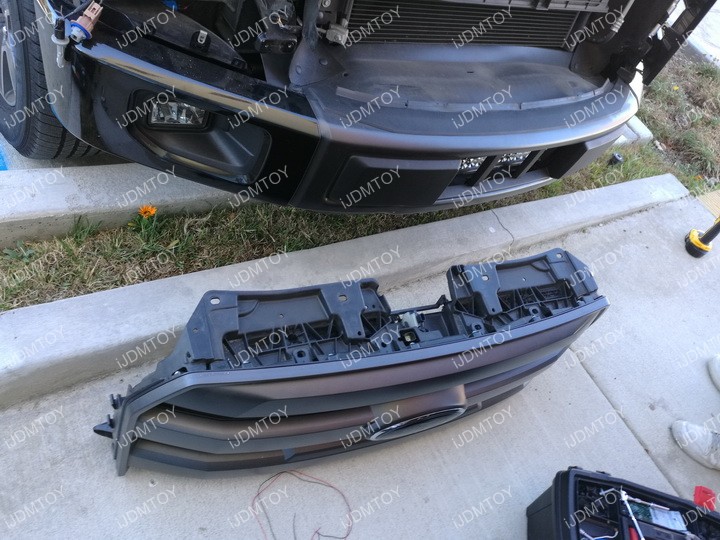
Step 1: Remove the front grille. To do so, there's some clips and bolts on top of the grille as well as 2 bolts next to the headlights that you need to take out prior.
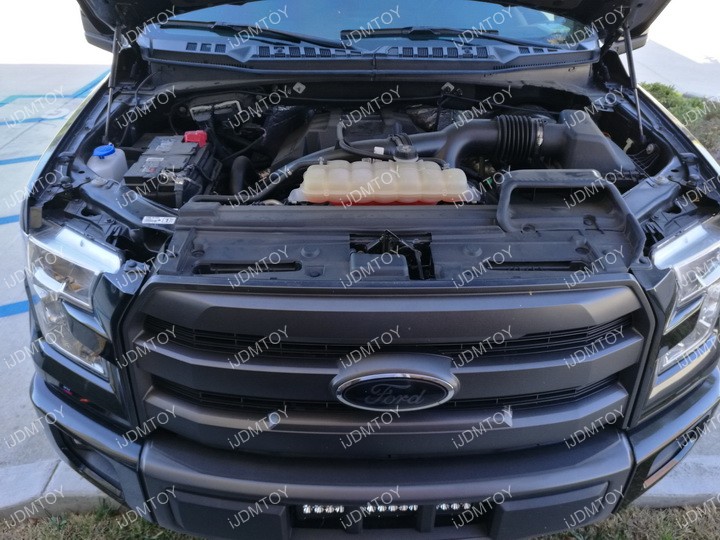

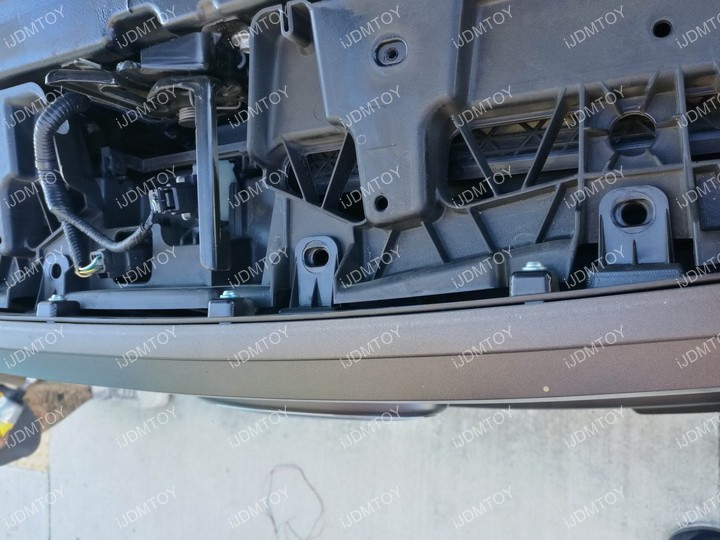
Step 2: Once the grille has been removed, we will be focusing on the grille.
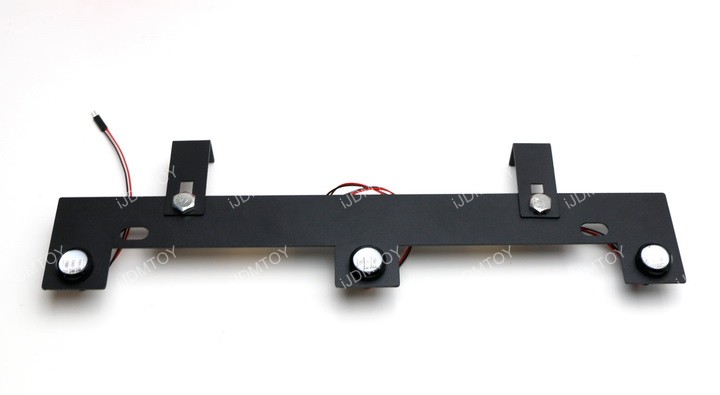
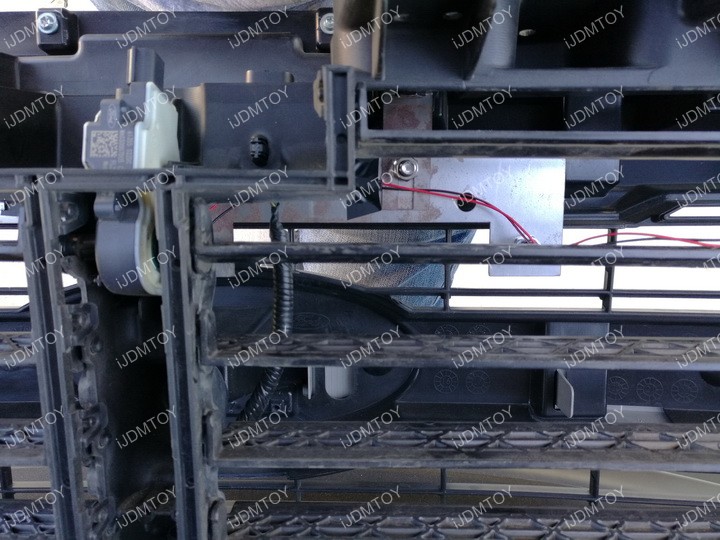
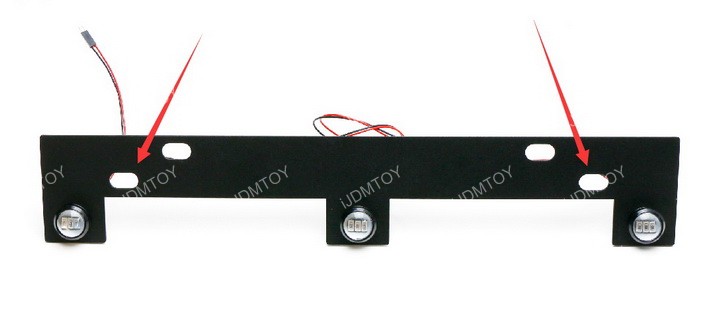
Step 3: Take the pair of L-shaped mounting brackets and secure them onto the Raptor Style LED lighting kit via the top two openings. Use a screw and bolt to secure the L-shaped brackets in place.
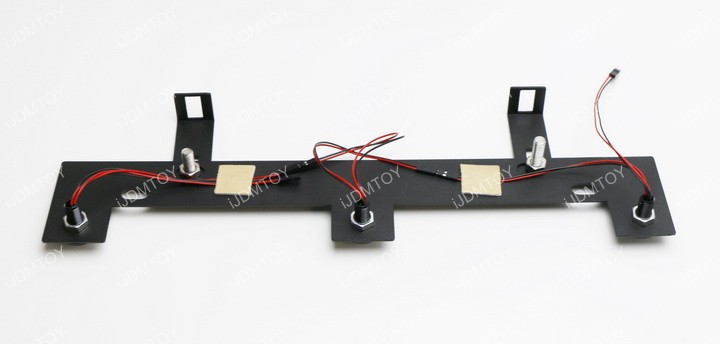
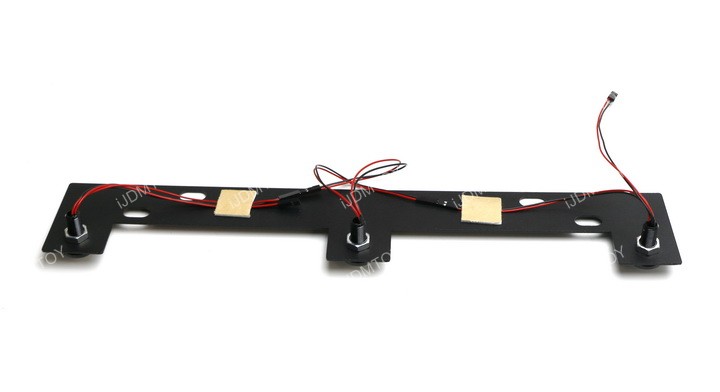
When you flip the Raptor Style LED grille light kit over, you will see a smattering of wires. These wires will be hidden behind the assembly after installation, rendering the wiring invisible.
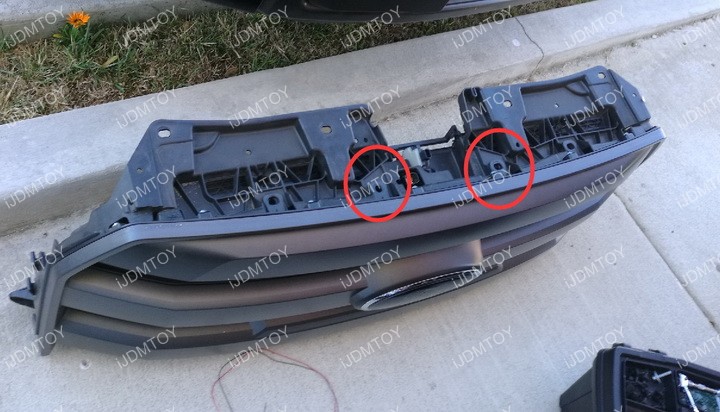
Step 4: Mount the Raptor Style LED lighting assembly behind the grille, using the 2 center openings. You will be using the screws included in the package to secure the Raptor Style LED Grille Lighting Kit.
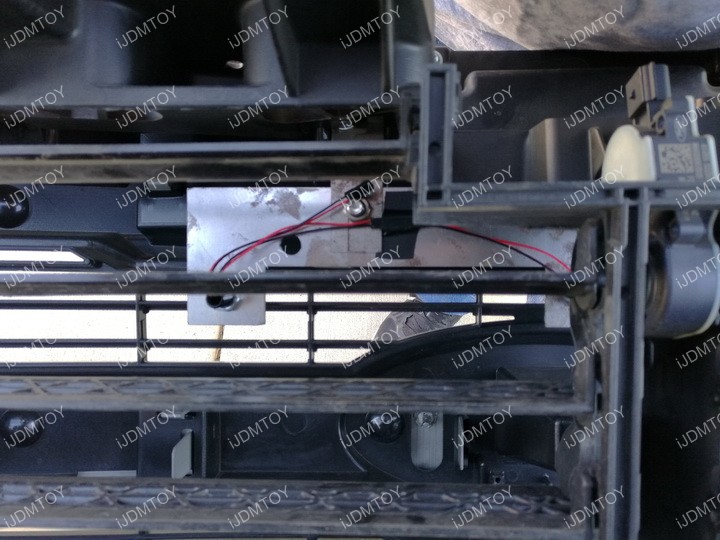
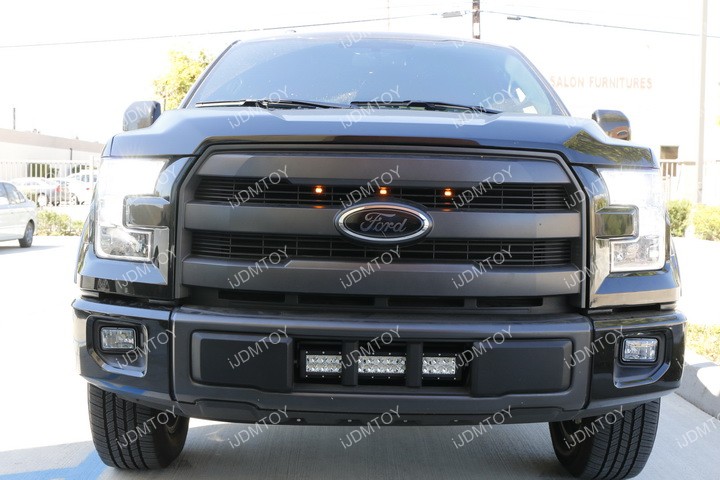
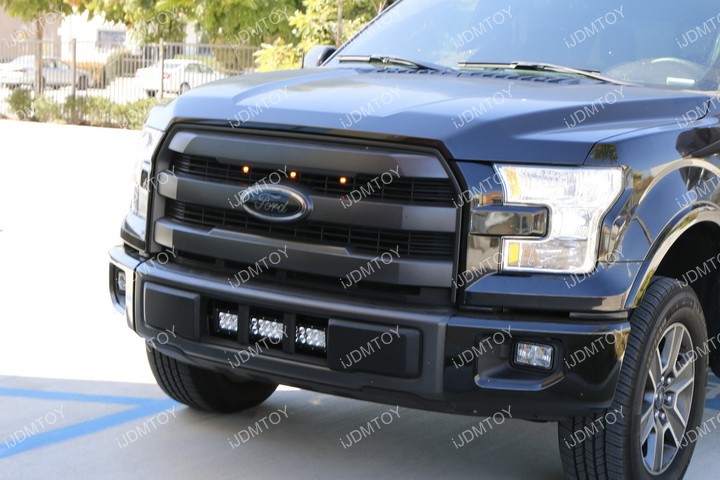
Step 5: You can see that after you mount the Raptor Style Grille Lighting kit in place, the LED emitters will peek out through the top of the grille opening and no wires are visible.
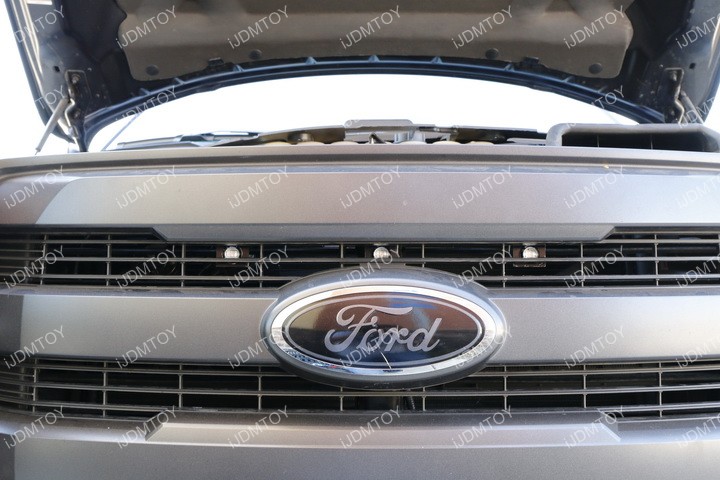
Step 6: Reinstall the grille, put back all the components you removed in the beginning (clips, bolts).
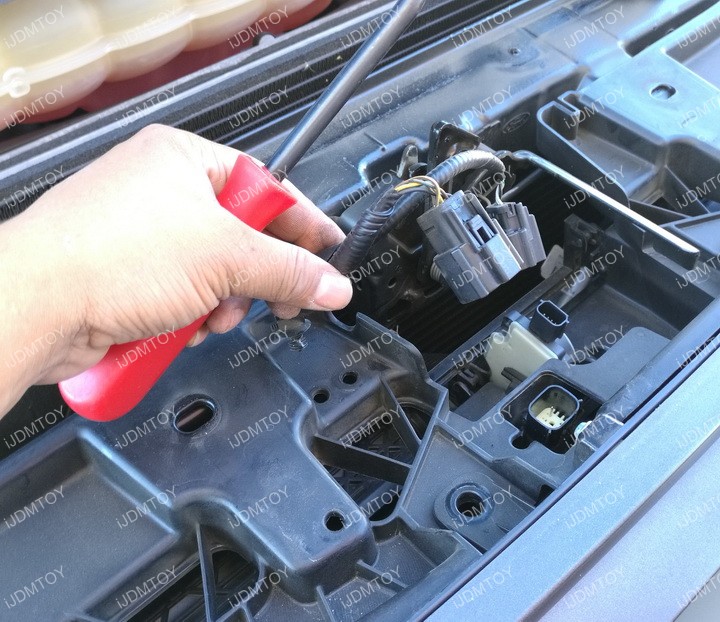
Run wires to the headlight +/-
Test to make sure everything works and enjoy your new Raptor Style LED Grille Light Kit.
2009-2014 Ford F-150 Raptor-Style LED Grille Lighting Kit Installation:
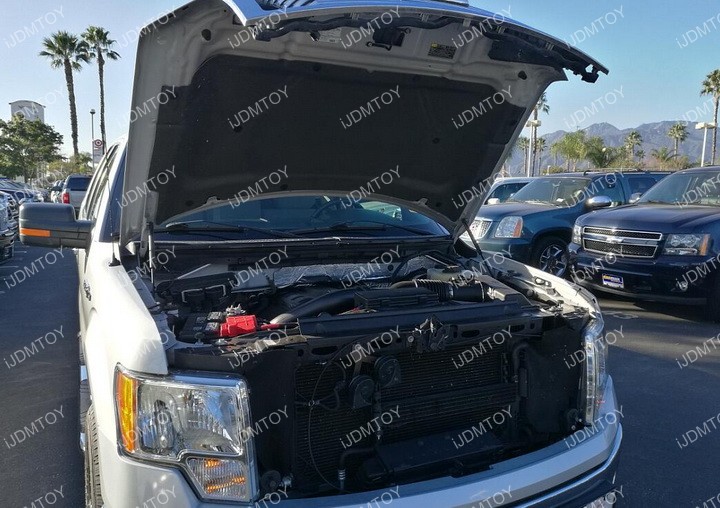
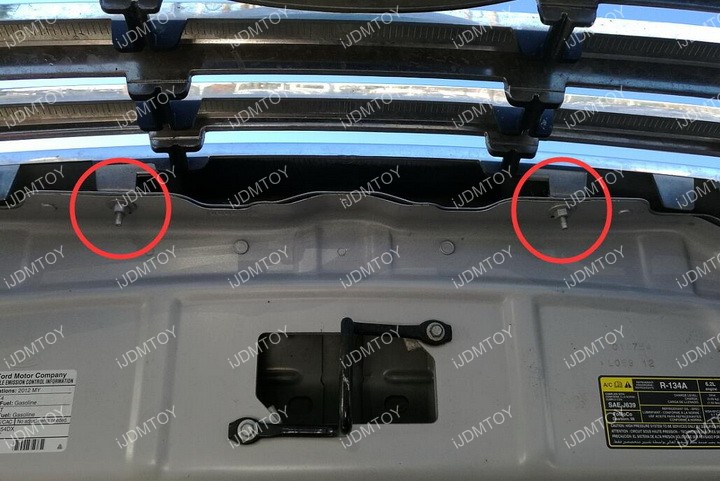
Step 1: Open the hood. Located (2) 10mm bolts right behind the grille.
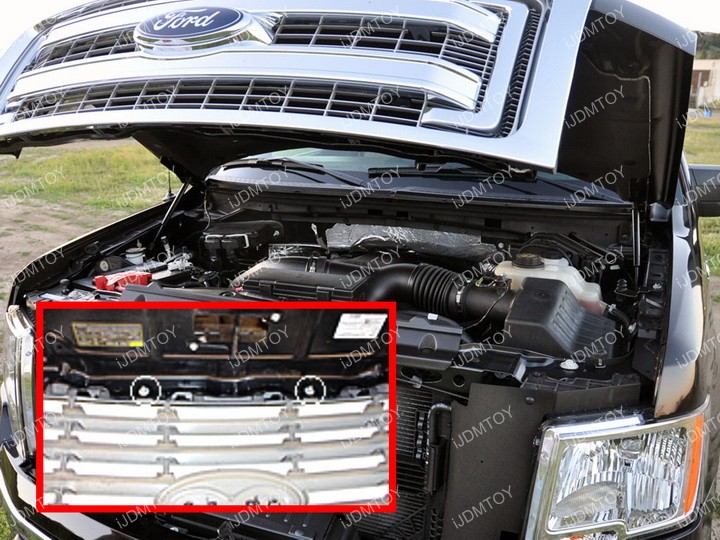
Step 2: Bolt the Raptor Style Grille LED Light Kit bracket behind the grille, using the lower outer openings. You may use the existing nut from the truck to secure the LED assembly.
When you flip the Raptor Style LED grille light kit over, you will see a smattering of wires. These wires will be hidden behind the assembly after installation, rendering the wiring invisible.
Step 3: Run the wires all the way down through the hood to the engine bay fuse box or to the headlights +/-
Test to make sure everything works and enjoy your new Raptor Style LED Grille Light Kit.