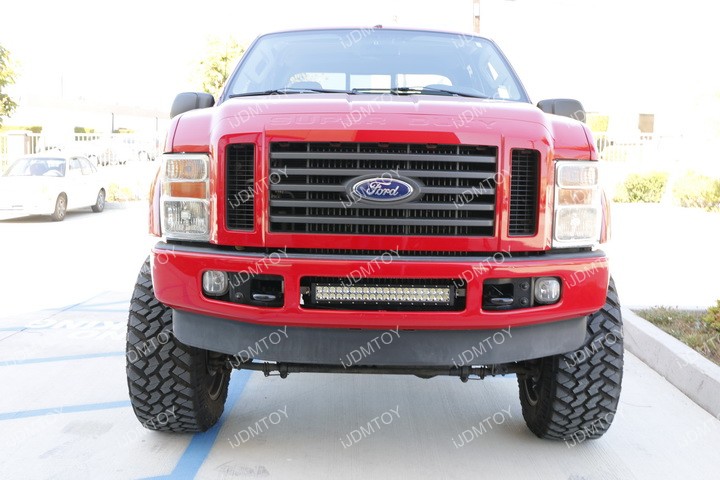
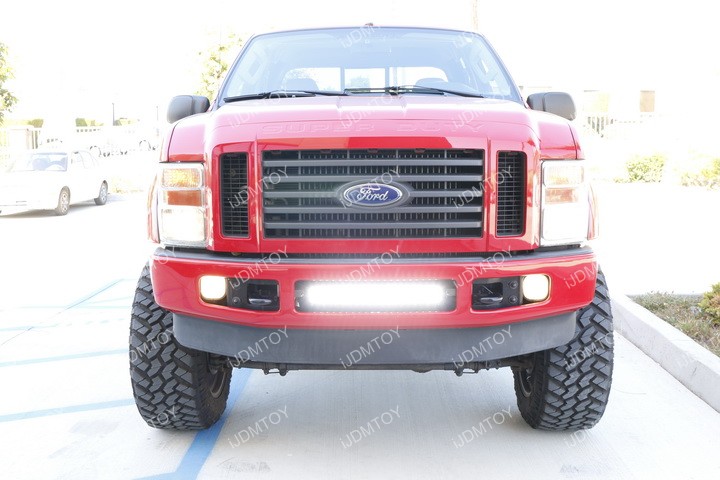
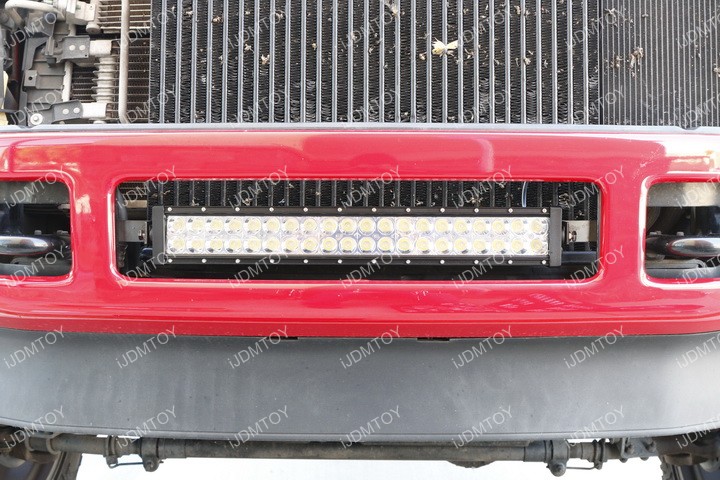
Check out the 2008-2010 Ford F-250 LED Light Bar (35-930).
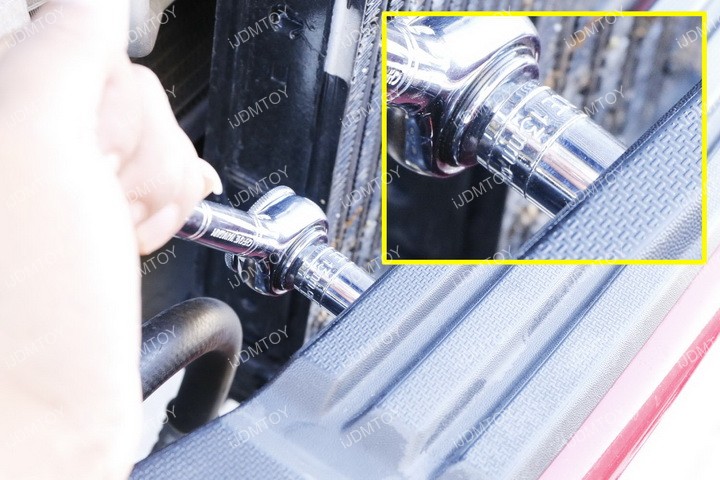
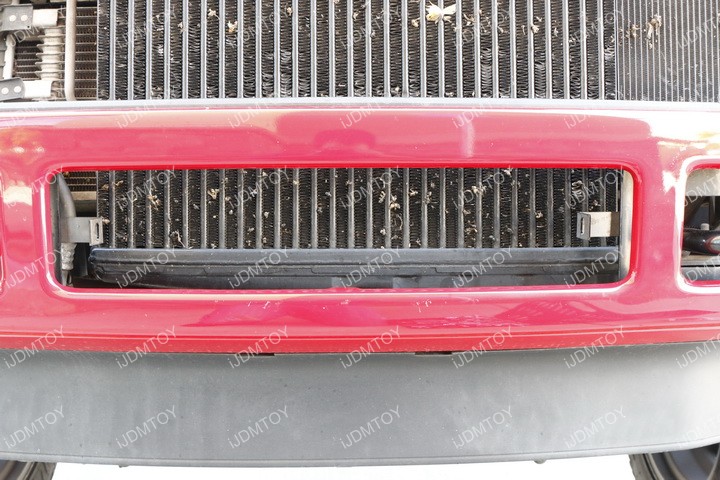
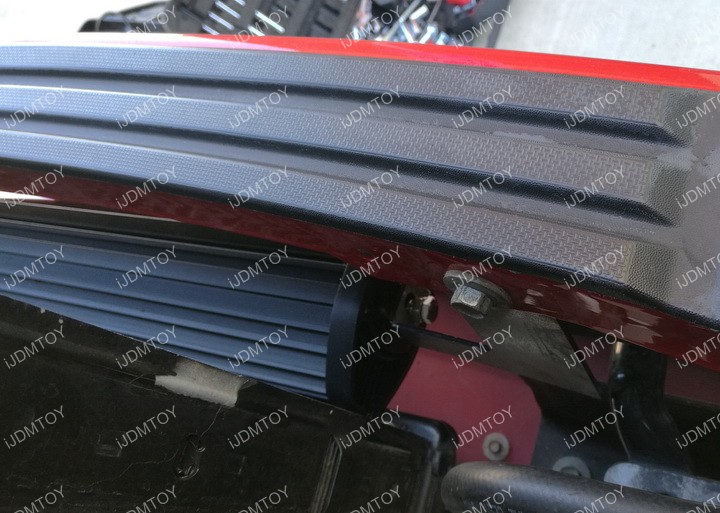
Step 1: Open up the hood and you will see 2 bolts in the lower bumper area (one on driver side, one on passenger side).
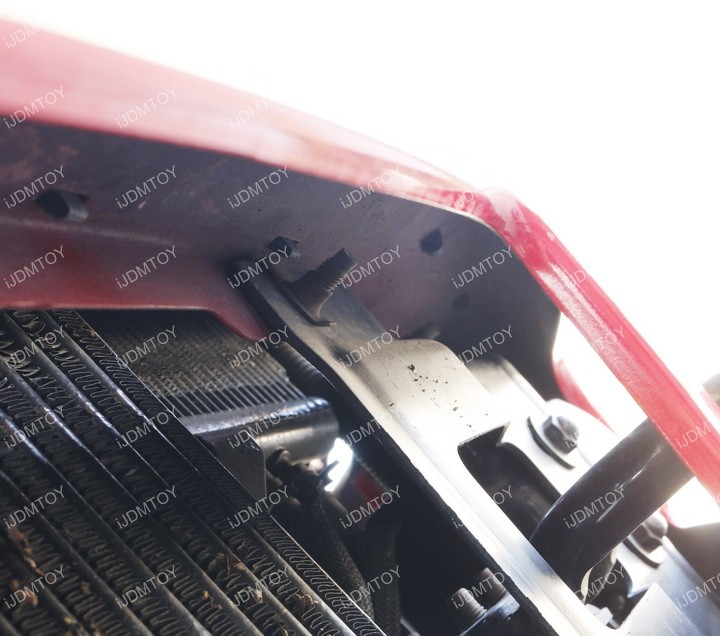

Step 2: Use a 13 mm wrench size to remove the bolts.
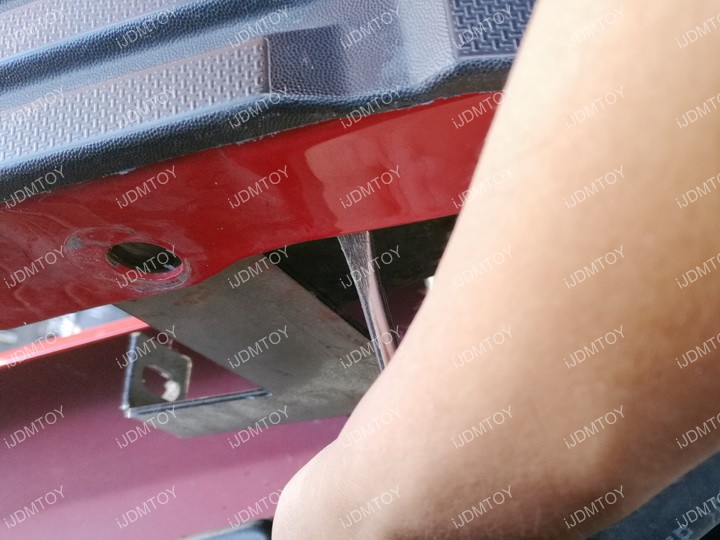
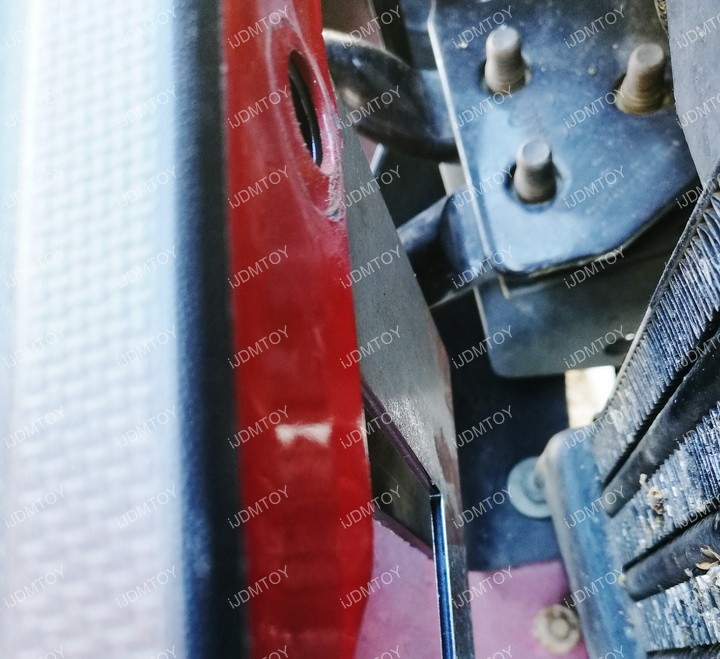
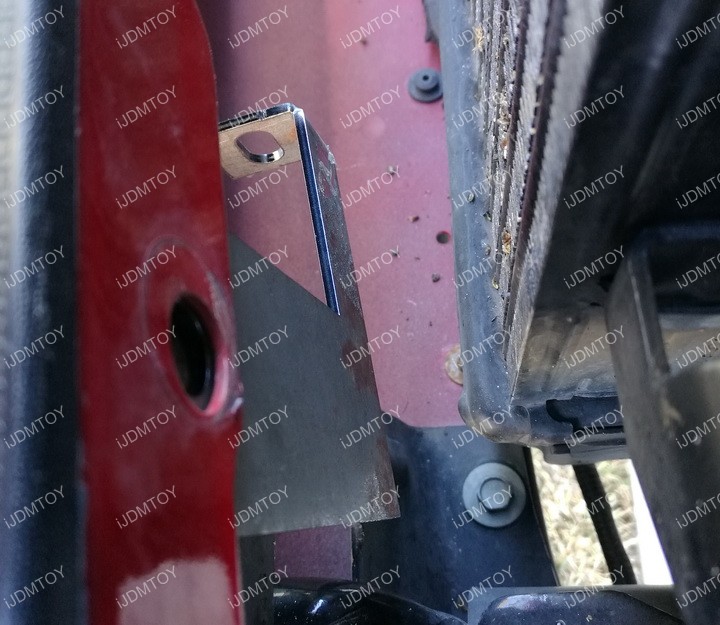
Step 3: Take a flat head screwdriver and use it to pry open a small gap in between the metal plates so you have some room to insert the LED light bar mounting brackets.
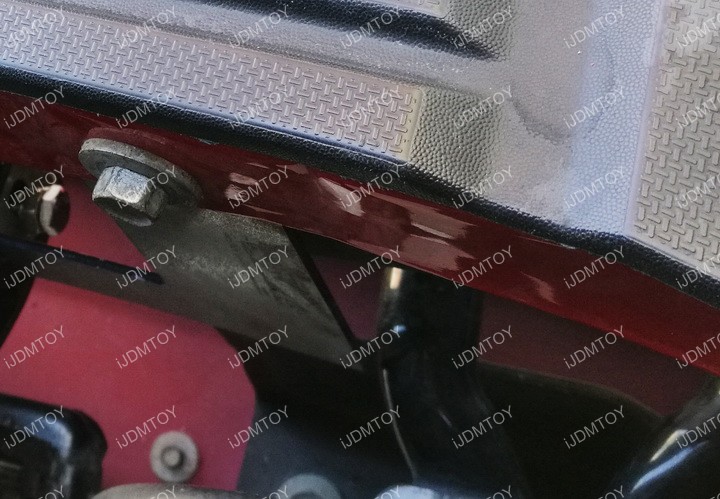
Step 4: Secure the bracket onto the bolt. Tentatively bolt the nut in place, but don't tighten it all the way just yet.
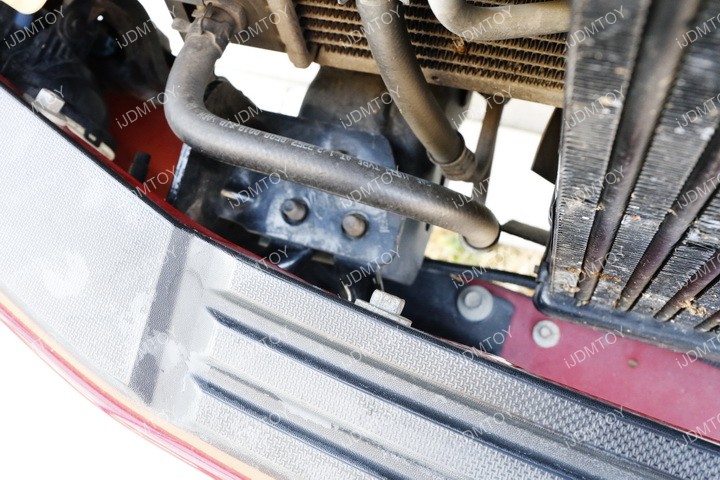
Step 5: Repeat on the other side.
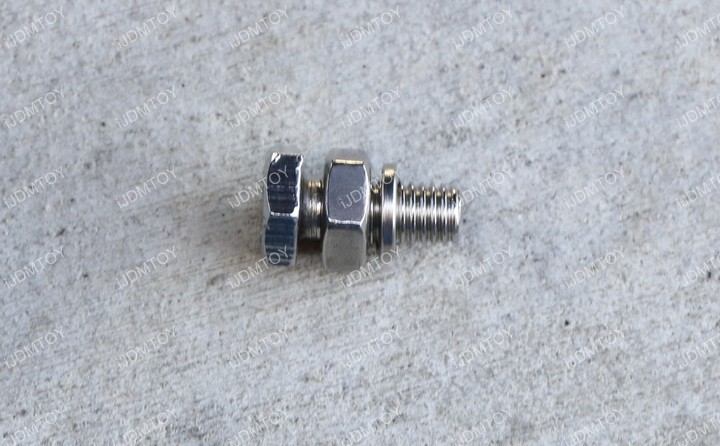
Step 6: Time to mount the LED light bar onto the mounting brackets. Insert the nut into the screw like so. This is so you can first tighten the screws to the LED light bar and utilize the nut to tighten in reverse onto the bracket. This makes sure that all three components, the LED light bar, screw, metal mounting brackets, and all tightened with each other in order to secure all the components in place.
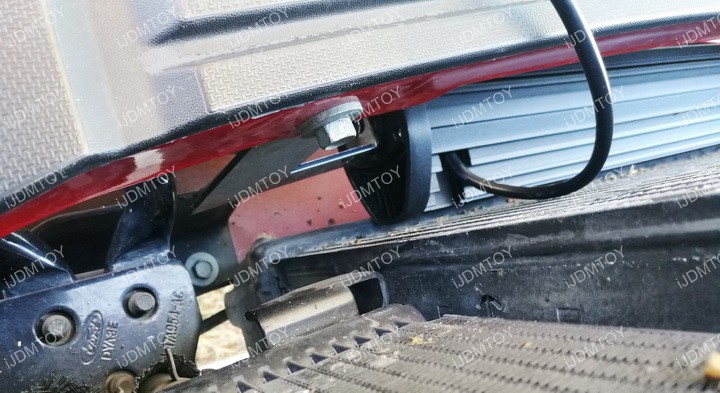
Step 7: Now you can tighten that original bolt from the beginning of the installation to secure the LED light bar metal mounting brackets.
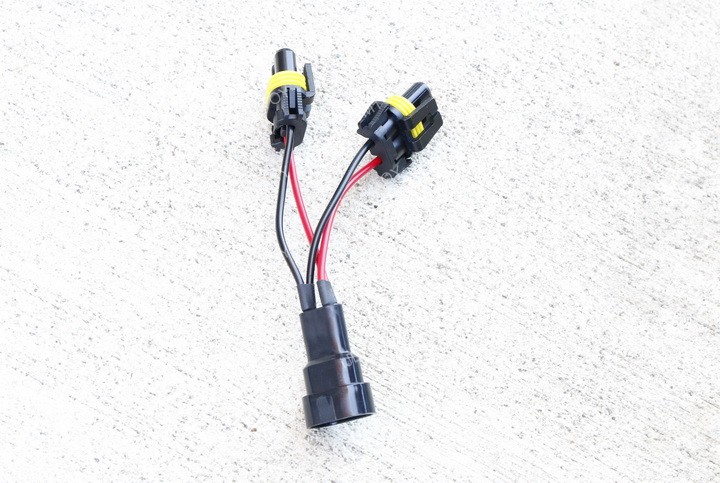
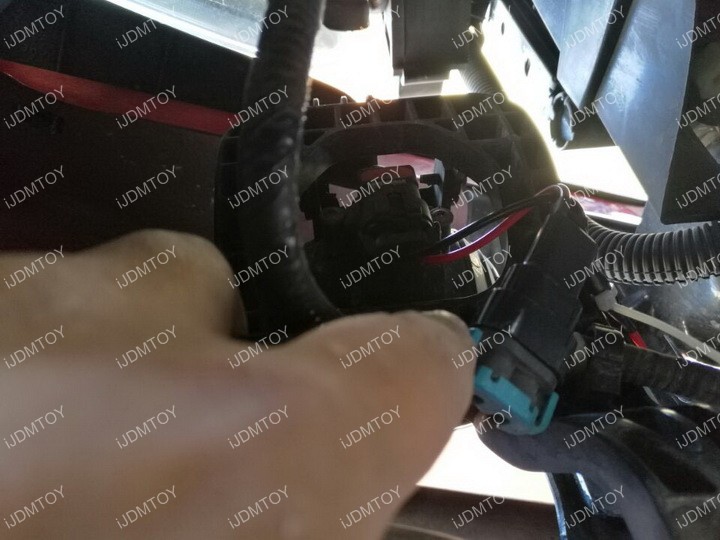
Step 8: Time to wire up the Ford F250 LED Light Bar. We used an optional (sold separately) Y-shaped splitter to connect to the existing fog lights. Basically, the splitter acted as a bridge between the existing fog light and the stock harness.
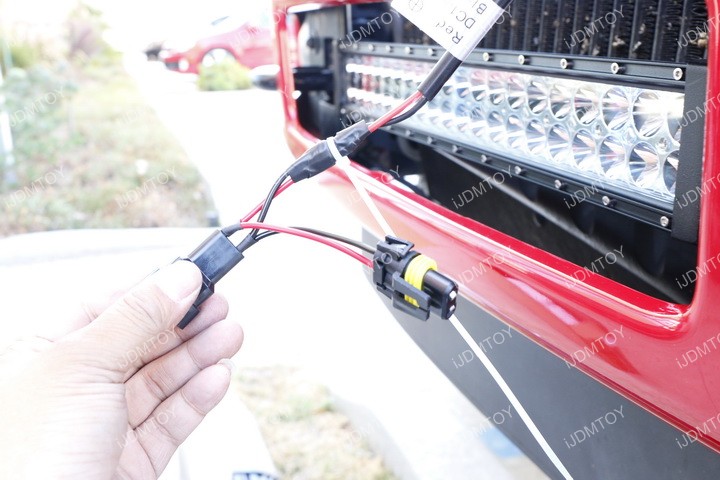
Make sure everything works and enjoy your new Ford F-250 LED Light Bar System.