Step by step on how to apply the JDM decal
You can find this product under JDM Decal
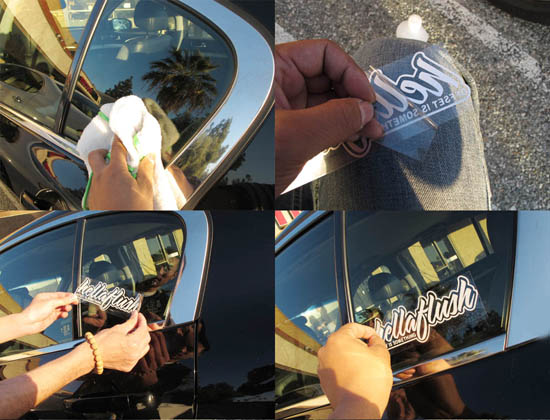
Step 1: Make sure to clean the area (window, bumper or car body) using wet cloth and let it dry completely. For best result, do not apply this JDM decal in extremely hot and cold condition and no strong windy condition as well.
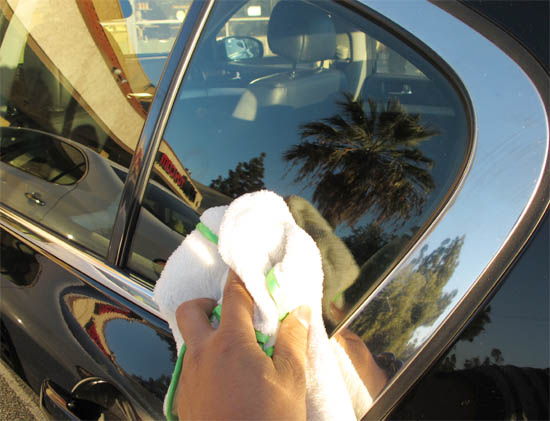
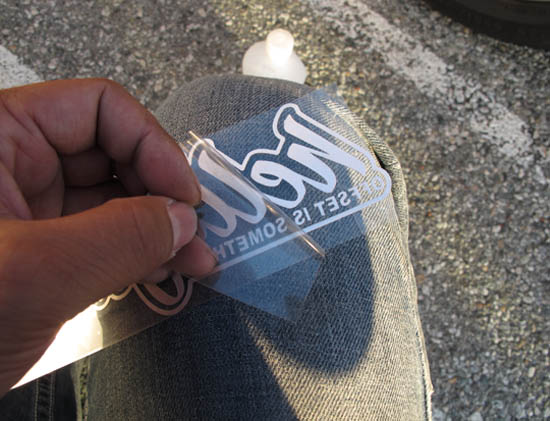
Step 2: Carefully peel off the back sheet off the decal slowly and make sure do not let any water or dirty get on the back of this decal.
When removing the clear plastic layer, some parts of the decal may be stuck onto the paper backing. If this happens, put back the clear film and firmly press the film and the paper backing together. Then try again and peel the clear film and paper away at the same time. The decal should now be stuck onto the clear film. Take your time!
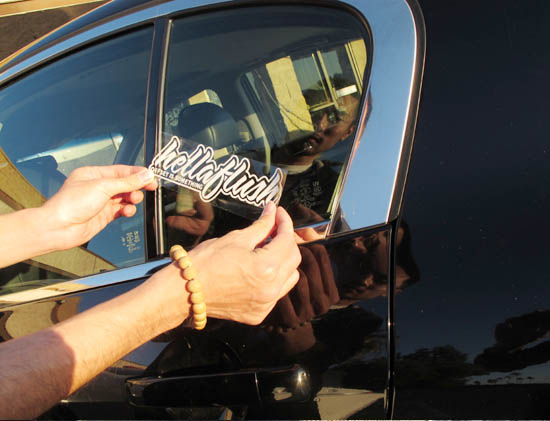
Step 3: Slowly apply this JDM decal to the desire area and remember keep it slowly to avoid any air bubble. Apply a little bit pressure once the decal sticks on to the area (you can use either a credit card or just your hand)
Step 4: Peel off the outer sheet. Also, please keep this step as slow as possible to avoid accidentally rip the actual decal off.
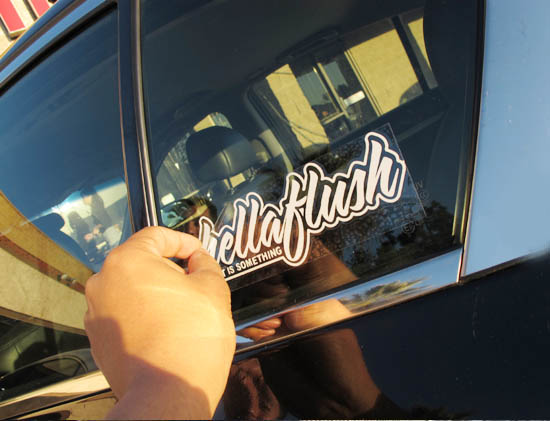
Step 5: Enjoy your new JDM Decal!
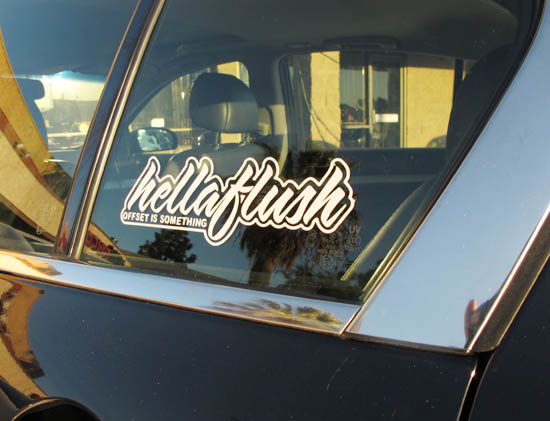
Easy removal without any residue.

