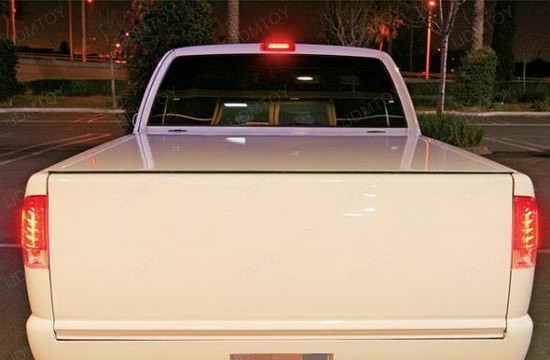
General Installation Guide on how to install aftermarket LED tail lights
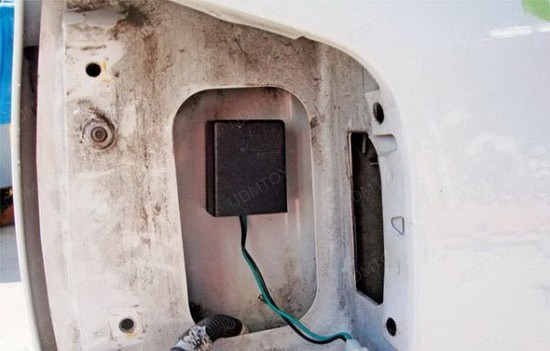
Step 1: Remove factory tail lights assembly. The tail lights for most cars are simply bolted on from the inside of the trunk. You just need to remove the trunk carpet cover and un-bolts the tail lights. Slowly move the loosed tail lights a little by a little to have the tail lights removed completely. Do not hurry on this step, because you might break any clips that are used to hold the tail lights from inside.

Step 2: Remove all the light bulbs from the factory tail light housing and disconnect any wiring harness connected to the tail light assembly as well. I will recommend you use the scotch blue tape to write down the turn signal lights, brake lights, backup lights and put on each set of wires so later when you put them back, you won’t get confused.
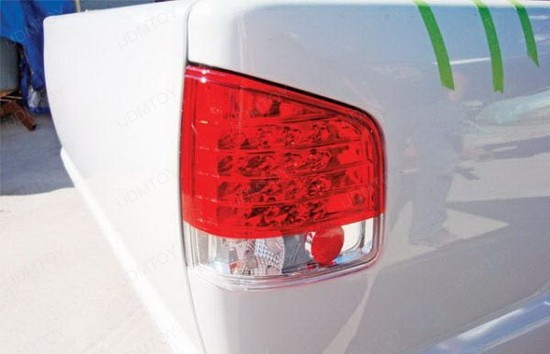
Step 3: Take your LED tail lights out from the box and try to put the tail lights back up just to make sure this is the correct part/side before you put all the bulbs back in.
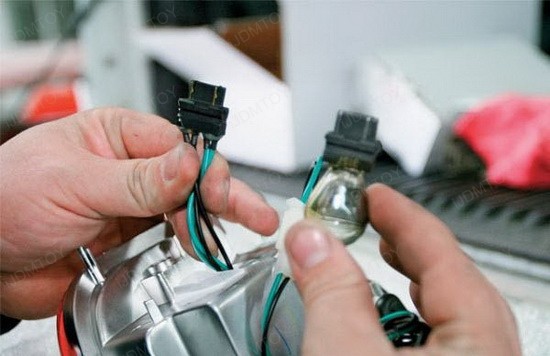
Step 4: Connect the aftermarket LED tail lights with the factory wirings. For most LED tail lights, for example the ones we carry at iJDMTOY.com, most of the sockets and plugs are already designed to be simply plug and play. However, if there are any hard wiring required. Simply connect the stock red wire to the LED tail light red wire, and black wire to black.
Step 5: Before have the LED tail light completely bolt-on back, test it first. Test the brake light, test the turn signal light and test the backup lights to make sure everything works. If unfortunately one of them does not work, inspect the connection, because this is the most common reason for a lamp not lighting up.
Step 6: Place the LED tail lights back into the original tail lights locations. Use the blue tape to hold the tail lights if you are doing this by yourself or have your buddy hold it for you so you can bolt it back. Don’t bolt the screw completely tighten in, because you want the tail light to completely back to the proper position, then tighten every screws.
Step 7: That’s it and enjoy your aftermarket LED tail lights!