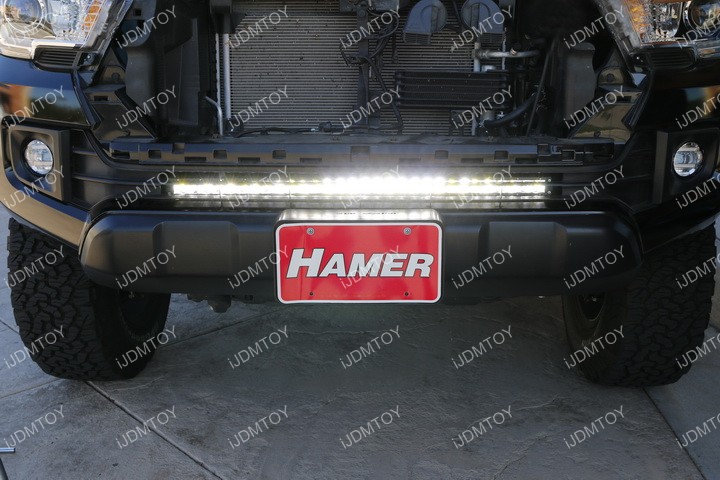
Check out the 2016-up Toyota Tacoma LED Light Bar System (35-916)
This Toyota Tacoma LED light bar kit comes with a set of specially designed metal mounting brackets so that you don't have to cut off any existing parts to install the assembly. Other brands on the market require you to cut off some portions of the front grille for installation, but iJDMTOY's mounting brackets allow you to keep the truck in original condition and require absolutely no modification, no drilling, no cutting.
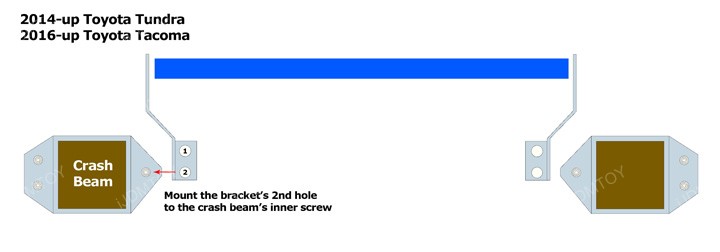
Before you get started, find the correct mounting holes to secure the LED light bar mounting brackets on. To best see the crash beams, remove the bumper and look at it facing the front side. Because you will be installing this onto a 2016 or later Toyota Tacoma, you will be mounting your metal mounting brackets onto the inner mounting location by the support bracket's 2nd hole. The Toyota Tacoma should have 2 mounting holes on the outer side of the crash beams.
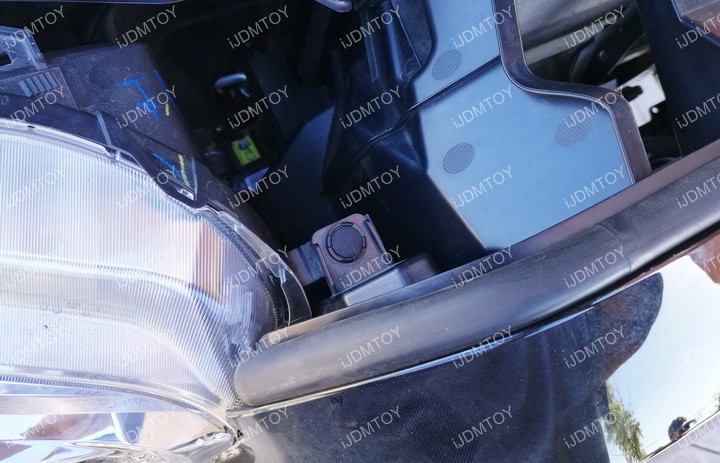
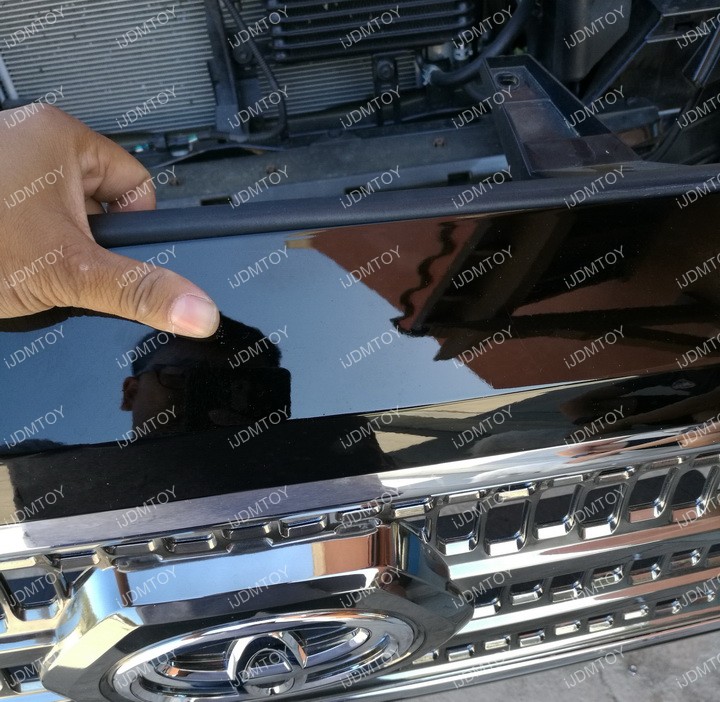
Step 1: Remove the front grille.
The front grille is held on by 2 bolts and 2 clips, one set on each side next to the headlights. Remove the bolts and clips and then you can also remove the grille by pulling it up and back.
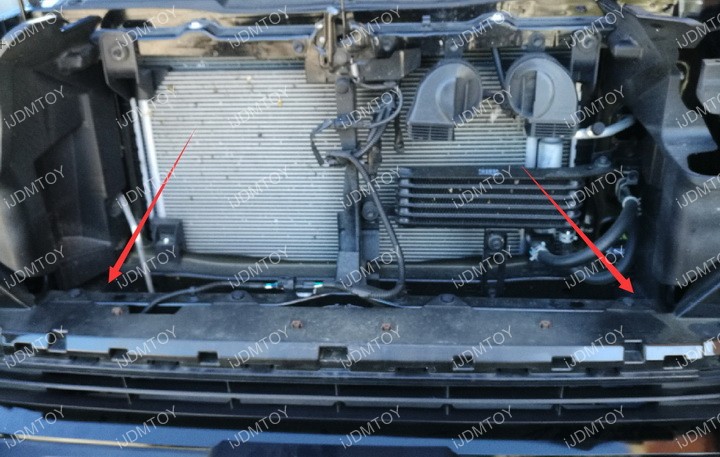
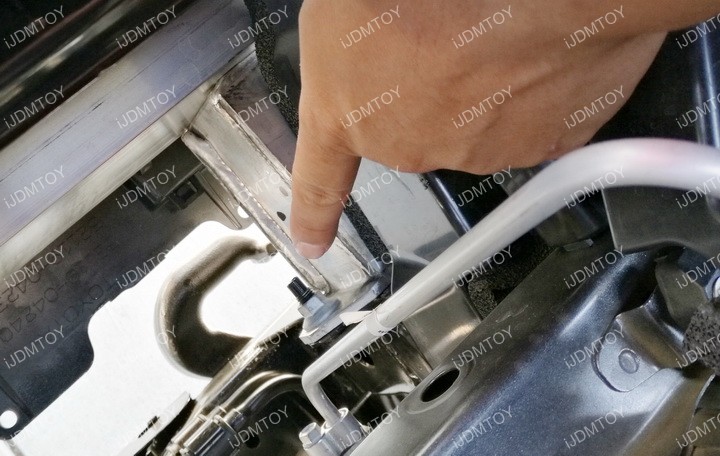
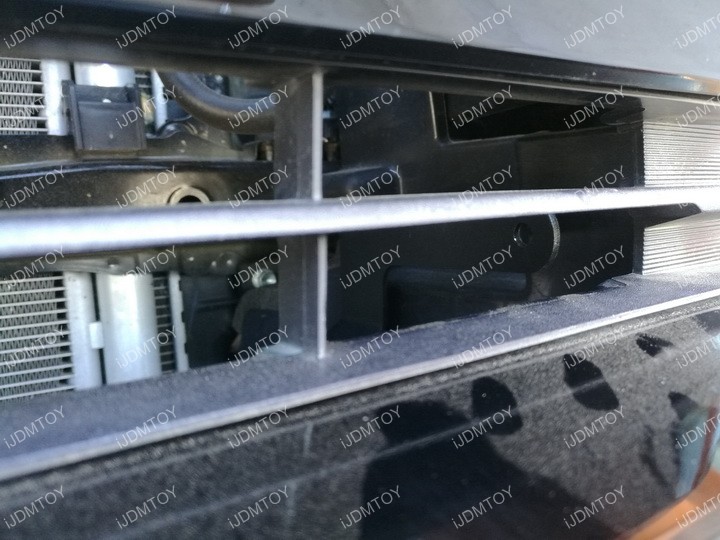
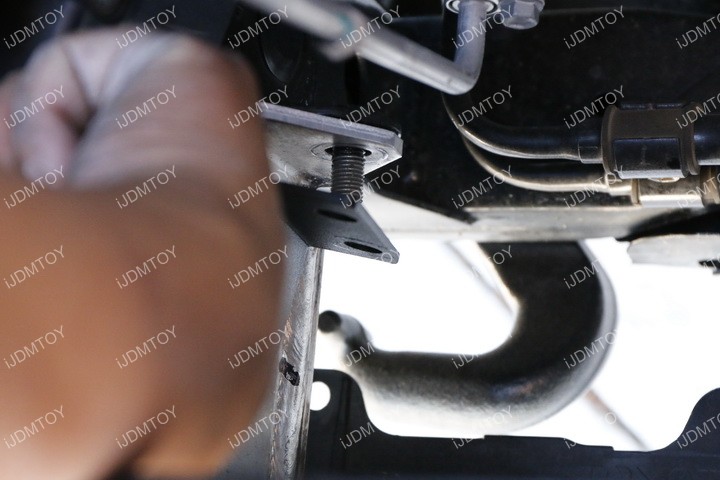
Step 2: There are two bolts holding the crash beam support on both ends of the truck.
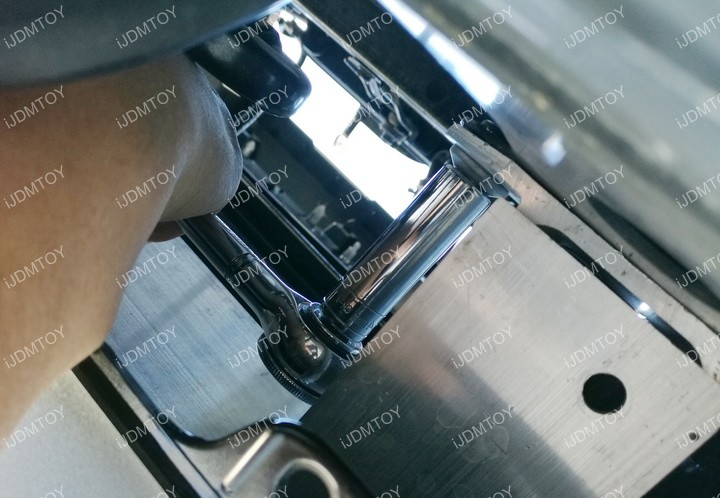
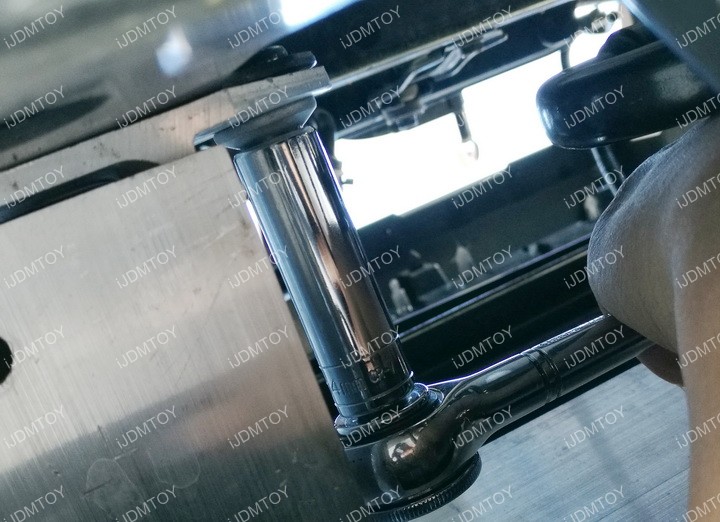
We are going to focus on the side of the crash beam support that has the singular black bolt. Unbolt using a #14 wrench. You can take this time to unbolt both the singular bolt on the driver and passenger side.
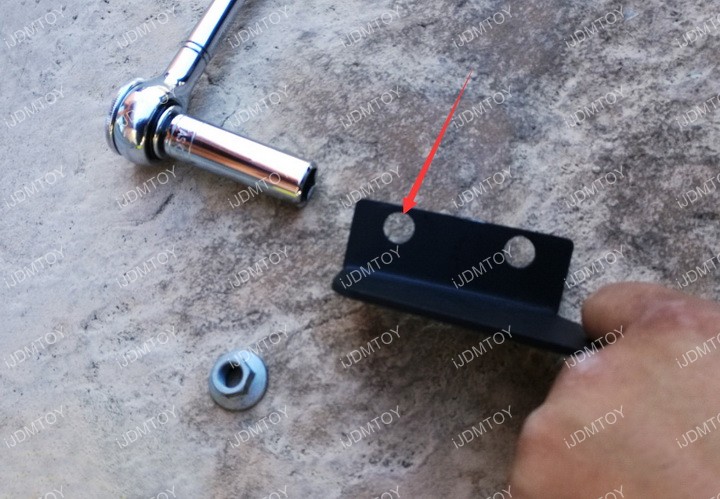
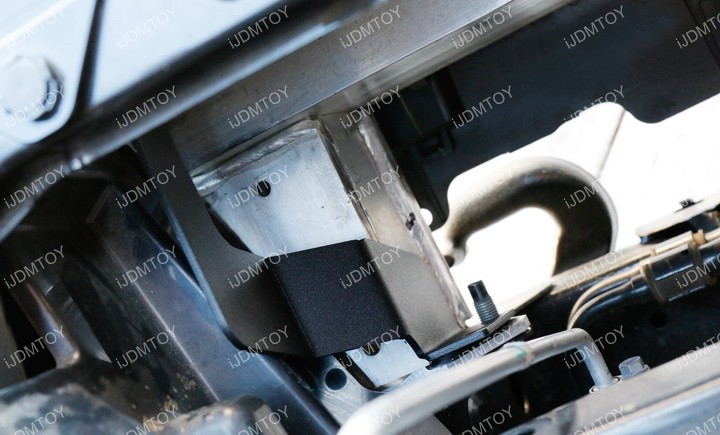
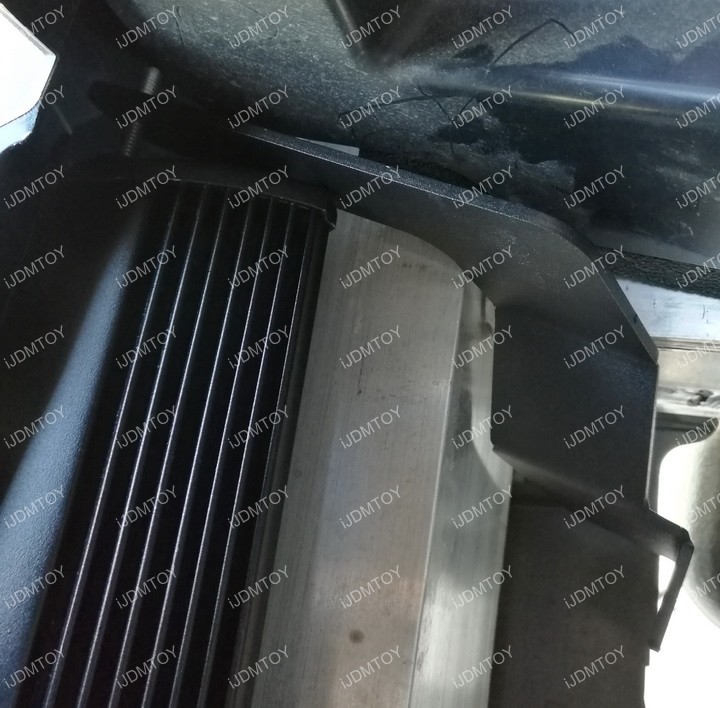
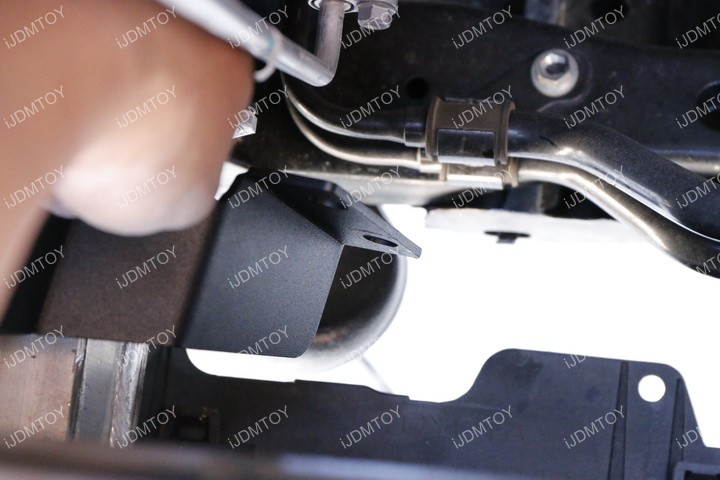
Step 3: Time to mount the metal bracket. We will focus on the driver's side first. Mount the metal bracket on the lower hole to the exposed singular screw from the last step. You will have to use the lower hole or the LED light bar will not be visible. Make sure that the long arm of the bracket is tilted outwards like the picture below.
Refer to the crash beam diagram as a visual guide. Your Toyota Tacoma should have 2 mounting holes on the outer side of the crash beams.
Loosely mount the metal brackets, so that you can adjust the angle and have some wiggle room later.
*Note: Make sure you only mount ONE bracket at this time. If you mount the two brackets simultaneously, it will be impossible to insert the LED light bar in between, due to the longer screws on the side of the assembly.
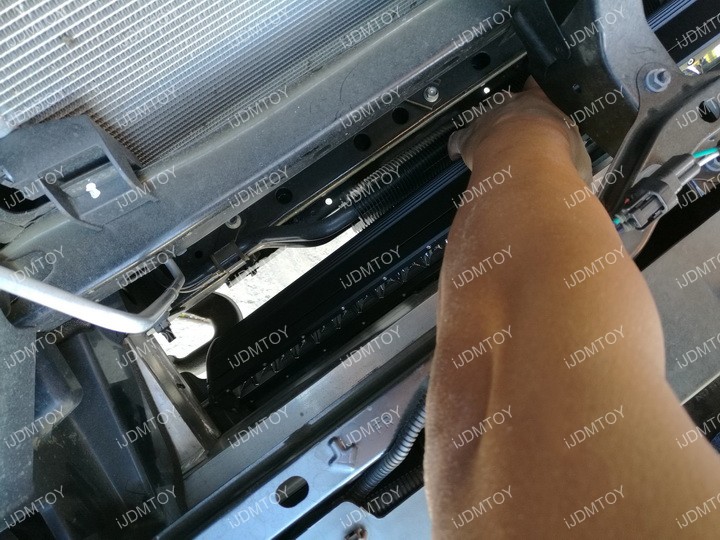
Step 4: Now take the LED light bar and slide it underneath through the side opening. Be patient and slowly slide and tilt the LED light bar into place. Once the light bar is in a good position, poke the end into the mounting bracket hole. Don't secure the LED light bar and bracket yet, we will be doing that later.

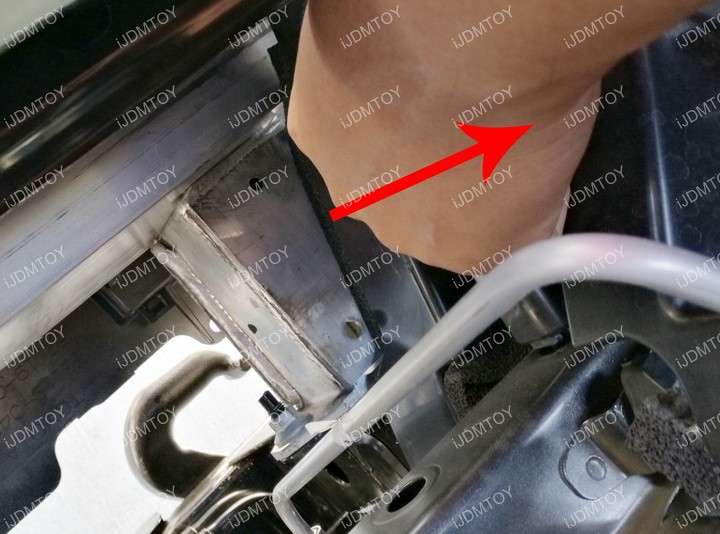
Step 5: Shimmy over to the passenger side of the truck to work on the other end of the LED light bar. Slip the LED light bar into hole in the long arm of the mounting bracket.
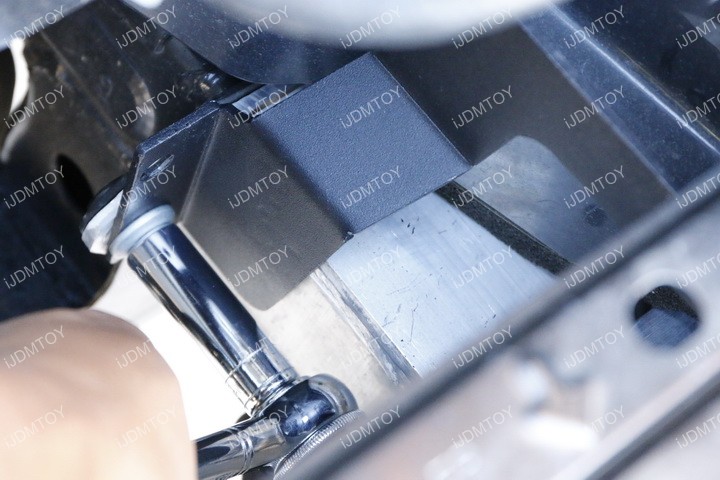
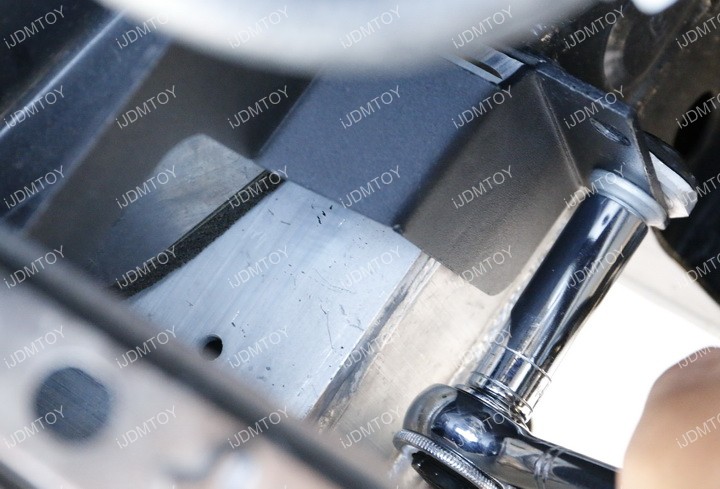
Lift up the bracket and the edge of the LED light bar so you can reach that singular screw on the support crash beam.
Bolt the mounting bracket via the lower hole onto the singular screw.
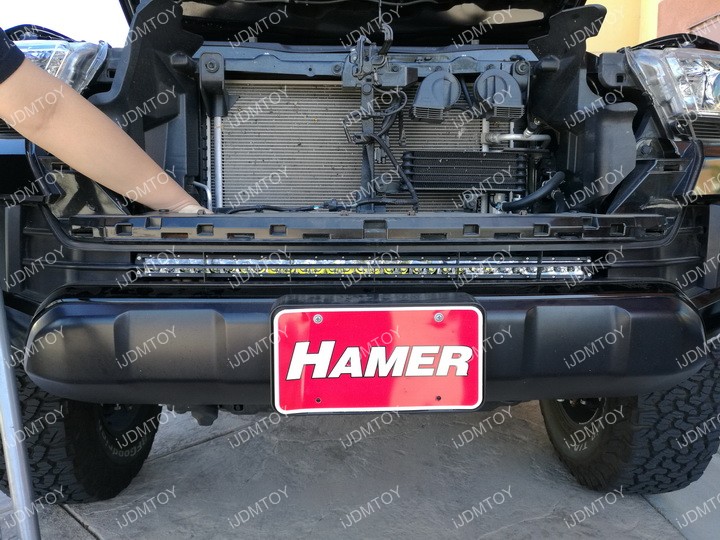
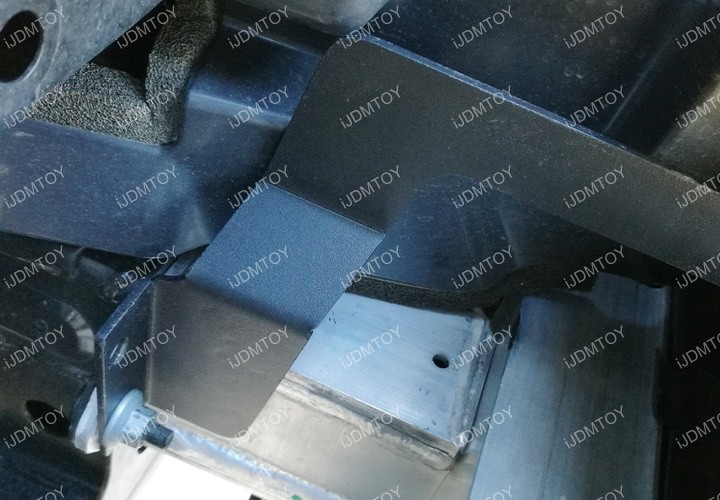
Step 6: Bolt the LED light bar in place.
Make sure the metal mounting brackets are secured onto the vehicle and make sure the LED light bar is secured onto the metal mounting brackets. If you need some hand space, there are two pieces of flexible plastic on each end of the crash beam area that you can push out the way so you can screw the light bar in tighter.
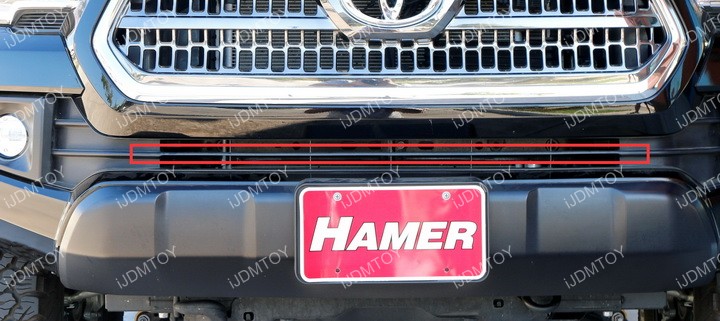
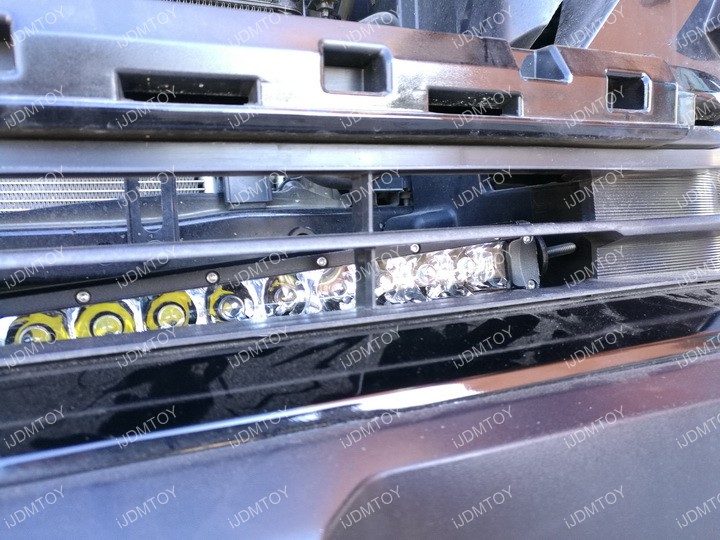
You will notice that the specially designed holes on the bracket allow the LED light bar to sit at the bottom portion of the lower grille opening so it will not be blocked by the grille beam lines and will sit flush to the bottom edge.
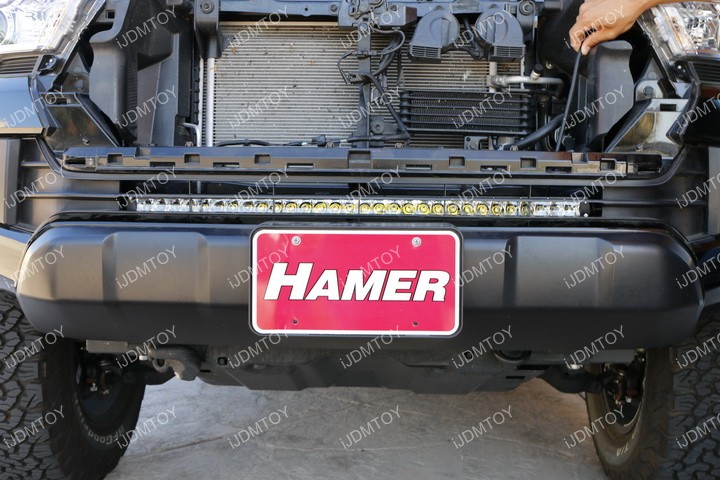
Step 7: Once everything is secured, you may connect the wires to power up the LED light bar.
If you have an additional wiring harness with switch, you can check out the Truck LED Lamp Wiring Guide for instructions.
Step 8:When wiring is completed, put back all the components you removed in the beginning, like the front grille.
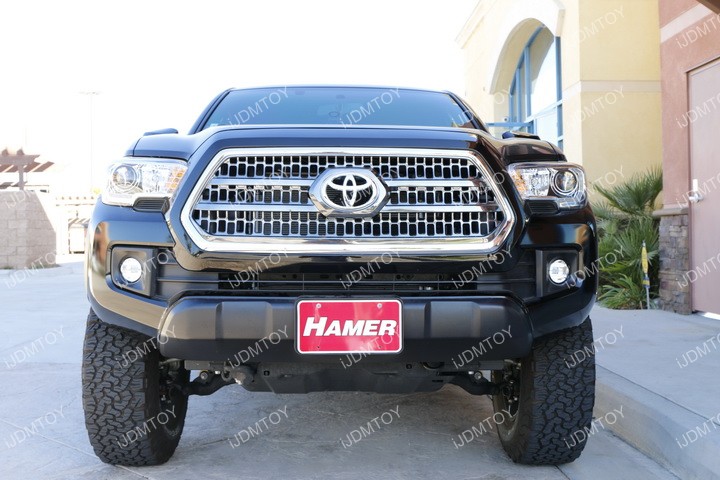
Test to make sure everything works and enjoy your new Toyota Tacoma LED light bar.