You can find these products under Direct Fit LED Daytime Running Lights
This general installation guide will show you how to install most of our direct fit LED daytime running lights. Because many of them are similarly designed, their installation processes are also very similar. Your miles may vary depending on your vehicle as it may or may not require more steps.
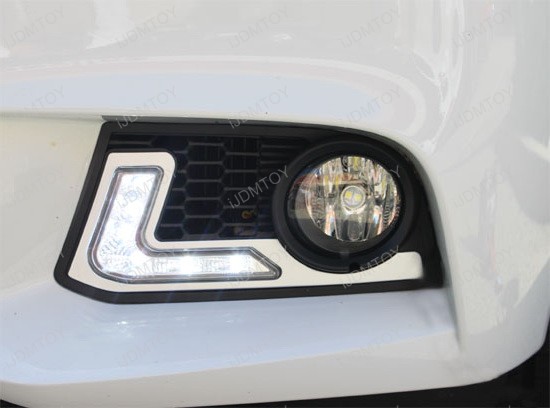
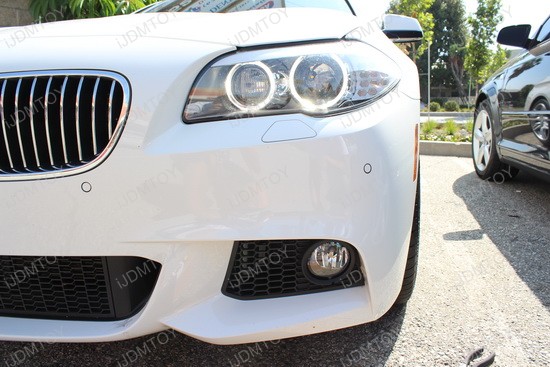
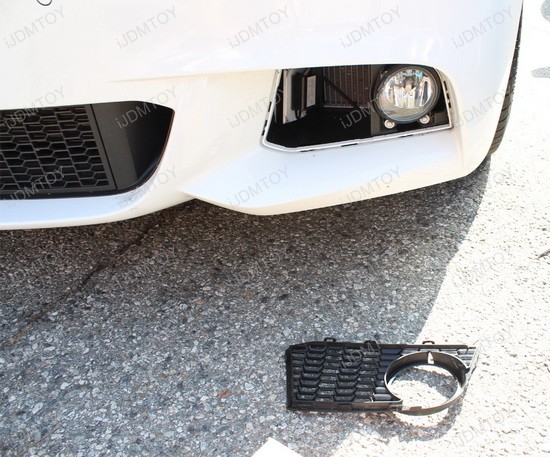
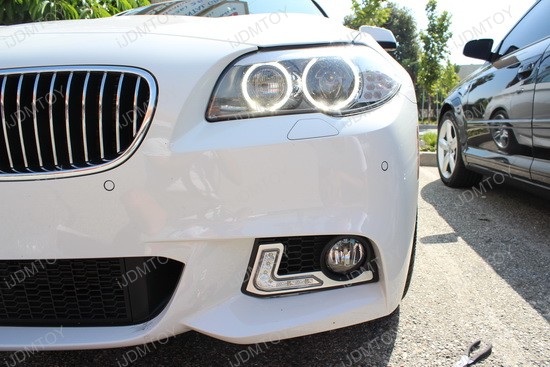
1.) Locate the factory fog light bezel or the lower bumper mesh insert area.
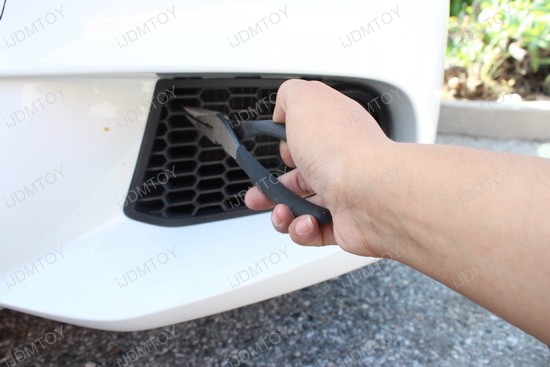
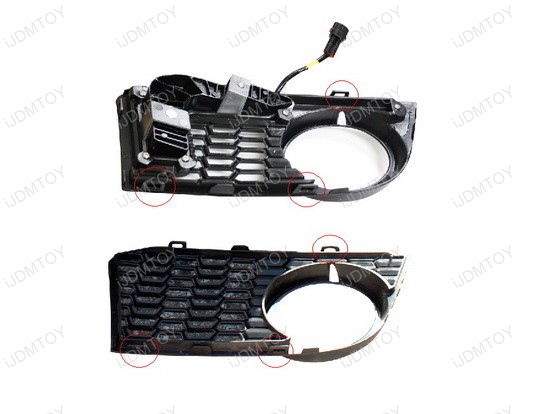
2.) Using pliers, take a firm hold on the bezel and pull. These bezels are typically held by plastic clips and is meant to be pulled off as so. However, please keep in mind that some vehicles such as the Mercedes-Benz W204 C-Class uses both screws and clips. You can easily see the screws if the bezel/mesh insert require the screws. Inspect your vehicle for these screws and clips before proceeding to avoid any damage from occurring.
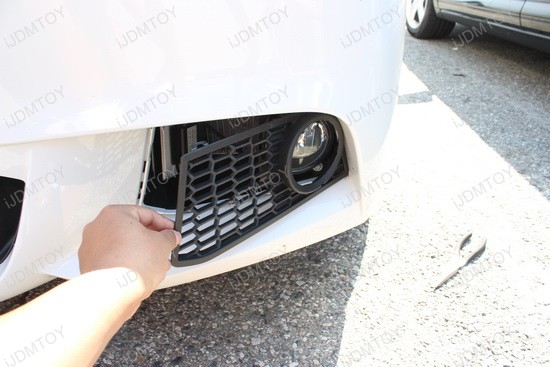
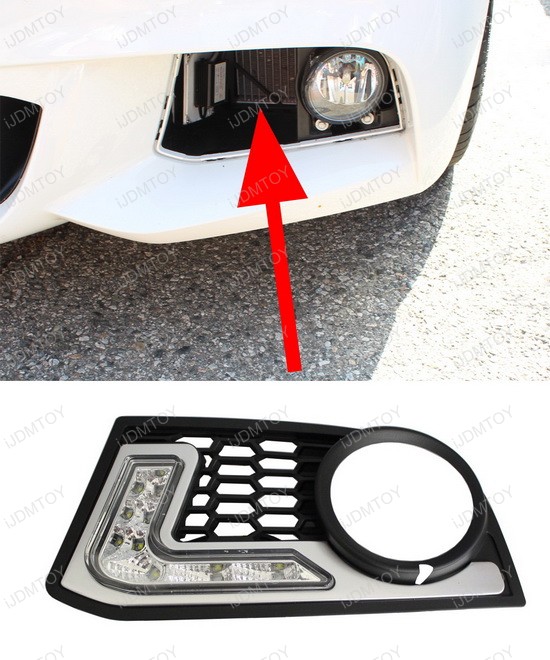
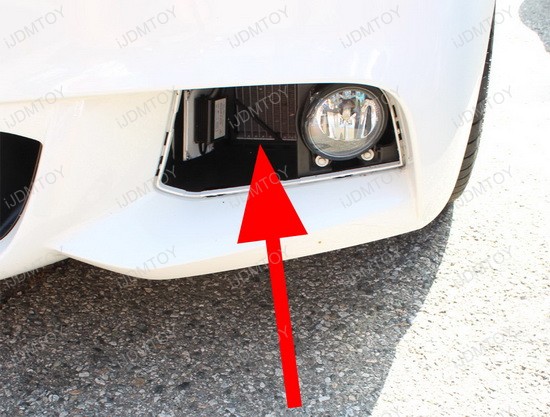
3.) Route the wires of the LED daytime running lights through the hole and up to the engine bay. Having the engine cooled down will help considerably in this step to avoid burning your hands and arms. Install the LED DRL lamp into the factory location by snapping the clips back in. Since the direct fit LED lamps are designed for the specific vehicle, little to no modifications are required.
4.) Wire the LED lamps according to the wiring tags on your new iJDMTOY LED daytime running lights. Most of the direct fit LED lamps have the wiring guide stated on the module box as well as the individual tags on the wires. This is the most common wiring setup:
One wire to ground, and one wire to ACC or any 12V power source such as parking lights or side marker lights => LED DRL turns on when the triggering receives power
5.) Repeat the same procedure on the other side and enjoy your new direct fit LED daytime running lights!