


You can find this exact fit Mazda3 LED daytime lights (70-731) here.
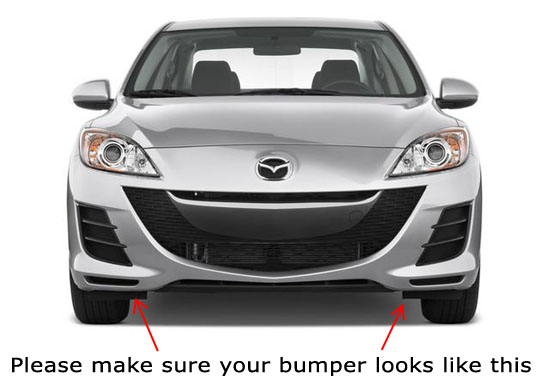
1) Please first make sure your Mazda 3 bumper looks like this
2) Prior to installing, please connect the LED Daytime Running Lights to the harness and temporarily touch the WHITE (Positive) and BLACK (Negative) wires from the Auto DRL switch to the car battery and turn on the vehicle to make sure that the LED DRL turn on and work properly.
3) After checking that, please remove your Mazda3 front bumper. There may be several clips on the bottom of the bumper, on the side near the fenders, and on the top underneath the hood to be removed.
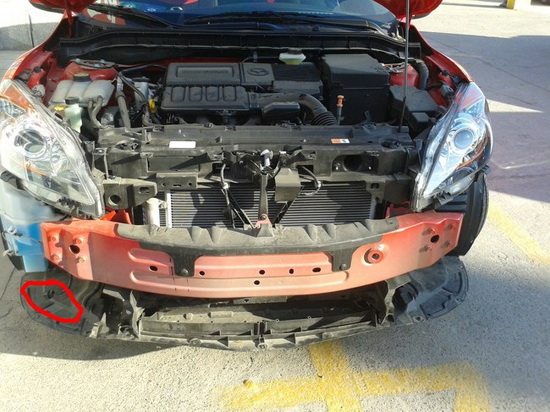
4) Once you have the front bumper removed, locate the passenger lower portion of the bumper where the LED DRL light is supposed to be installed at. There should be a plastic cover that will have to be removed away to allow the LED lamp to fit into the hole.

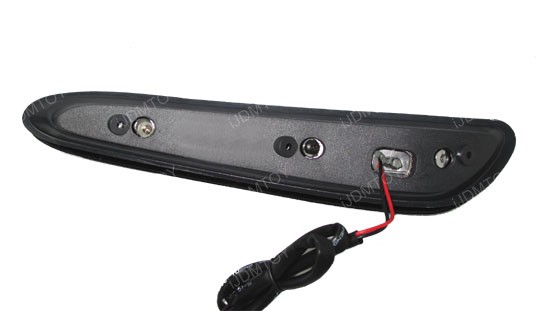
5) Use the 6 Phillips head screws that attach the black bezel to the back of the LED DRL lights and remove the bezel.
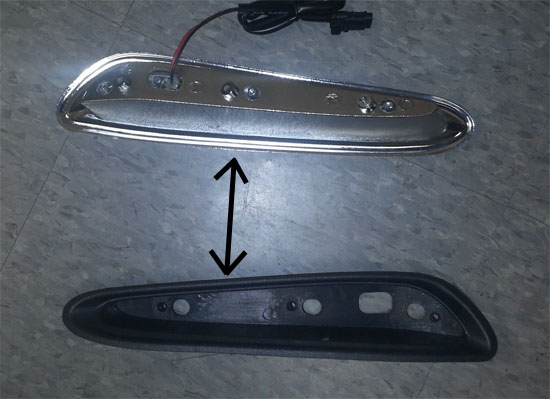
6) you will have to trace out the general outline of the size of the chrome LED lamp from the back of the bumper. Once you have traced it, cut away the plastic using a dermal tool (it is better to start off small than too large of a hole). Once the hole is large enough insert the LED lamp from the front of the bumper and attach the black bezel portion using the 6 Philips head screws to clamp the LED lamp to the bumper securely.
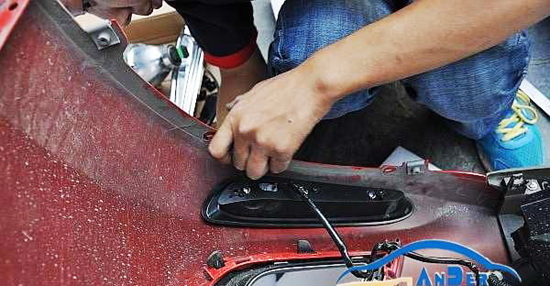
7) Route the wires up to the engine bay and tap the module box wiring according to the installation guide.
8) Mount the module box near the battery of the vehicle where ever it can sit securely.
9) Re-install back the bumper and enjoy your new LED DRL lights!