


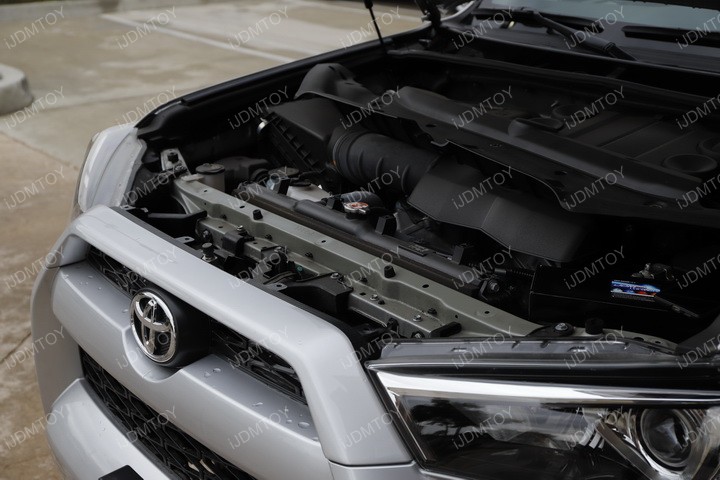
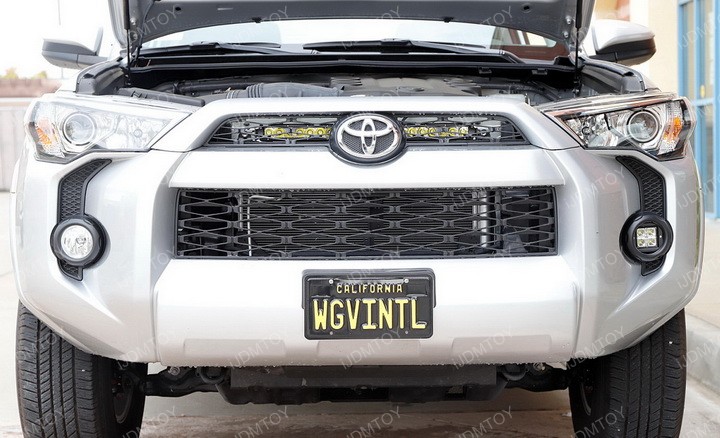
Congratulations on having one of the most popular vehicles for off-roading! Not only is it popular for off-roading but is also a daily driven SUV. This LED light bar was specifically made so there are no modifications or drilling required. You will also still keep the stock look for your everyday car by having this installed behind the grille. The LED light bar will sit on the same level as your headlights to give you the most lighting output. Here is how we recommend installing this Toyota 4Runner behind the grille LED light bar.
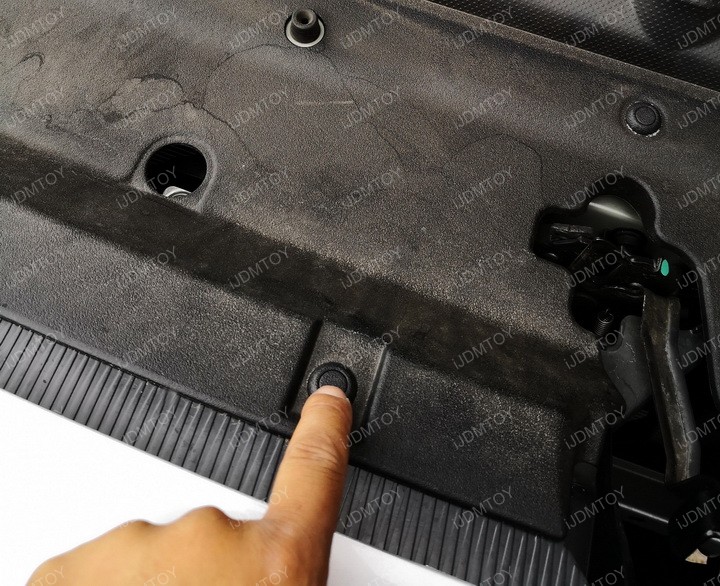
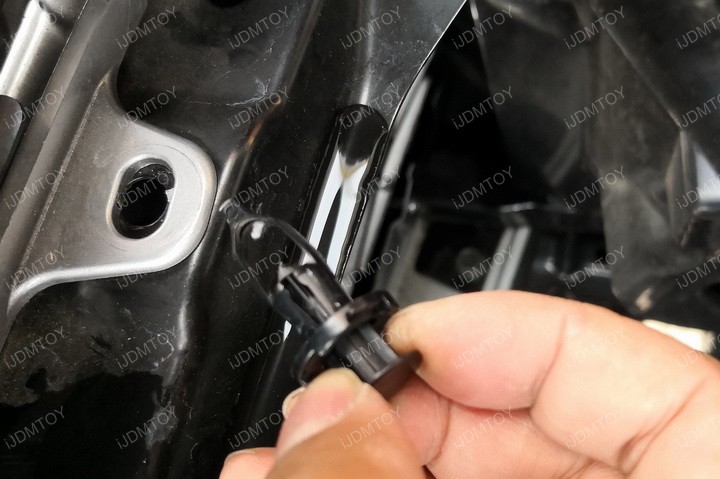
Step 1: To start the installation, we must first remove the panel cover. In the first photo, you will see the panel cover has been removed. In order to do this, the plastic fasteners must be removed from each side as seen in figure 1.2. Once the plastic fasteners have been removed, gently lift up the panel and place aside.

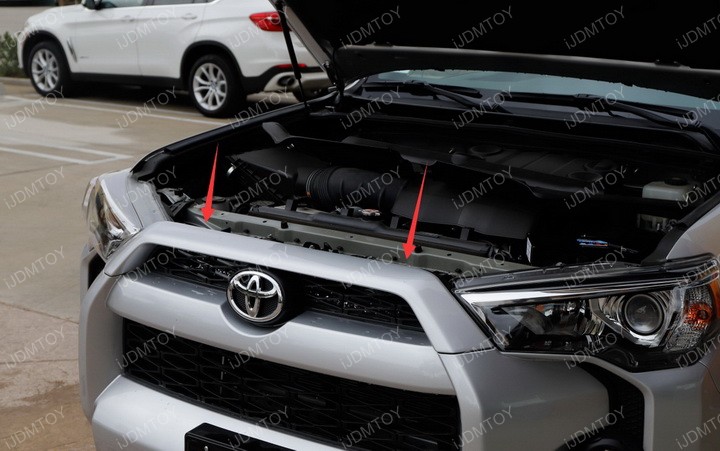
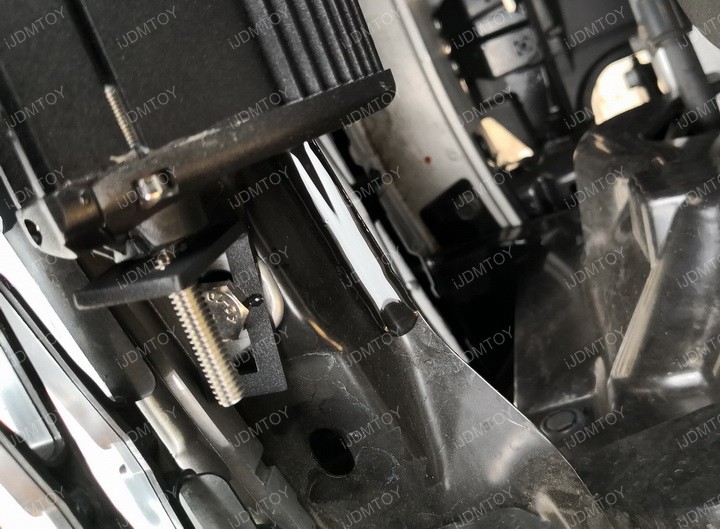
Step 2: After removing the panel cover, there are two additional fasteners that need to be removed as well in order to mount the bracket to install the LED light bar. There is one plastic fastener on each side.
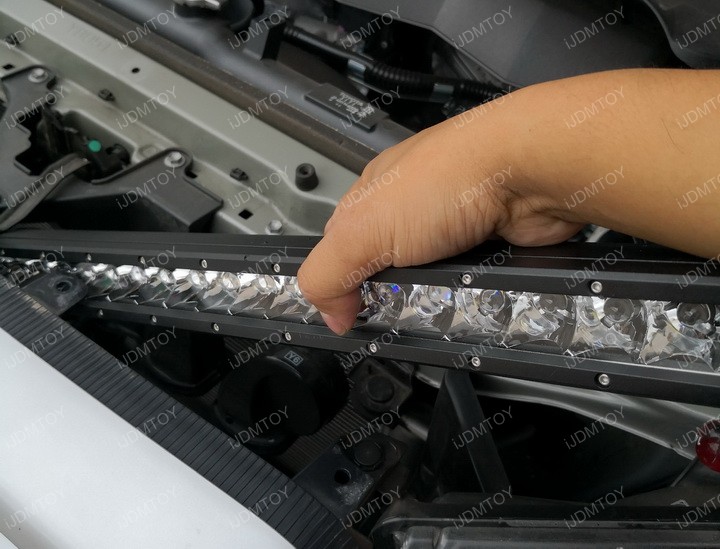
Step 3: Gently slide the light bar into the opening as seen in figure 3.1 and place down. Please be sure you are extra careful while attempting this to prevent any scratches and affect the appearance.
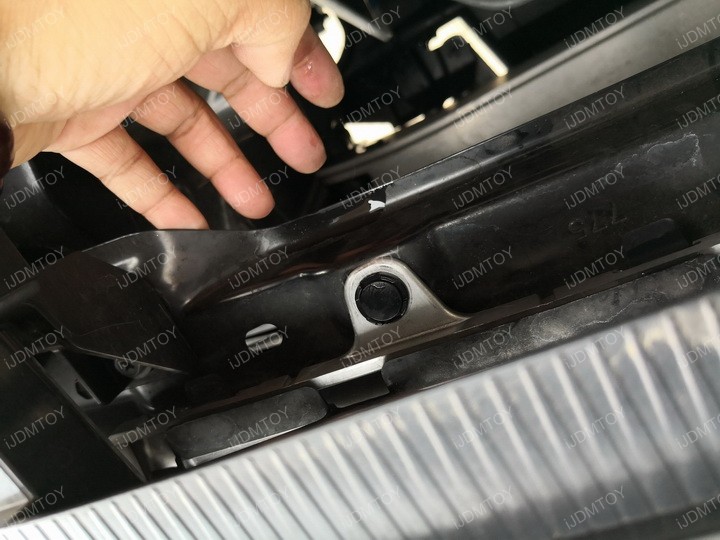
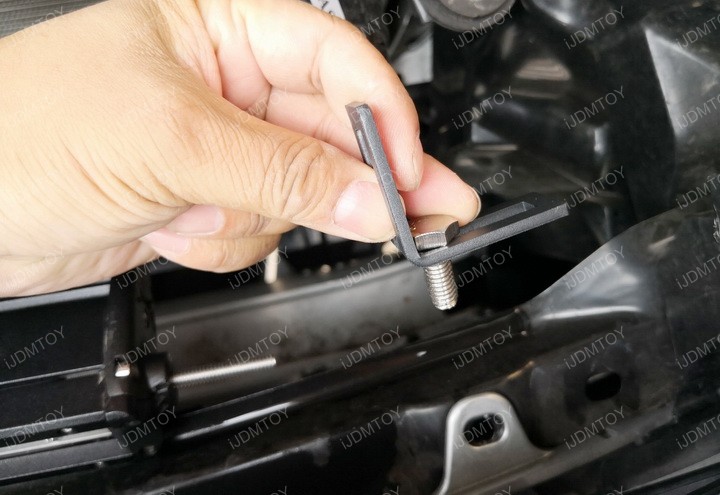
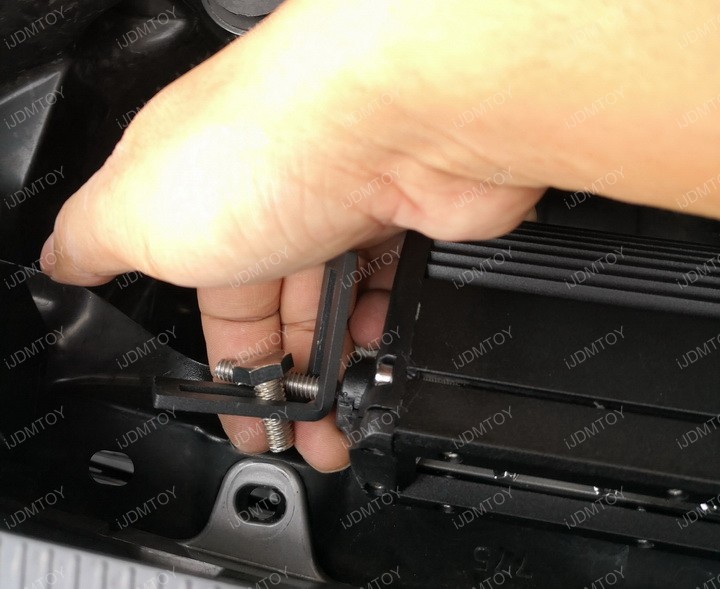
Step 4: Next, we move onto the mounting brackets and hardware. Start off on the driver side by grabbing the L-shaped bracket and a bolt. Once the bolt has been inserted in the L-shaped bracket, slide the bolt into the mounting hole where your plastic was located before (mounting hole as seen in figure 4.1). You can place a nut to secure the bolt but do not screw it all the way. You will need to leave it loose so have access to adjust the light bar for the following step. Also, please do make sure the bolt coming out the light bar is going through the bracket as well.
Step 5: Once that is done, we can move on to the passenger side. Please have the bolts and bracket arranged as seen in figure 5.1. Gently slide the bolt into the mounting hole location. Once the bolt is in the mounting hole, adjust the light bar how you would like it facing out.
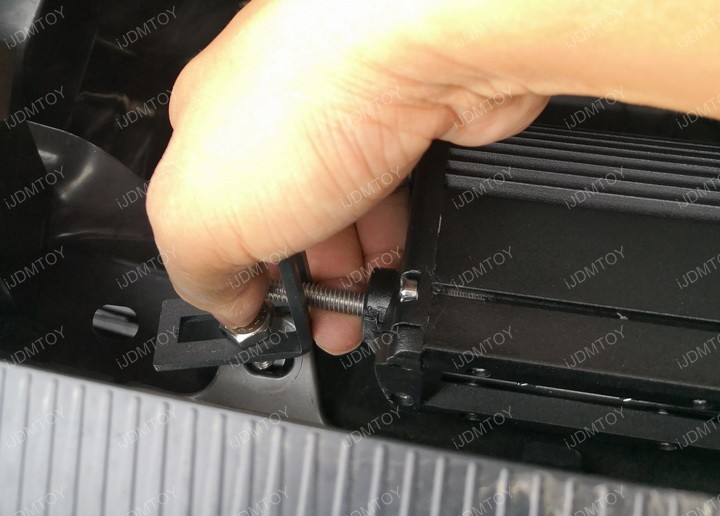
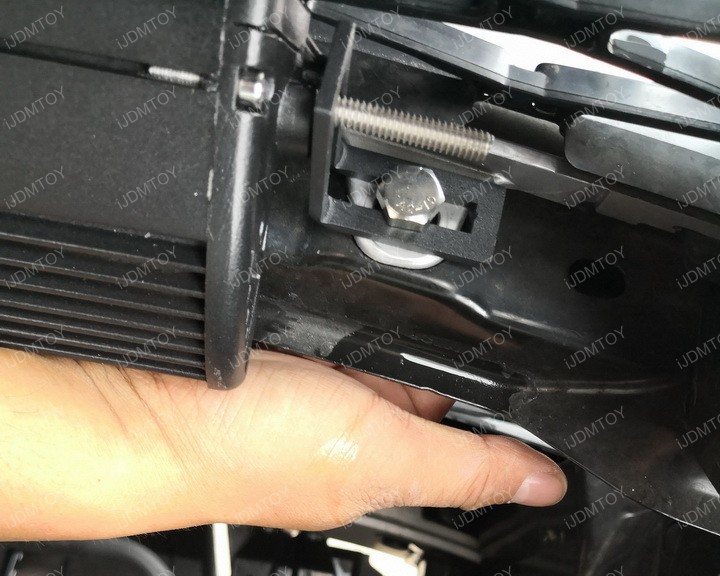
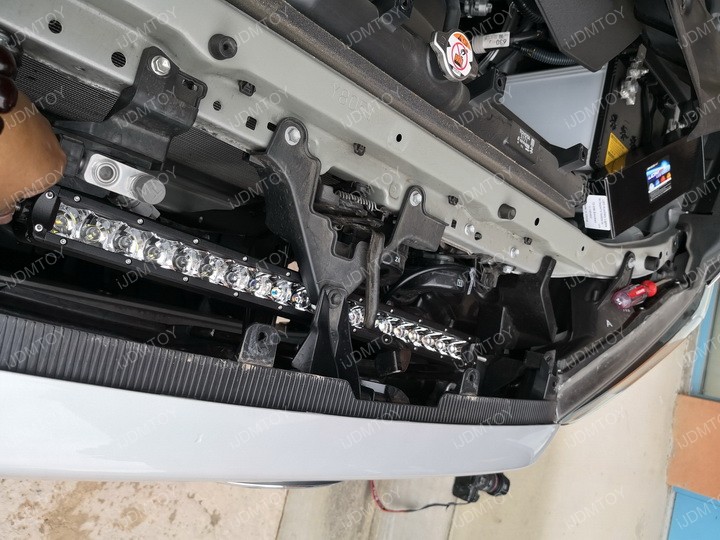
Step 6: Next, we fully secure all 4 bolts with the nuts included. We will also slightly adjust the LED light bar to make sure it aligns perfectly in the center and evenly leveled on each side.


Step 7: After the LED light bar is completely installed, now we are going to install the relay wiring harness w/ the switch. Please visit how to install truck lighting relay wiring harness for more details.
As you can see, when it comes to installing the behind the grille LED bar, it is extremely simple. The installation is a one person job that can easily be done in about 30 minutes and will give you the maximum lighting out.
Find this and more offroad truck LED lighting today!