


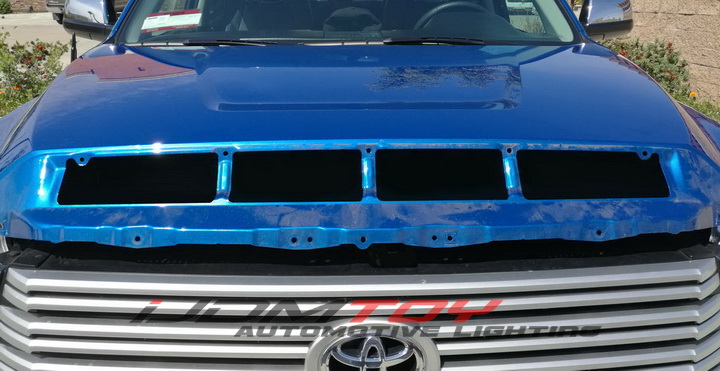
This tutorial will show you how to install the hood scoop mounted LED light bar for 2014-up Toyota Tundra (35-965). This LED lightbar will utilize the empty space above your grill to provide high output lighting.
Before you begin, we highly urge you to read our directions carefully. Installing this LED light bar will involve some alteration or modification. Bending or cutting off the three bars in the exposed hood scoop area ensures that the LED light bar can line up with the hood scoop opening to shine through. If you don't bend or cut the three bars, you will seriously scratch LED light bar surface trying to force it in, which WILL void the product warranty; no returns or exchanges can be made once you scrape the surface.
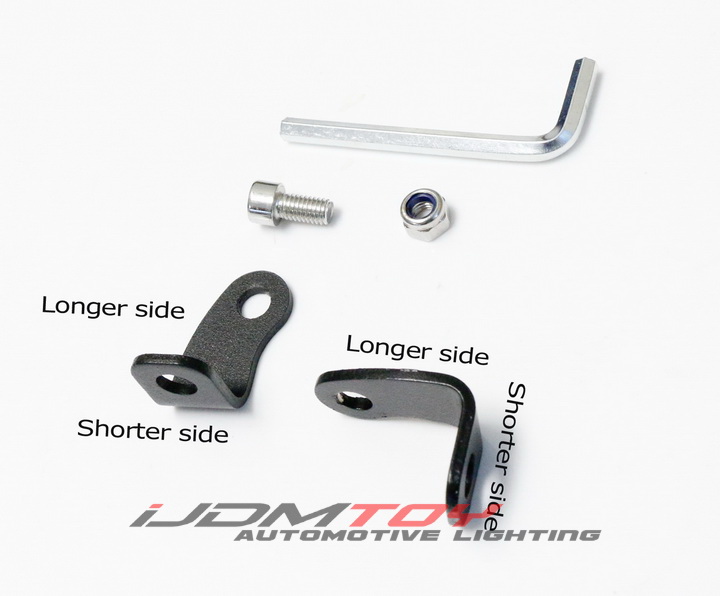
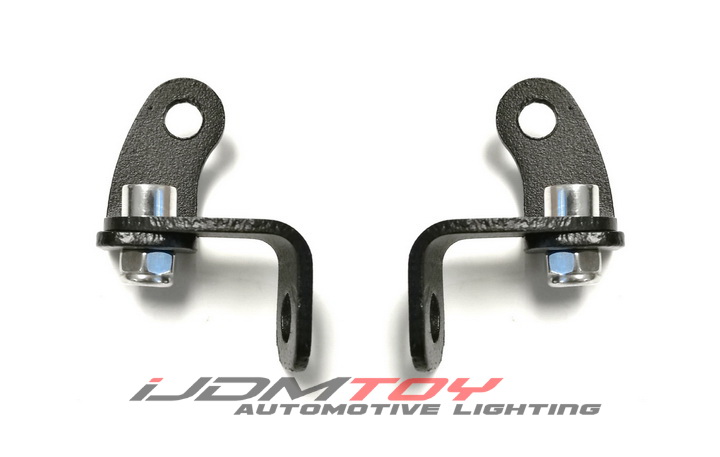
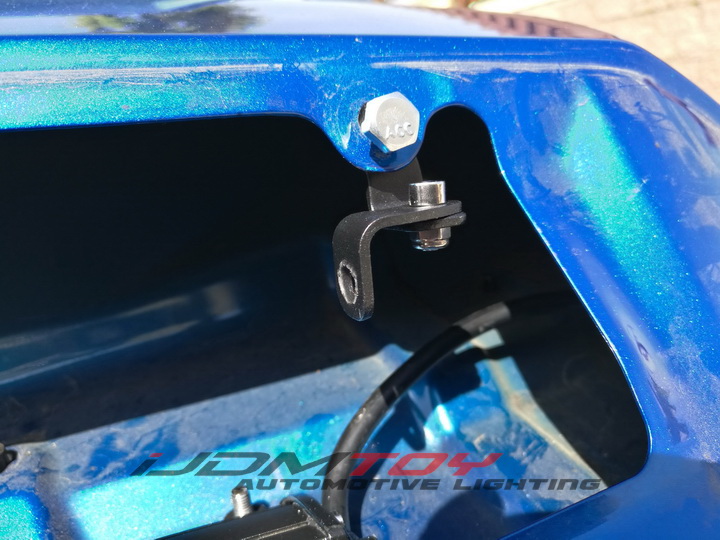
Step 1: Preassemble the mounting brackets. Align the longer end of one L-shaped metal bracket to the shorter end of another. Secure the connection with the M6 screw (Since 2019, we have started to supply a longer M6 screws comparing with the ones on the image, which can make the installation easier). .better)
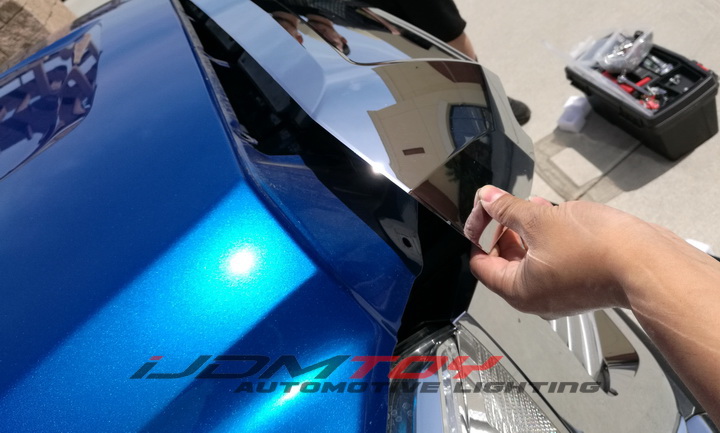
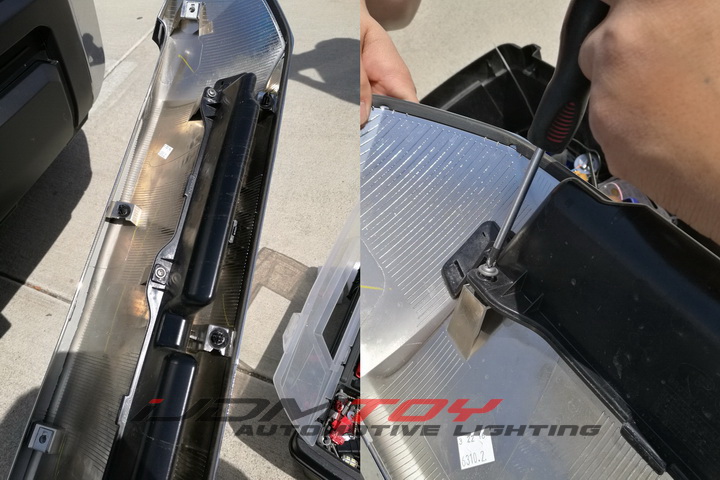
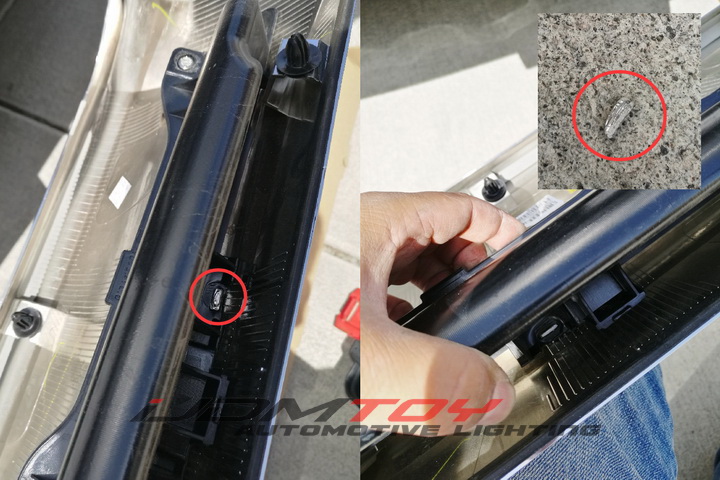
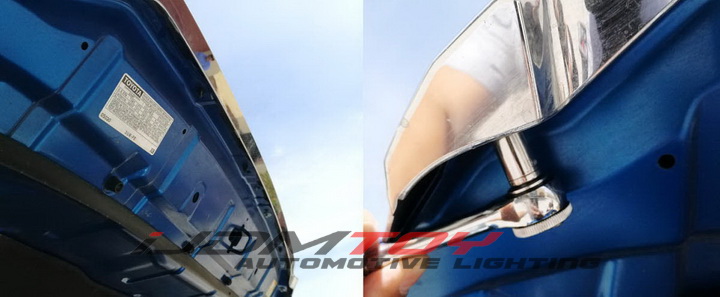
Step 2: Open the hood and remove the three screws holding the hood scoop to the hood. Pull off the hood scoop.
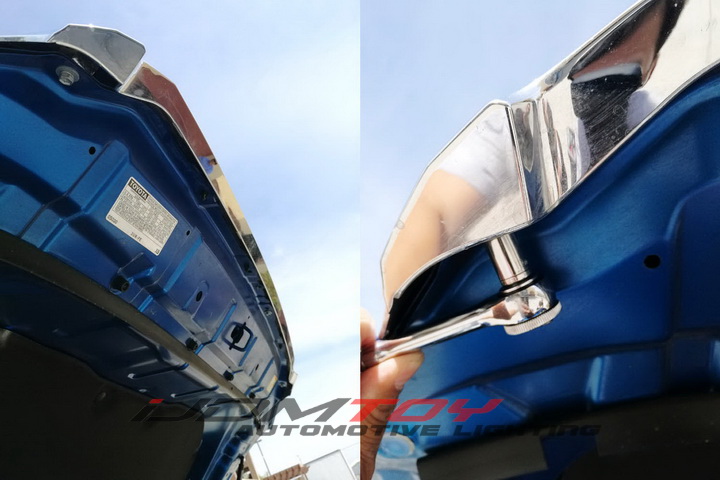
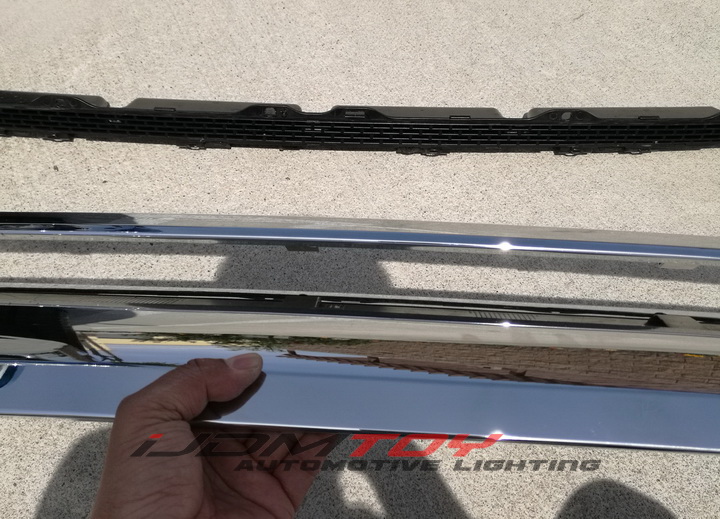
Unscrew the bolts holding the black piece in the hood scoop and pull it off using a bit of force.
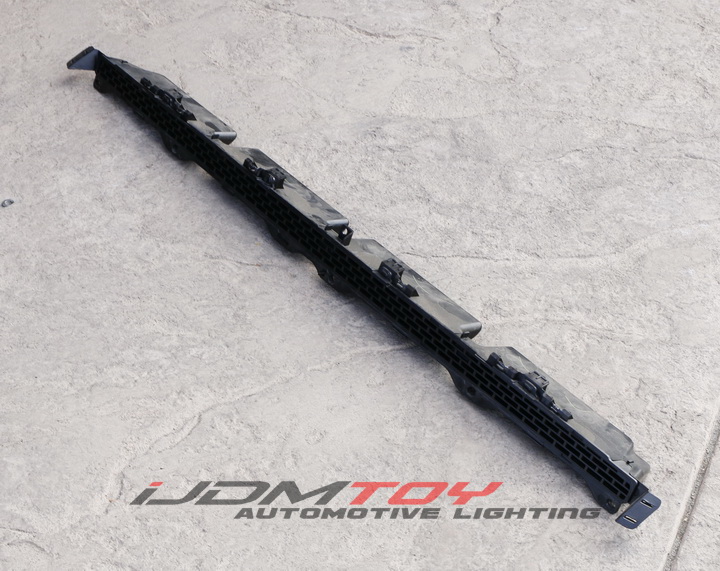
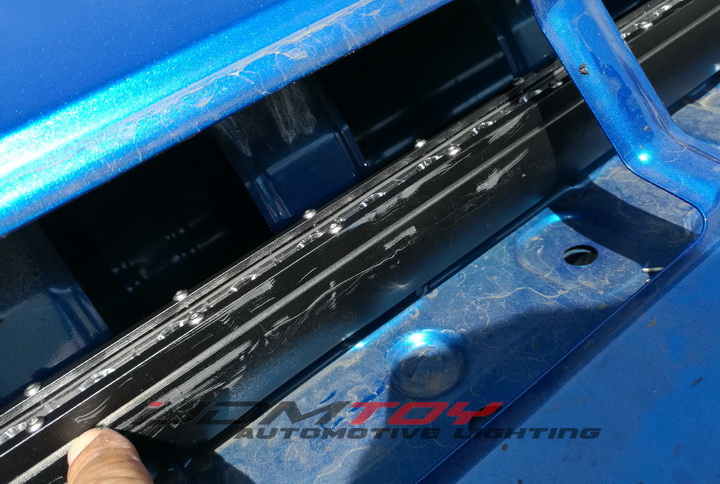
Step 3: Now that the hood scoop opening is exposed, you can simply bend the three beams in the exposed hood scoop area using your fingers.
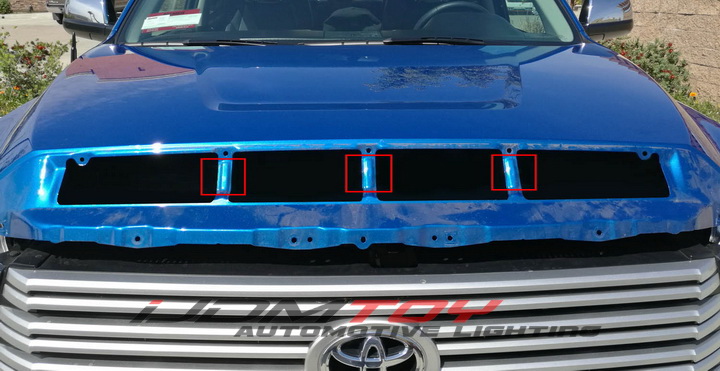
You may also completely cut off the three beams.
Bending or cutting off the three bars in the exposed hood scoop area ensures that the LED light bar can line up with the hood scoop opening to shine through. If you don't bend or cut the three bars, you will seriously scratch LED light bar surface trying to force it in, which WILL void the product warranty; no returns or exchanges can be made once you scrape the surface.
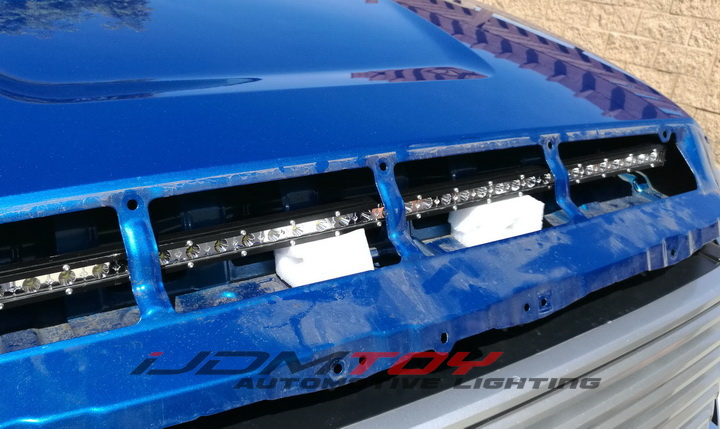
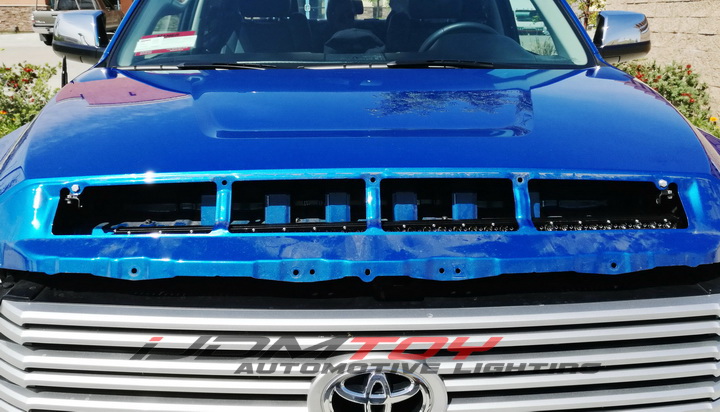
Step 4: Mount the LED light bar. Slide in the LED light bar with the wires on the driver's side. You may use the styrofoam in the packaging to hold up the LED light bar to prevent cosmetic damage before you mount it.
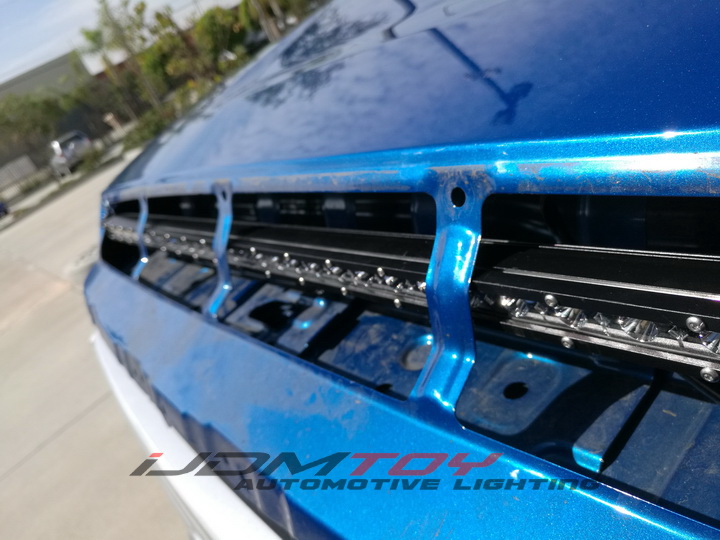
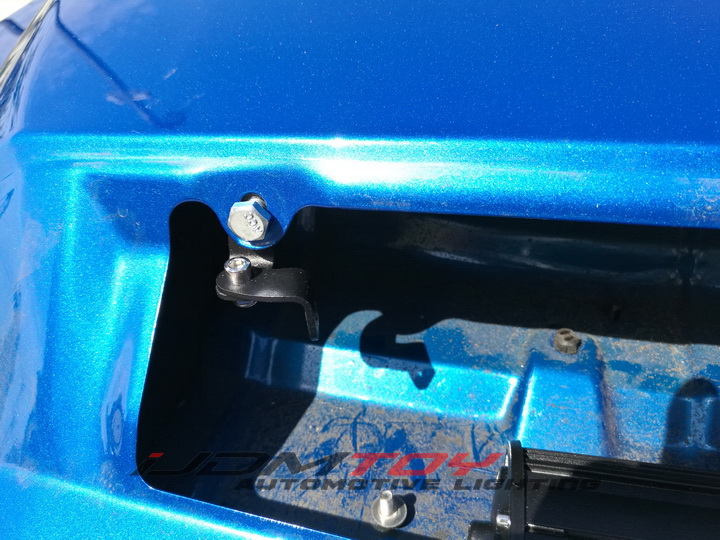
Bolt in the preassembled mounting brackets to the two outer holes of the exposed hood scoop area.
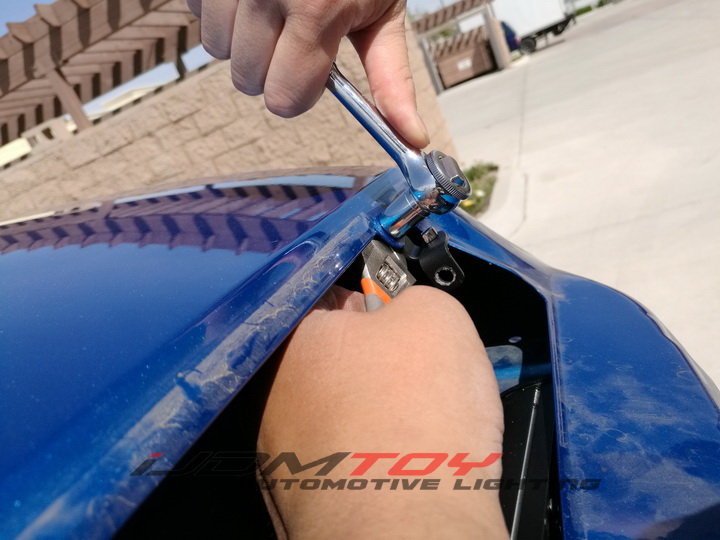
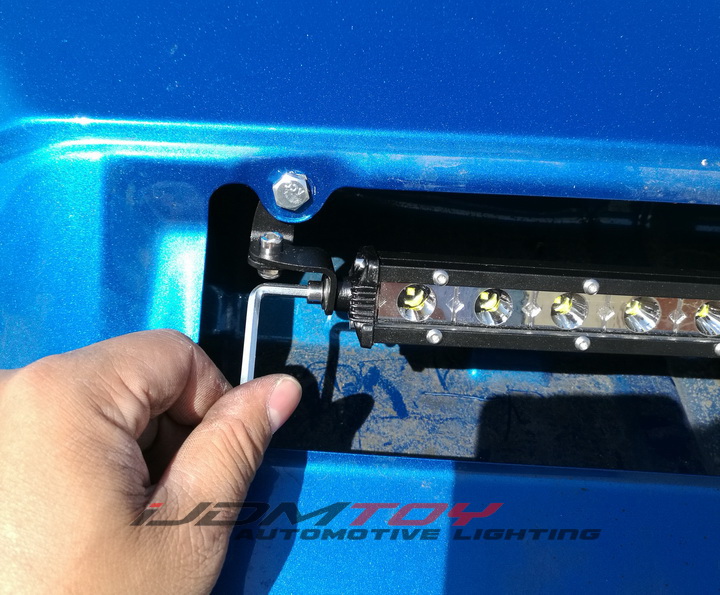
Mount the LED light bar to the mounting brackets.
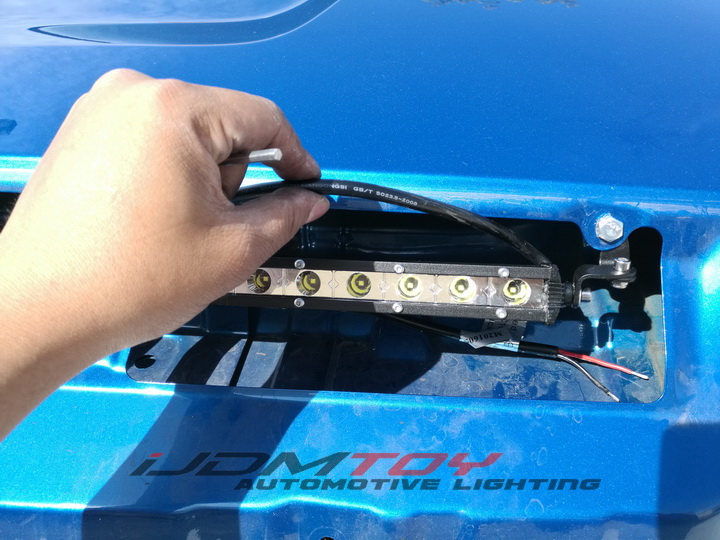
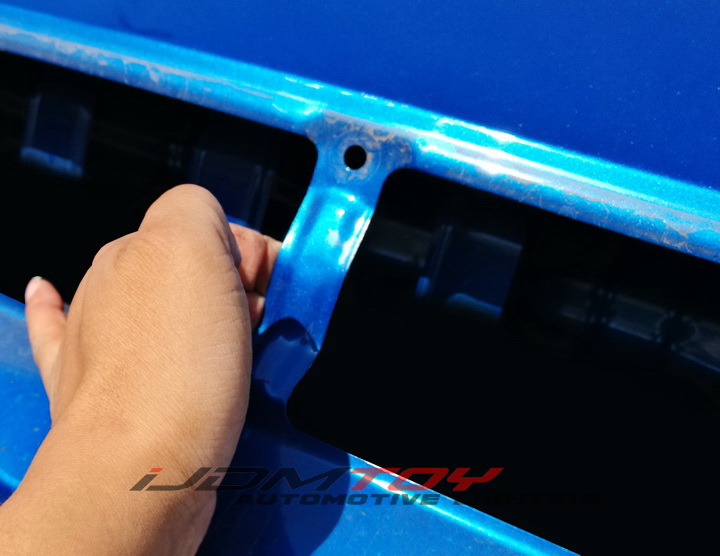
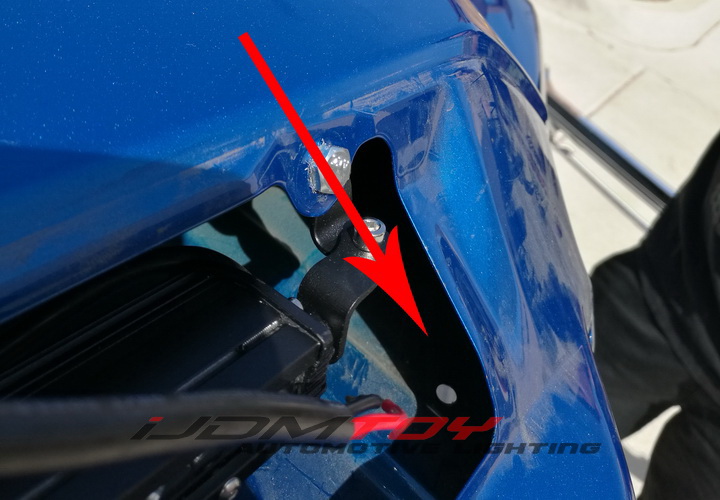
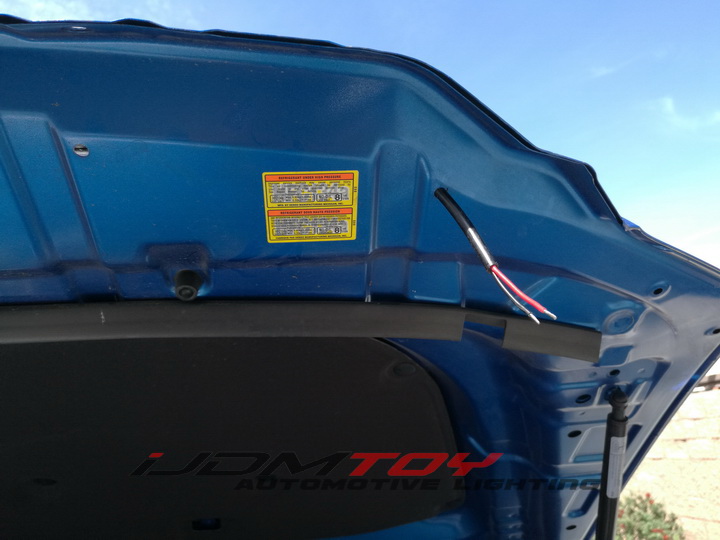
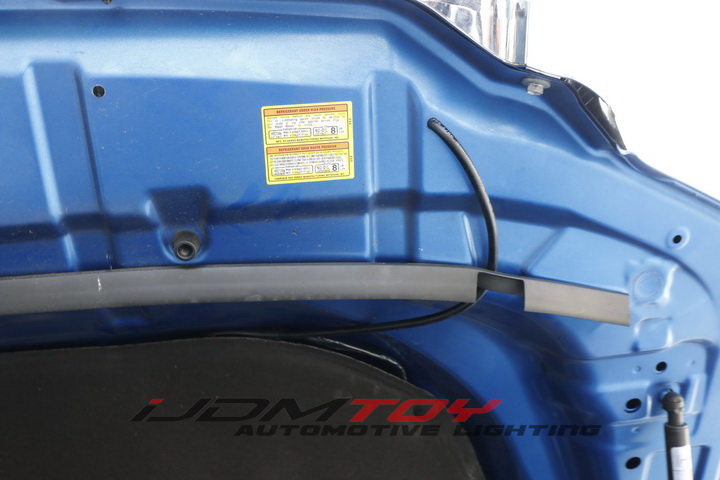
Route the LED light bar wire through the hole indicated in the picture below.
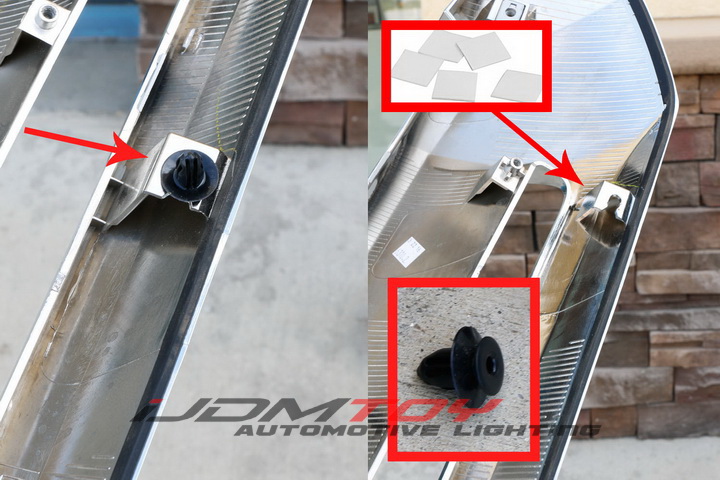
Step 5: Put the hood scoop back in place. Slide off the outer two plastic clips on both sides of the trim and apply double-sided tape in its place.
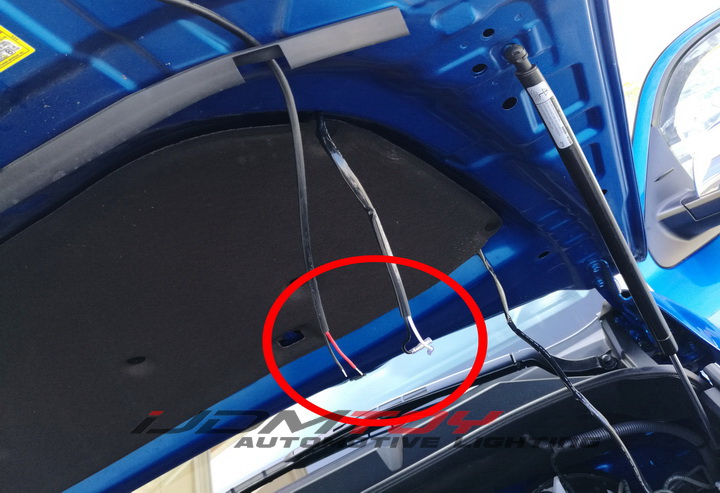
Step 6: Wire the LED light bar. Connect the LED light bar wires to the relay wiring harness. The red wire goes to the white wire while the black wire goes to the black wire of the LED light bar and relay wiring harness, respectively. Neatly tuck in the connected wires underneath the hood insulation.
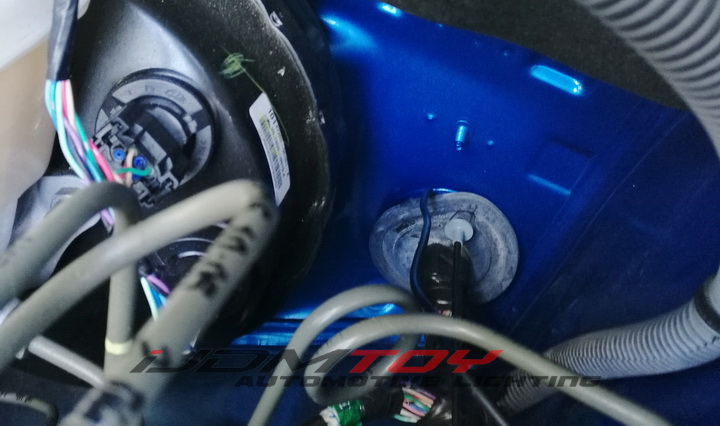
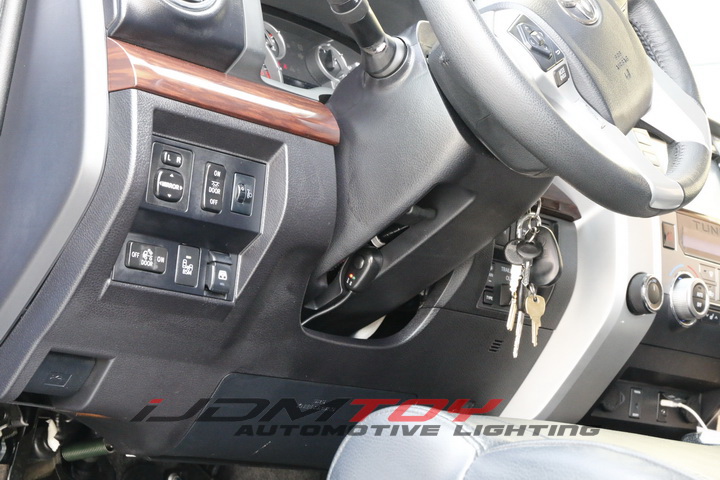
Locate the firewall connection to route the on/off switch through from the inside.
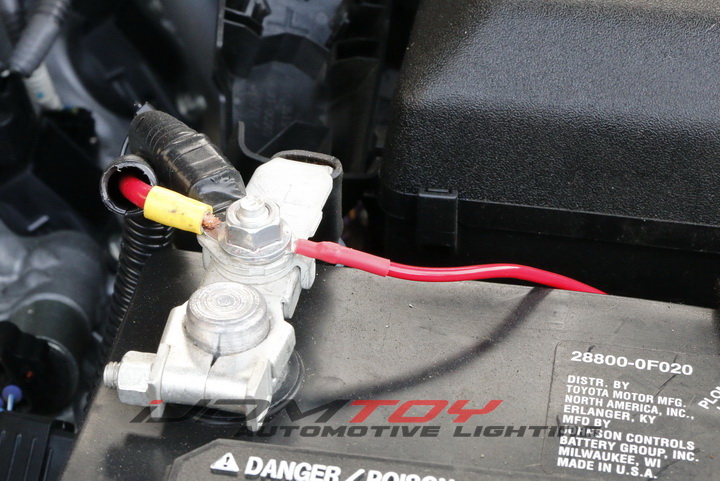
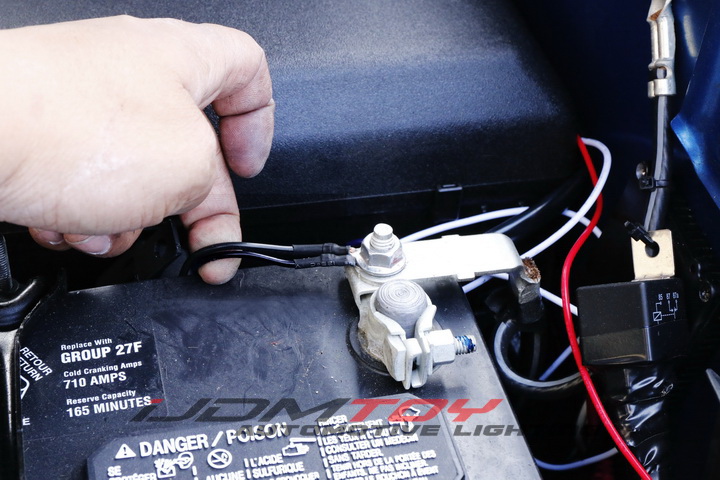
Tap the relay wiring harness to your car battery. connect the red wire to the car battery positive (+) connection and the black wire to the car battery negative (-) connection.
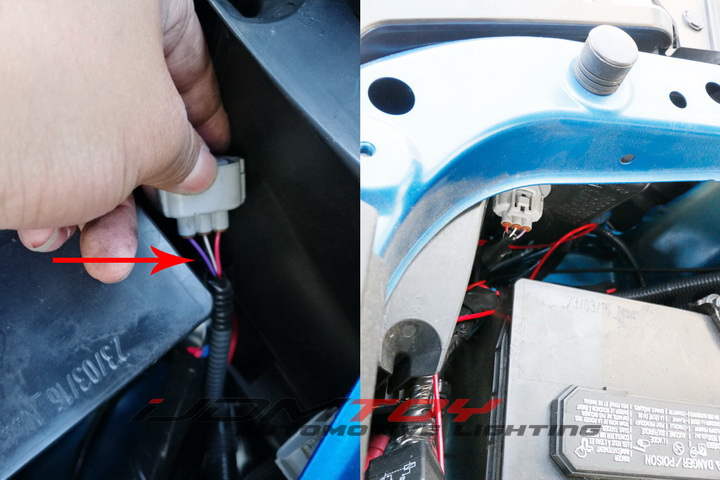
Tap the red trigger wire to your existing turn signal purple wire. This will make it so that when you turn on your parking lights, you can use your LED light bar.
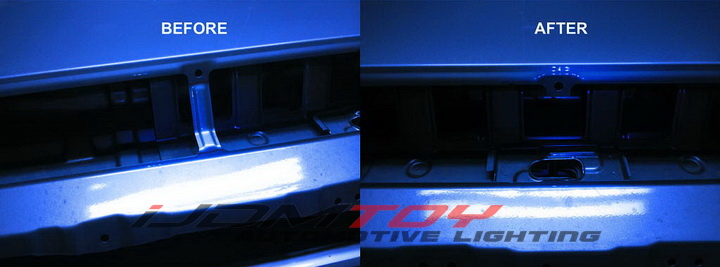
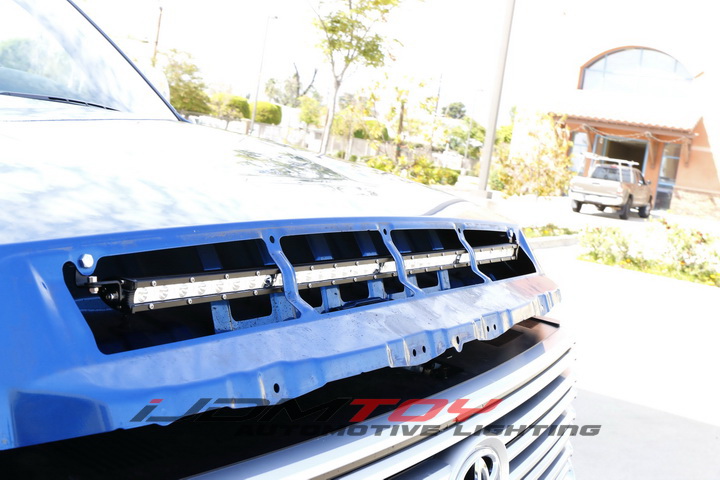
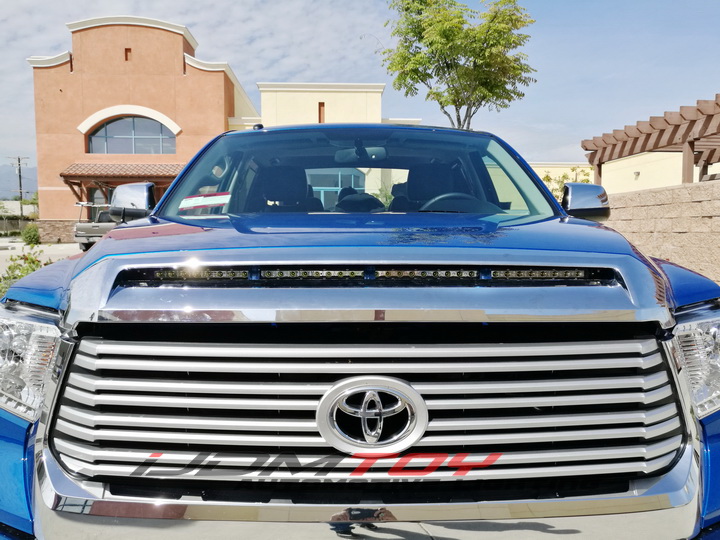
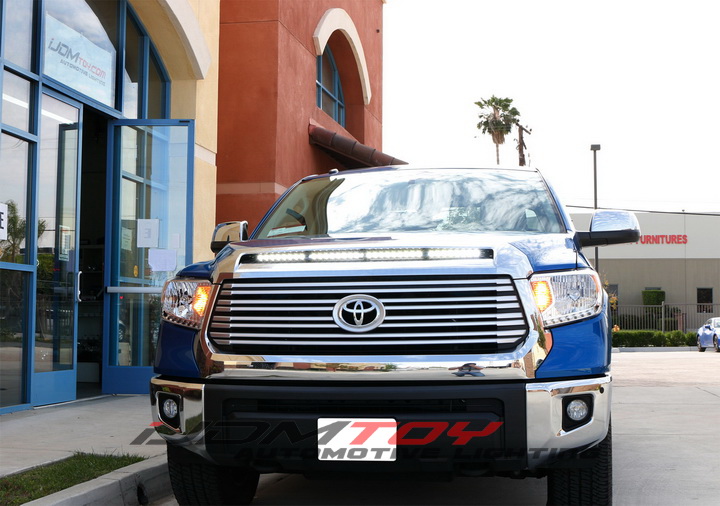
Step 7: Test your LED light bar to make sure it lights up properly. Once it does, you can now enjoy your Toyota Tundra's new LED light bar!
You can shop for this and more offroad LED lighting for any truck and any mounting location at our shop!