


This is an installation guide for SKU 73-006 75-079 75-098 76-318
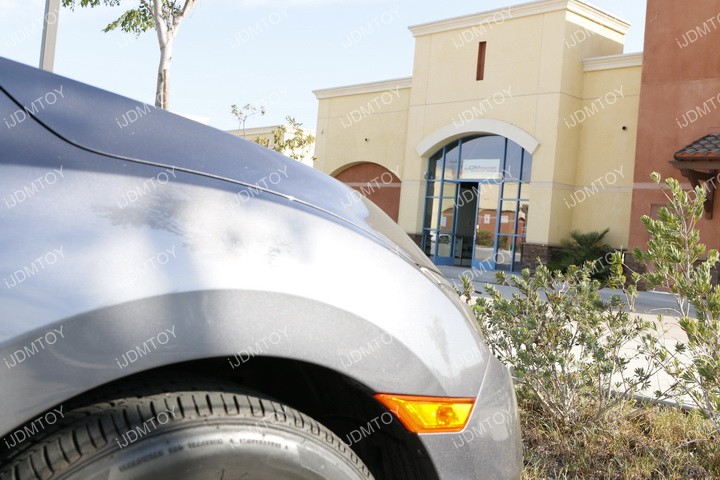
This guide will show you how to install you new xenon white LED lights with side marker lamps for the 10th generation Honda Civic. This will fit any Civic car type including sedan, coupe, and hatchback. As you'll find running through this tutorial, installation is quick and straightforward thanks to the LED side marker light's direct fit replacement design. Let's get started:
Step 1: Turn the wheel to gain access to the wheel liner and side marker.
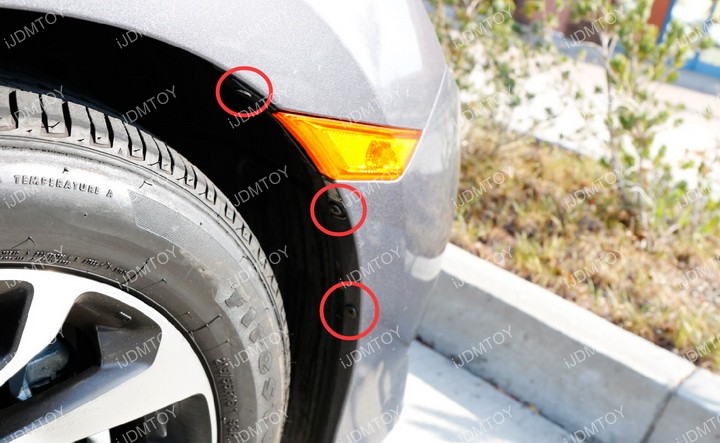
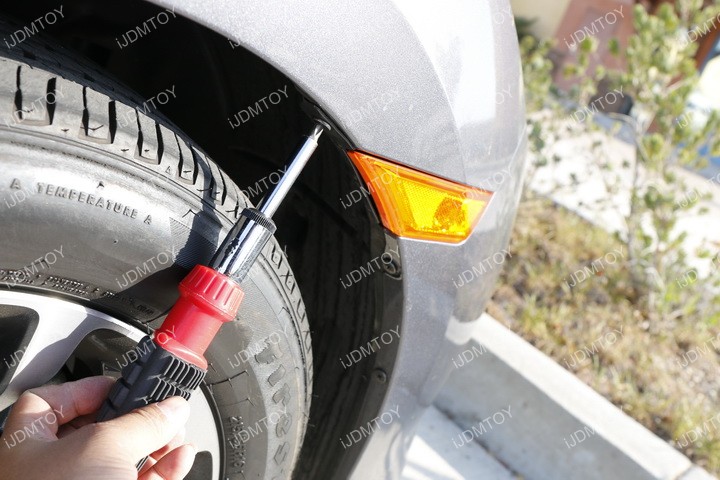
Step 2: Remove the three screws located at the edge of the wheel well.

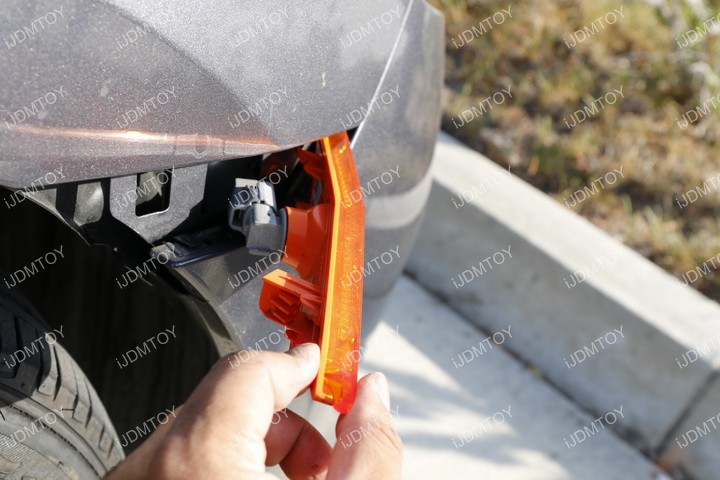
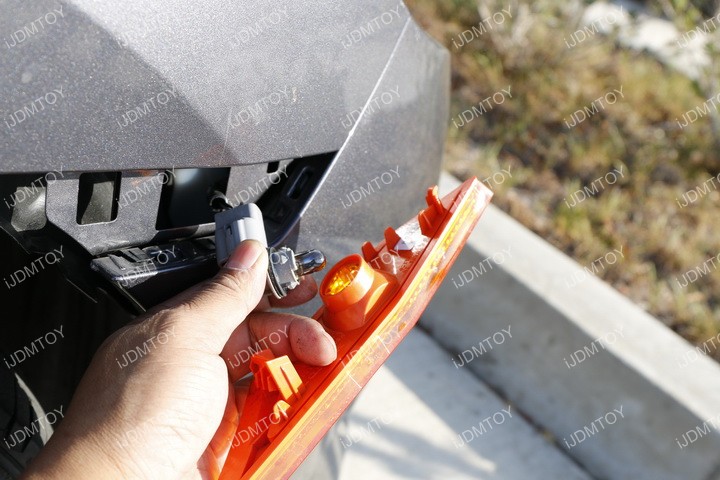
Step 3: Pull out the stock side marker lamp.
Step 4: Twist to unlock the stock side marker bulb and pull it out.
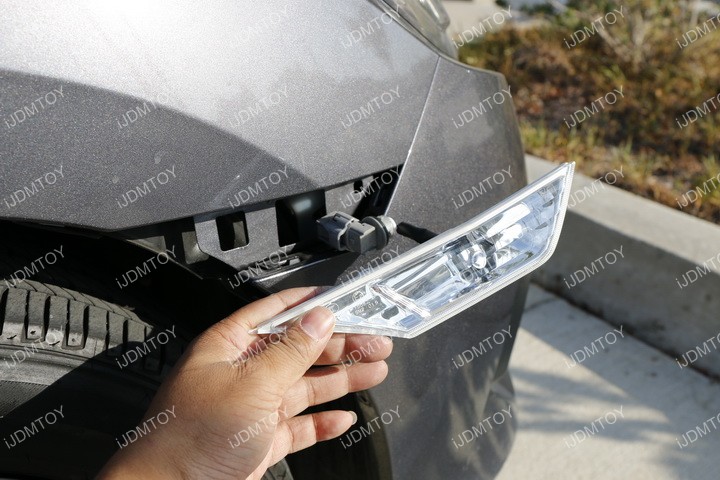
Step 5: Simply install back with the new side marker lamps. Tips: for 75-098, it has two colors options built-in: Amber or White. To select between White or Amber, simply turn the T10 plug around.

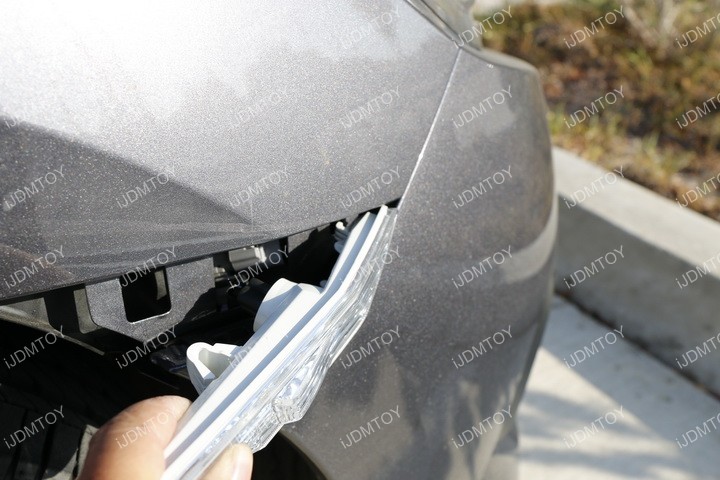
Step 6: Reinstall the new clear lens side markers starting from the smaller tab in the front and then the bigger tab. Push the housing in until you hear a click noise. Make sure you hear the click noise to ensure that the tabs in the side marker housing are locked in place.
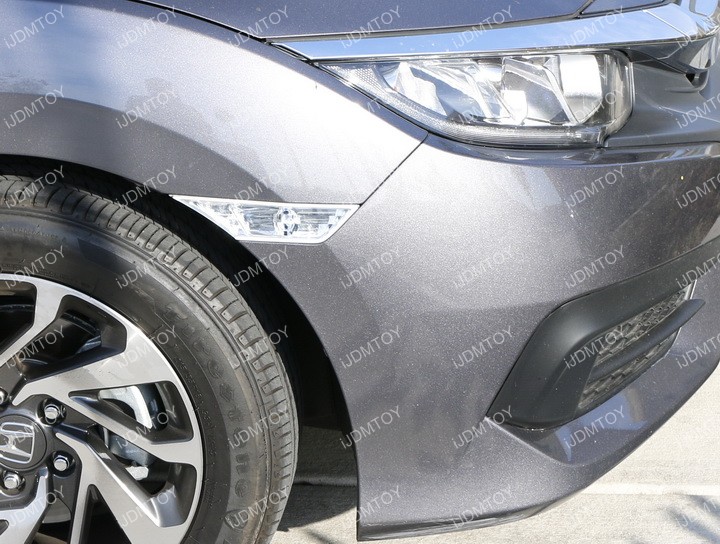
Step 7: Repeat the installation on the other side. Test to make sure everything works.
You can now enjoy your new OEM style JDM xenon white LED side marker lights on your Honda Civic. Gone with the ugly, obsolete amber lens side marker lamps and in with the bold new look of the genuine JDM clear side marker lights. You can directly upgrade any OEM part for any vehicle in our shop. Visit our website to browse more LED lights.