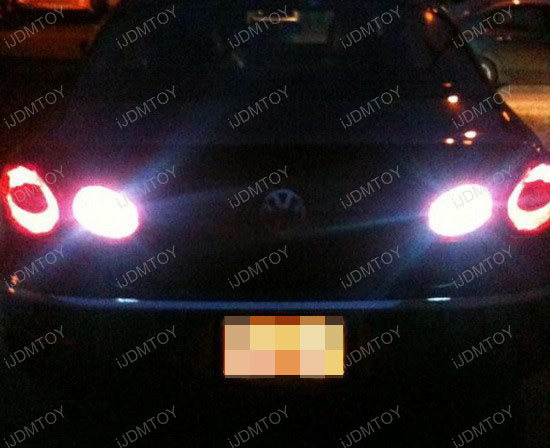
You can find this product under LED Backup Lights (10-037).
1. Open trunk and pop off tail light covers on each side of the car. After the cover is off you should see 1 power connection plug and 2 black bolts and 1 white bolt which hold the tail light in place.
2. Disconnect the power plug by pushing down the blue part of the clip and pulling downward at the same time.
3. Take flat head screen driver and unscrew the 3 bolts that fasten the tail light on the trunk. 2 of the 3 bolts will come completely off. Two are black plastic one is white plastic.
(On the left tail light you can leave the top left bolt on. On the right tail light you can leave the top right bolt on... loosen them all the way, but they can stay connected and you can still remove the light from the trunk)
4. Remove the entire tail light from the trunk.
5. Once you have the tail light removed there is a white clip in the middle. Push the clip to the side and pull the entire piece off of the tail light. So you can have access to the bulbs.
6. Remove the middle bulb which is the reverse bulb.
7. Place your LED backup light bulb in and turn it to the right to secure.
8. Put the entire bulb holder back into the tail light and make sure the clip locks in place.
9. Slide the tail light back in place on the trunk
10. Reconnect the two bolts that you took off in the beginning. This part is a pain in the ass. I would recommend pulling the trunk liner down to give more room to see what your doing.
10a. For the left tail light the long black plastic connector goes on the right side bolt. The white goes on the bottom middle bolt.
10b. For the right tail light the long black plastic connector goes on the left side bolt. The white goes on the bottom middle bolt.
11. Once all plastic bolt connectors are on. Screw them tight with the flat head screw driver.
12. Reconnect the Power plug.
13. Put the tail light covers back on the inside of the trunk and push the trunk liner back on if you pulled it off.


