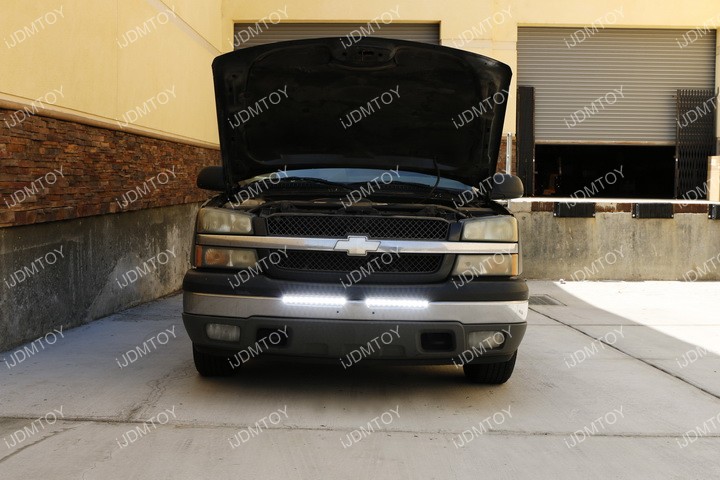
Check out the Chevy Silverado/Avalanche LED Light Bar Kit (35-921).
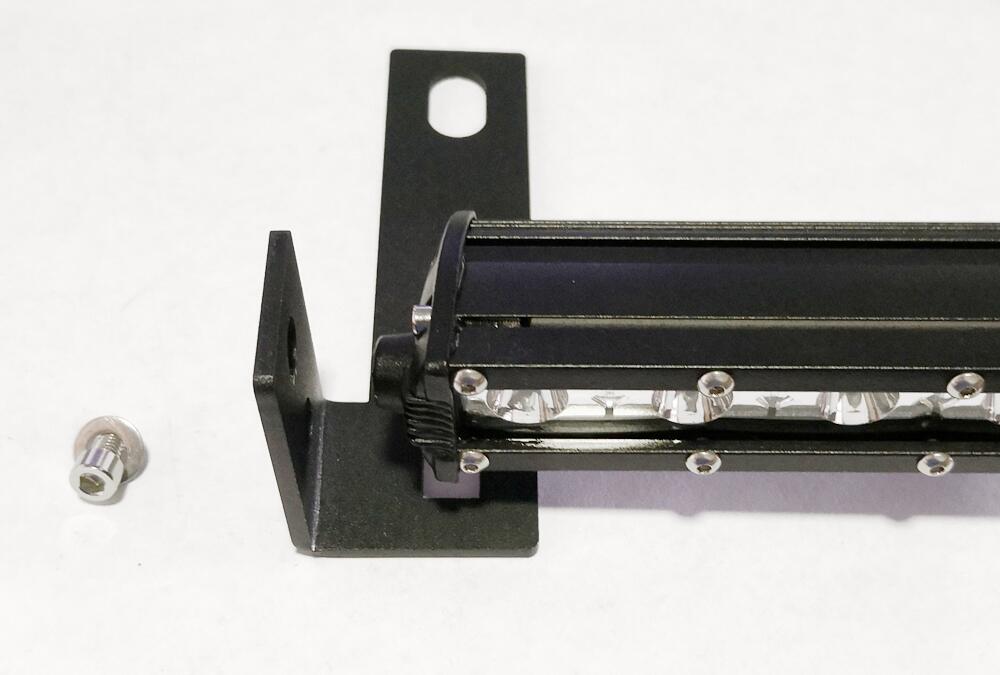
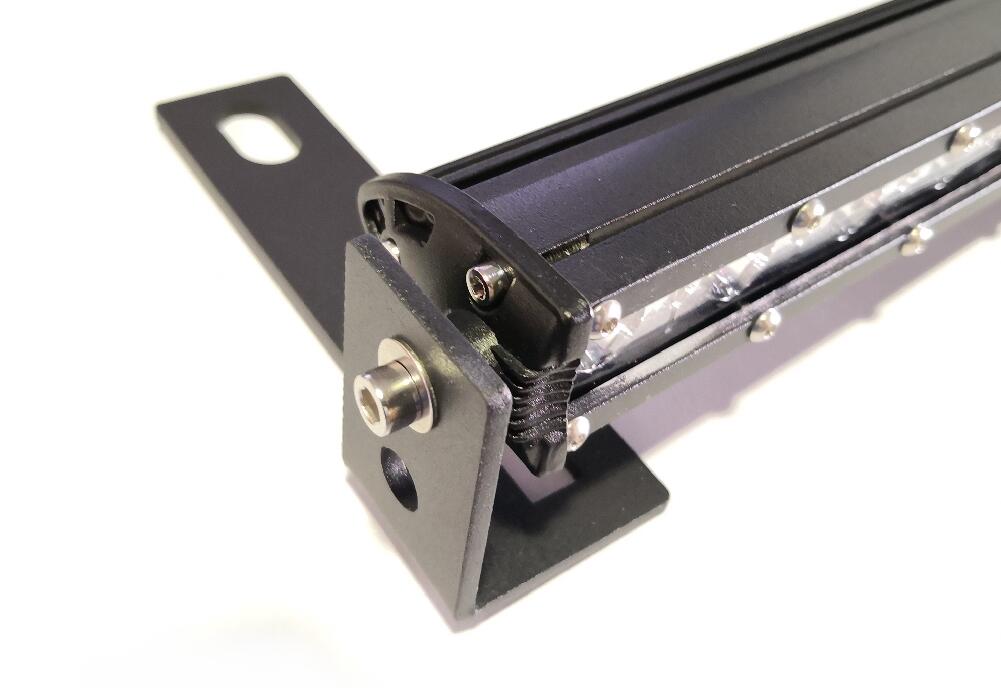
Step 1: Attach the brackets on the LED light bar in a perpendicular fashion. You have two options on how you want to screw in the components together. The first hole has the LED light bar poke out a bit more and the second hole allows the LED light bar to sit back a bit.
In this guide, we used the first hole so the LED light bar pokes out a bit. Make sure to attach the mounting on both ends of the LED light bar.
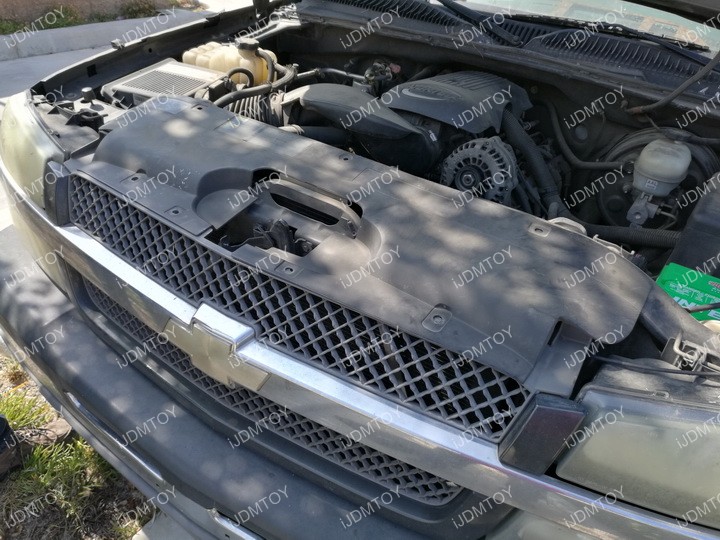
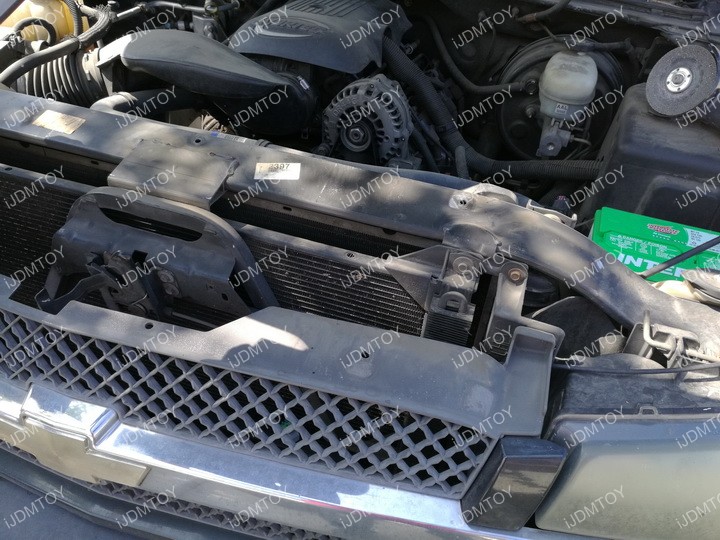
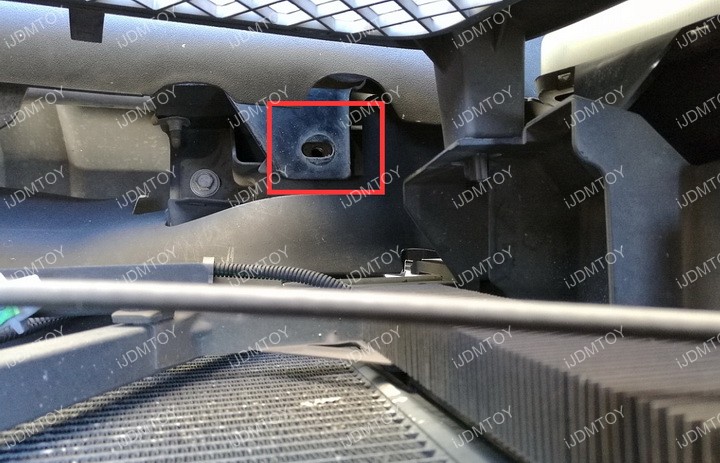
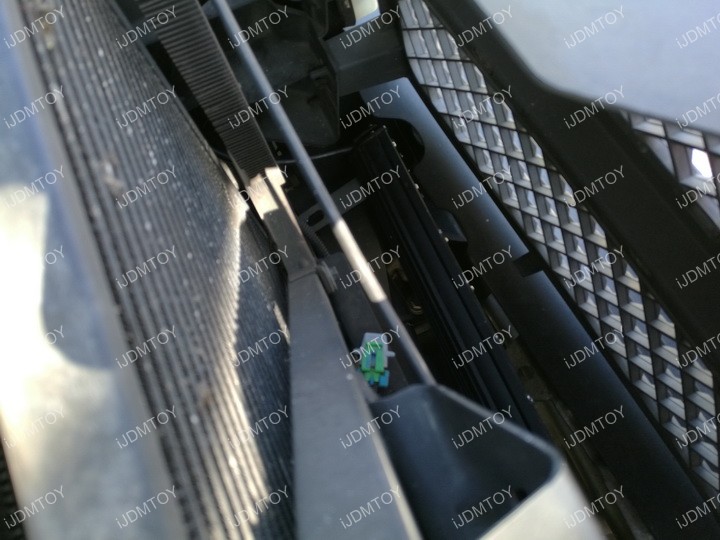
Step 2: Open the hood and remove the plastic cover, it's held on by clips.
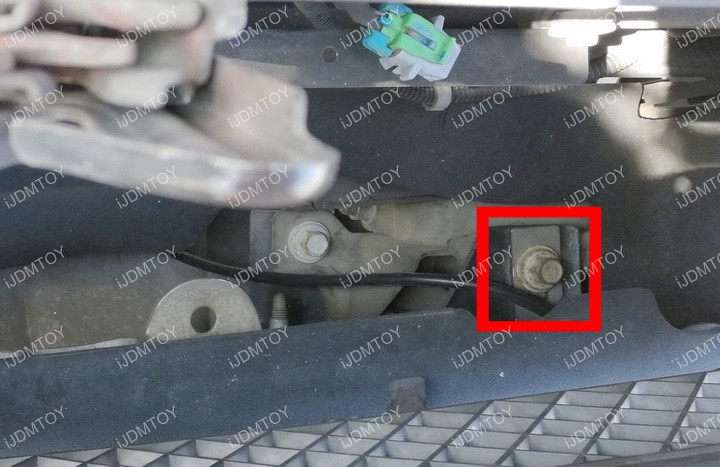
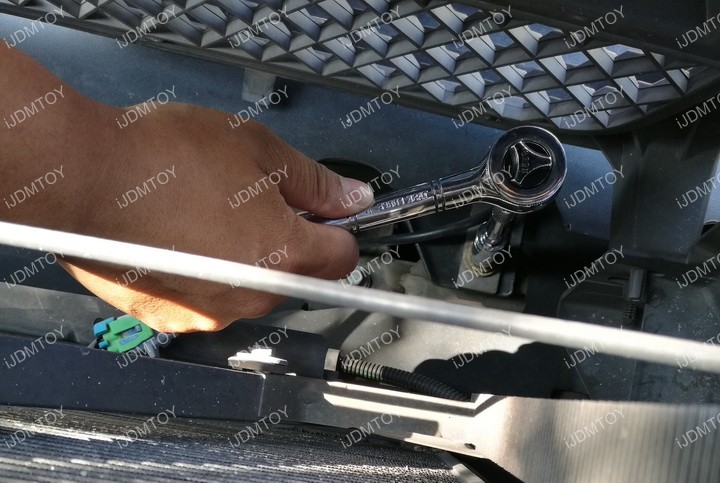
Step 3: Once you removed the plastic cover, look for the screw in the red box and remove it on both sides. Be sure to remove the two outer screws. You'll be able to see this screw when you're looking through the grille opening.
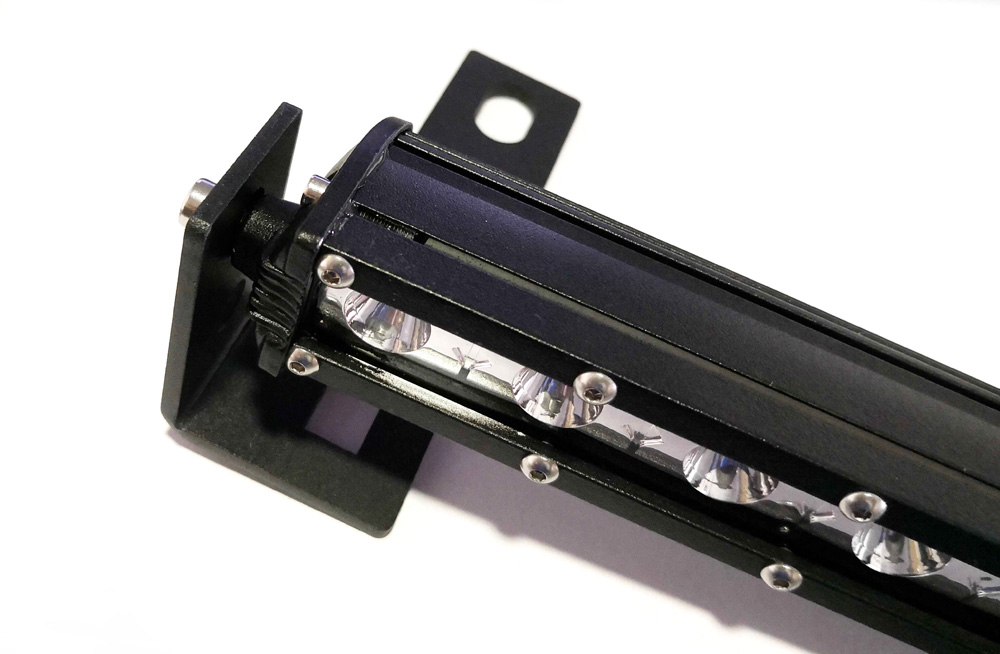
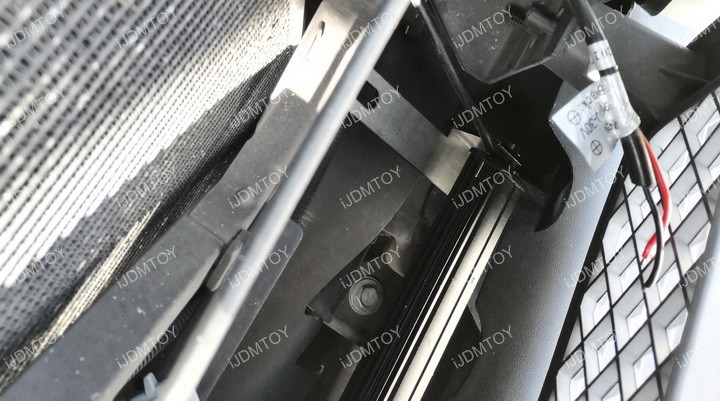
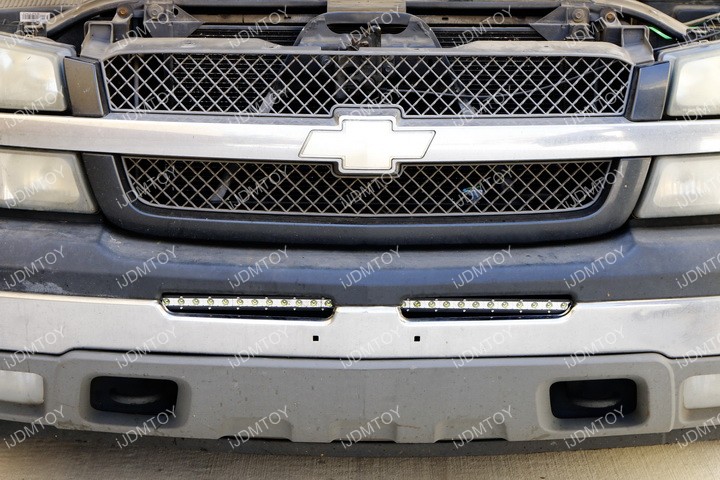
Step 4: Grab the LED light bar and make sure it's tightly mounted onto the metal brackets.

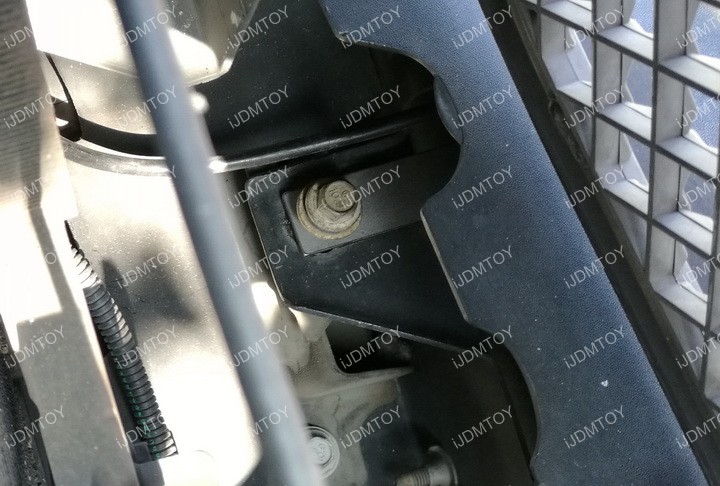
Step 5: Insert the bracket and bolt it onto the screw that you removed in the previous step.
Tighten everything and make sure the LED light bar faces forward appropriately.

Step 6: For a detailed wiring guide, you can visit truck LED wiring to see how to wire up the Chevrolet LED light bar with a switch.
You'll also be able to notice a bit of a curved illusion after installation. That's because the Chevy's bumper sits with a slight curvature, making the LED light bar look like it's curved.