This tutorial will show you how to install the 3 piece amber LED cab rooftop marker running lights (89-008) for your SUV.
Step 1: Remove the headliner and roof carpeting in order to gain access to the metal frame.
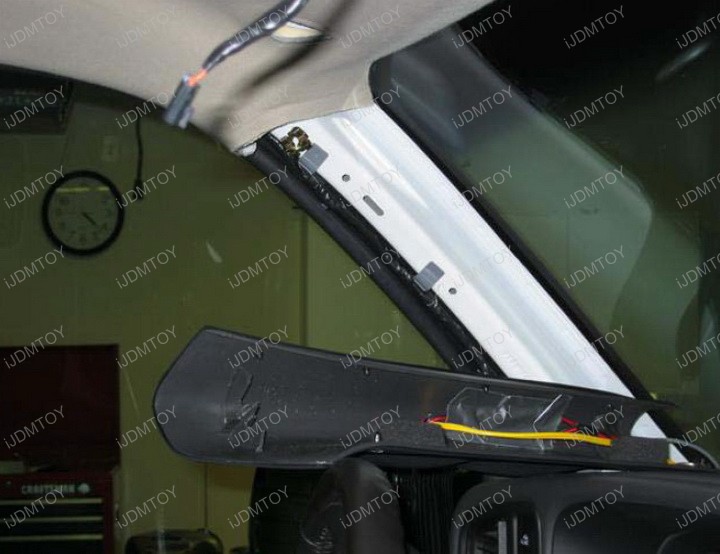
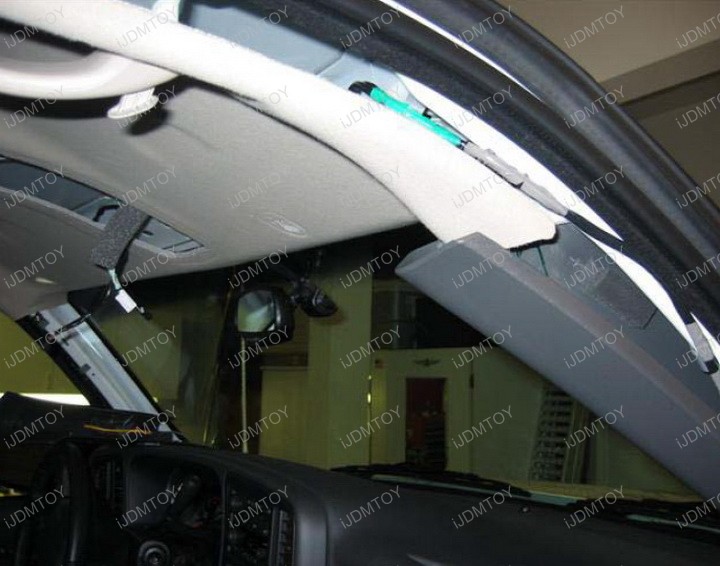
Step 2: Take some blue painter's tape and tape the roof so you can make some notations on where you want the placement of your LED cab roof lights.
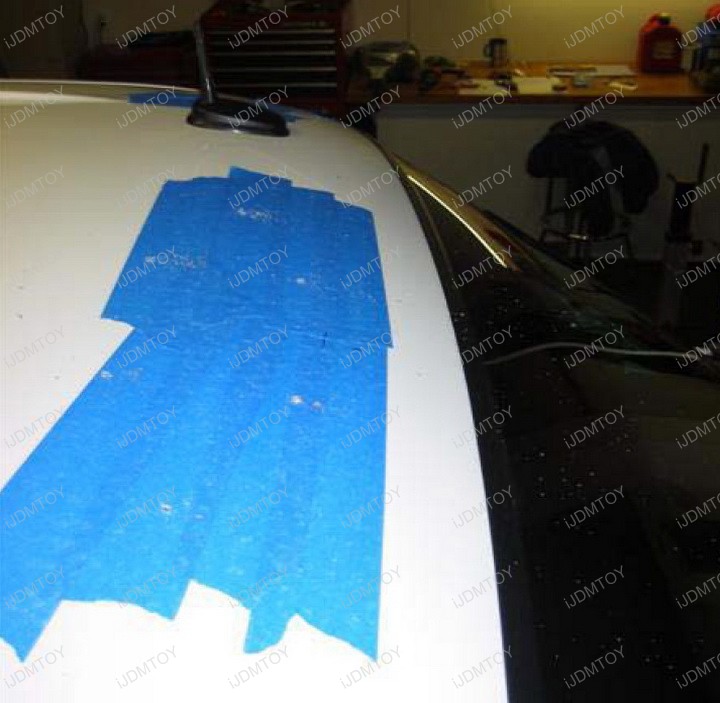
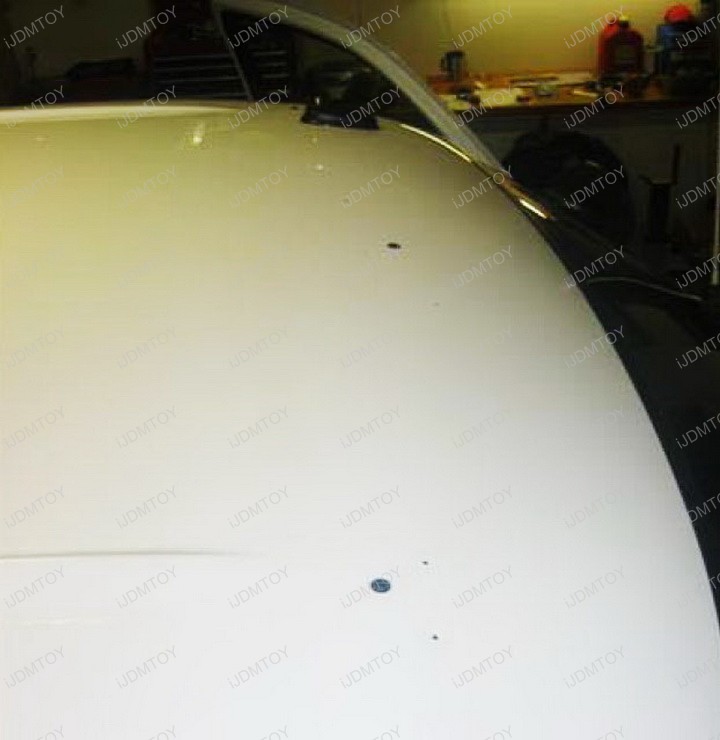
Step 3: Measure where you want to drill the holes. You will need 3 holes per LED pod light assembly: 2 small holes for the sides, 1 large hole in the center for the wiring to thread through.
Step 4:Now to assemble the LED cab roof lights. Take the metal T-connector and attach it to the black plastic T-connector. The T-connectors are to be installed inside the screw holes on the bottom of the LED assembly to help stabilize the screws.
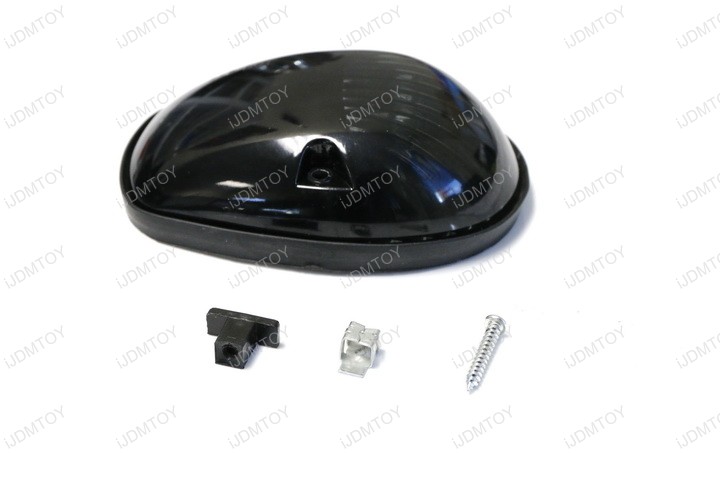
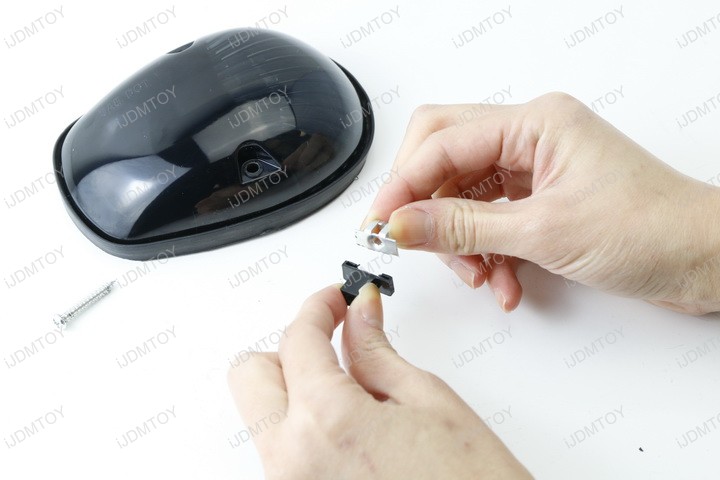
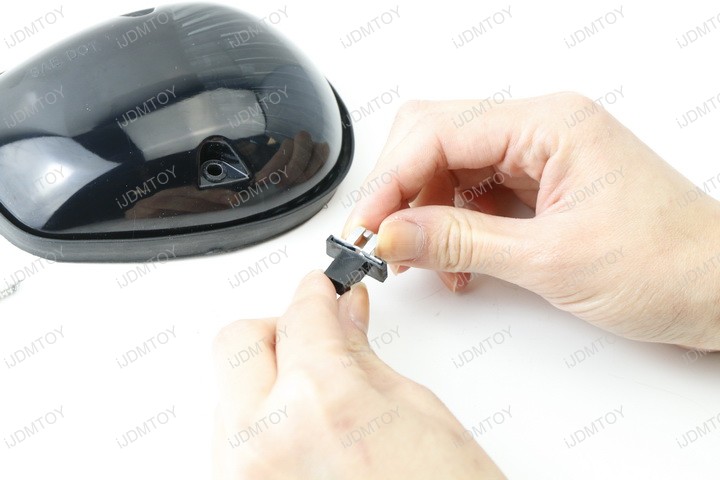
Step 5: Insert the screw into the LED cab roof light from the side. Then place the LED cab roof light where you have originally designated for placement.

Step 6: This is a demo from our studio, but you will be inserting the T-connectors through the underside of the truck up to secure the screw.
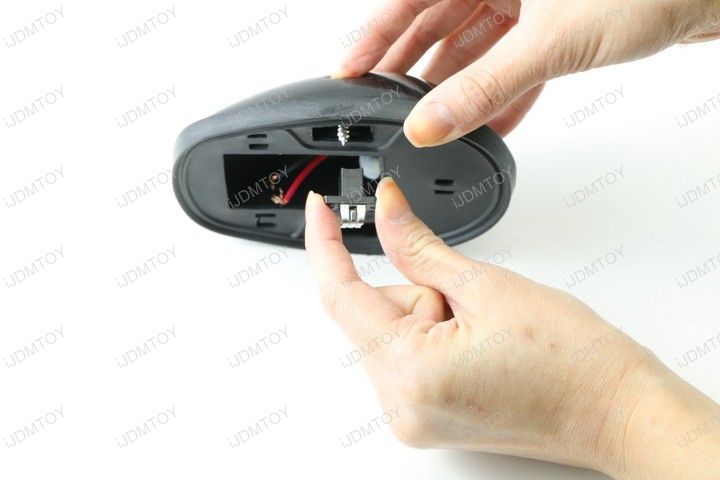
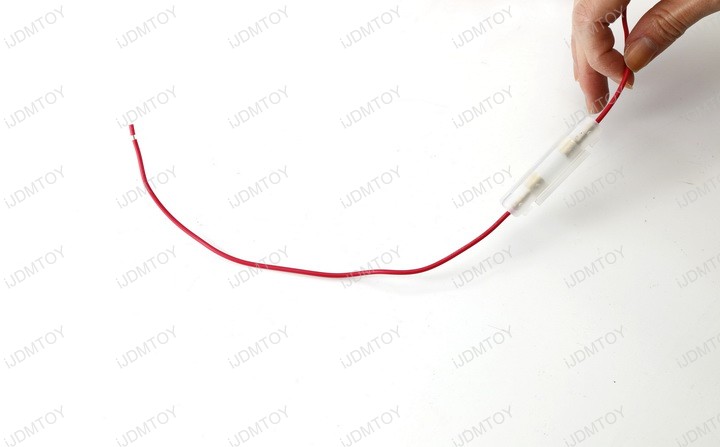
Step 7: Now connect the wiring. Connect long red wire to red wire from the LED cab roof light. We recommending using some black tape to hardwire, but you can use T-taps from the package as well. Then tap the black wire to the metal part of the truck to act as ground.
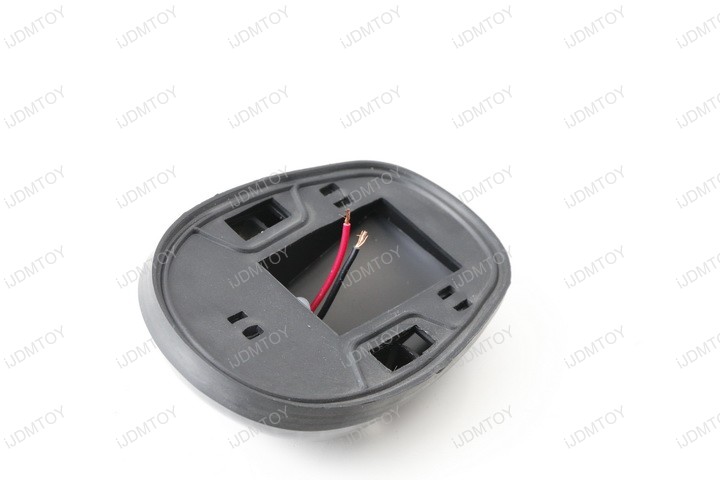
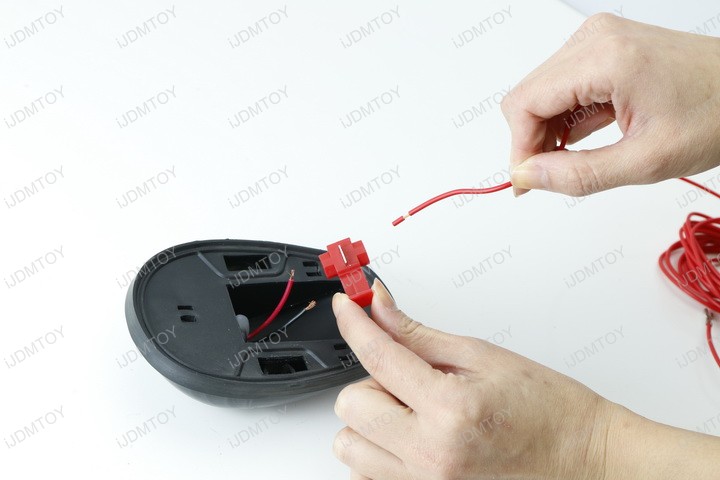
Step 8:Connect the other ends of the red wire to the switch and secure the switch some place where you can access.
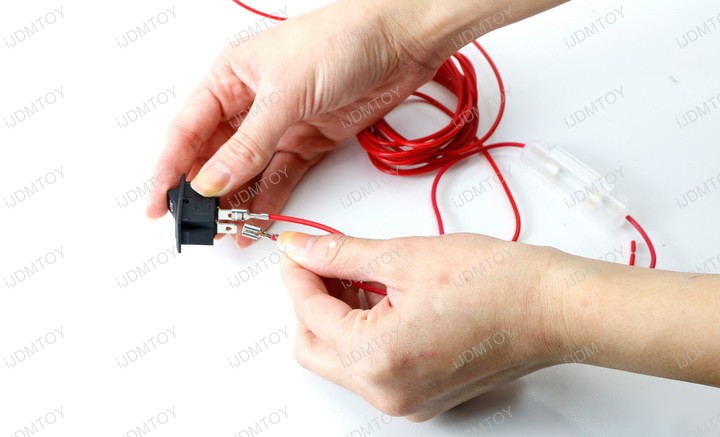
Note: If the LED cab roof lights don't light up, double check the fuse to make sure it's not blown.
