


You can find the LED Roof Cab Lights here
This Roof Cab LED Light is a highly customizable universal fit product so you can install this set-up on practically any truck, SUV, or RV.
If your vehicle does not already have preinstalled LED cab roof lights, you will need to drill holes in order to install and wire up the product. This product comes with 5 cab roof LED lights, 10 screws, and 10 washers for a successful installation.
Before we begin, you will need:
-Metal drill bits
-1/8"
-1/4"
-Screwdriver
-drill
-masking tape/painter's tape
-tape measure
-wire cutters
-5/16" socket and ratchet
-electrical tape
-set of iJDMTOY LED cab roof lights
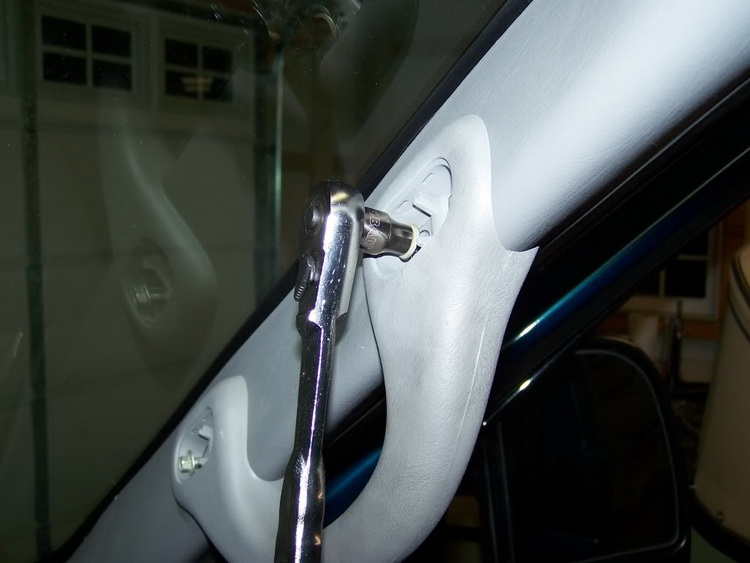
Step 1: Disconnect all the batteries and remove all the headliner trim.
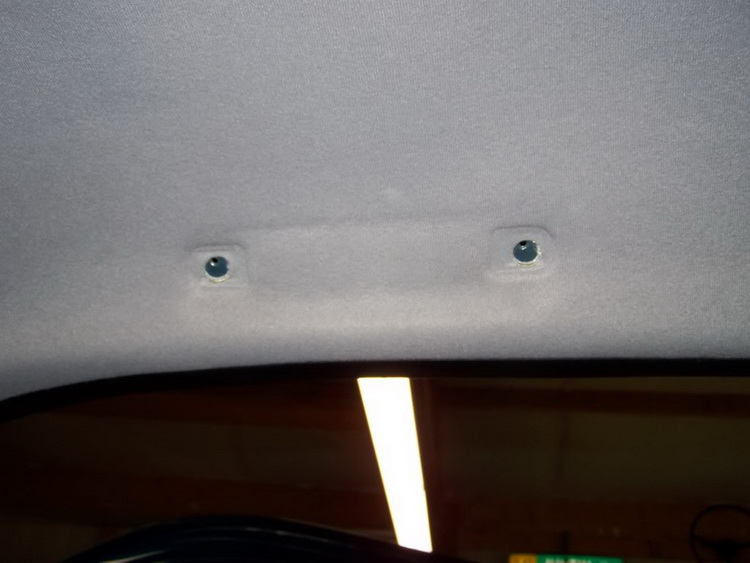
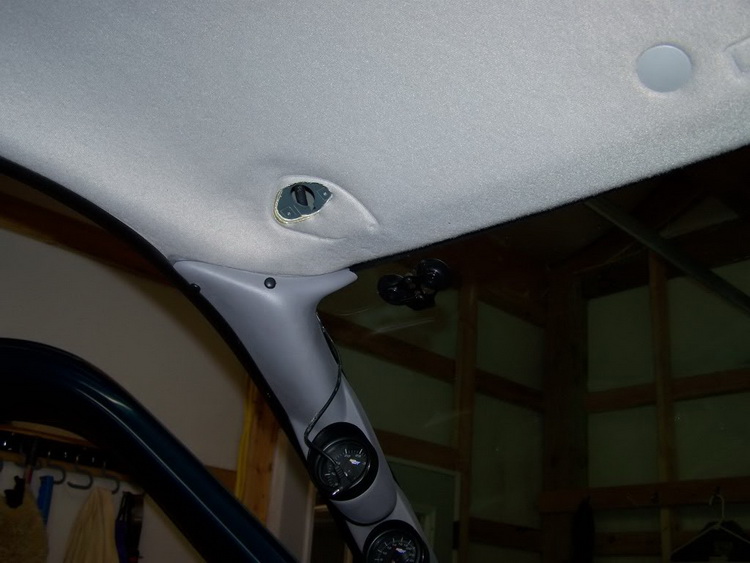
You will need to remove the A-pillar trim, roof handle trim, sun visors etc. Be wary of all the bolts, tabs, and clips that hold the liner in place. Put the screws in a safe place so you can reinstall the liner after installation.
Step 2: Remove the overhead console by pulling the entire assembly down. Be mindful of the clips holding the center console in place.
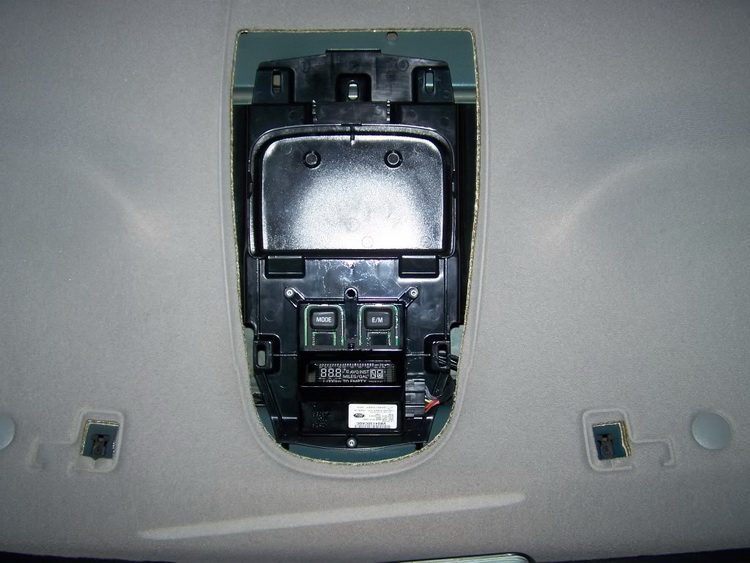
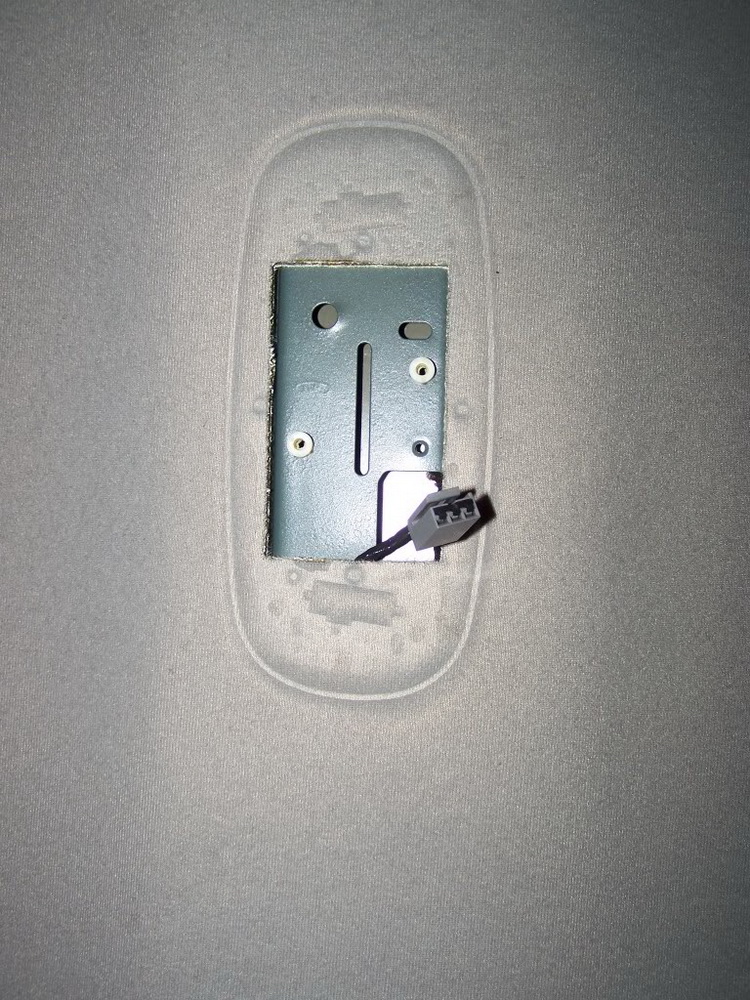
Step 3: Remove the dome light housing.
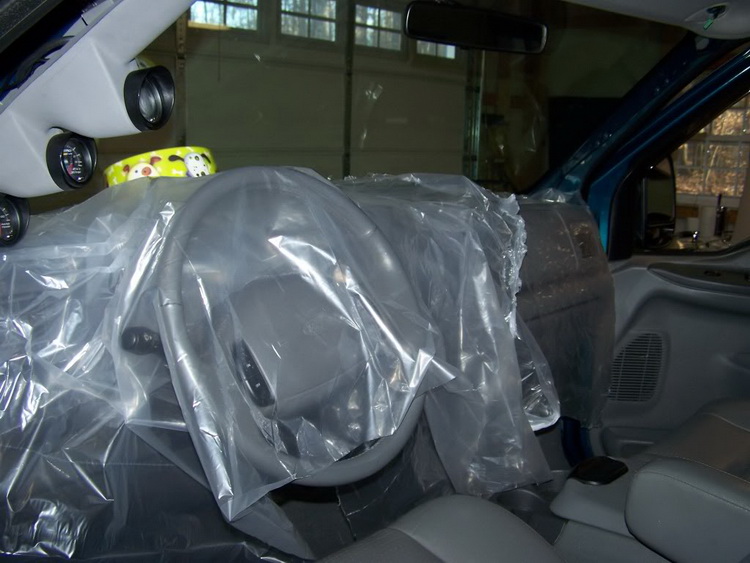
Step 4: After you've removed all the fixtures and screws, the headliner should drop down enough to give your enough clearance space to install and drill the LED cab roof lights in place. You can put a protective plastic wrap or cloth over your dash if you choose.
Step 5: Behind the passenger side kick panel, you may be able to locate a plug for the cab lights. Remove the kick panel to expose the plug.
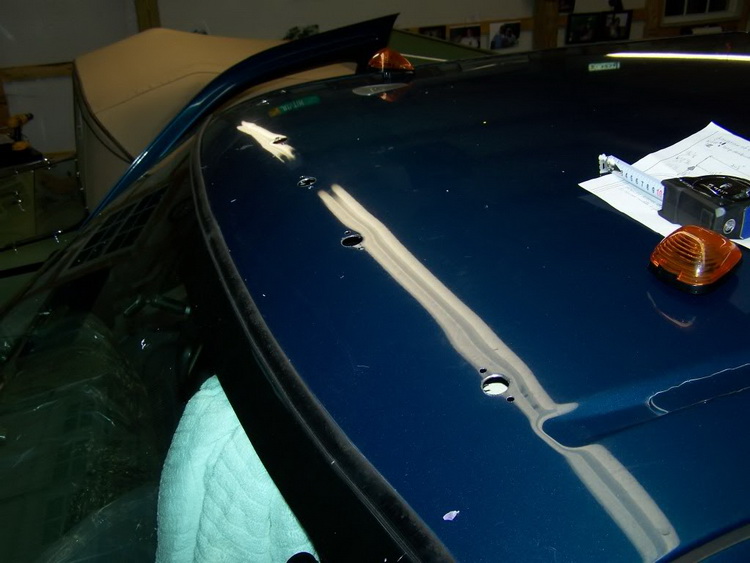
Step 6: Now you will need painter's tape. Tape all the way from the edge of the windshield to about 8-10 inches back.
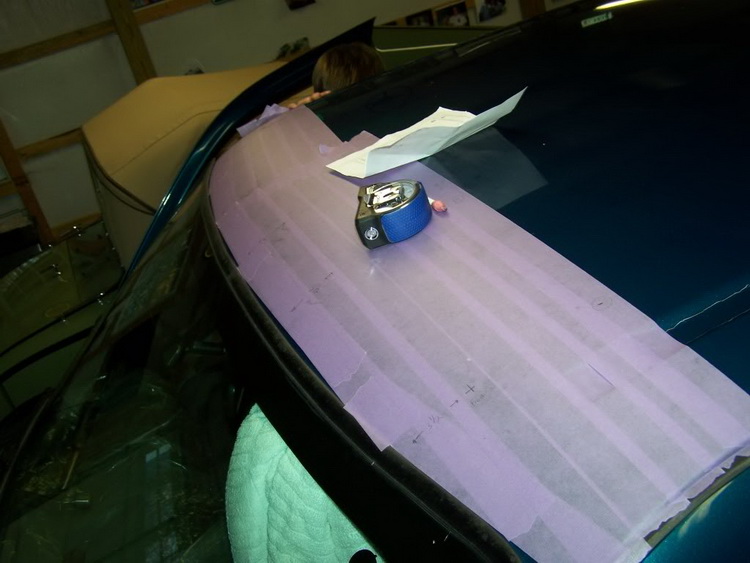
Step 7: It's time to measure! Grab your measuring tape, pencil, and a calculator.
Find the center mid-point of the roof. Be precise and this will serve as the starting point for the placement of the other pieces of LED cab light. From each left/right side of the center, measure 8.25" and mark the point. Then from those respective points, measure 12.5" outward.
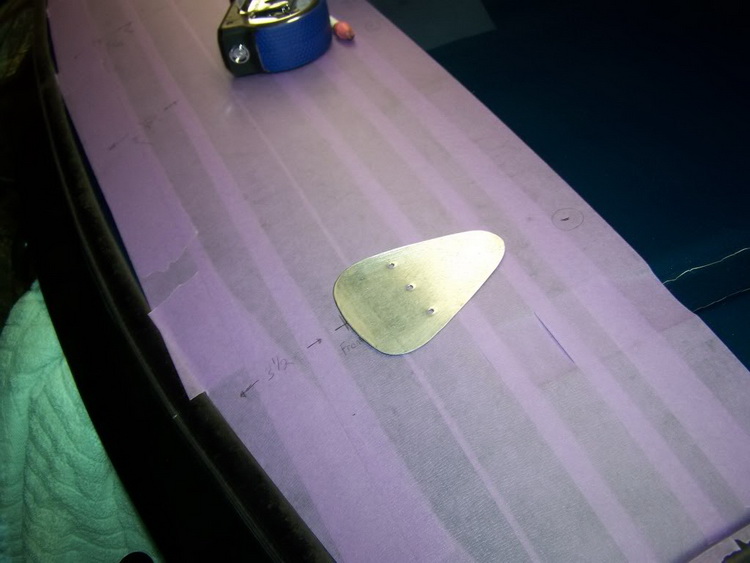
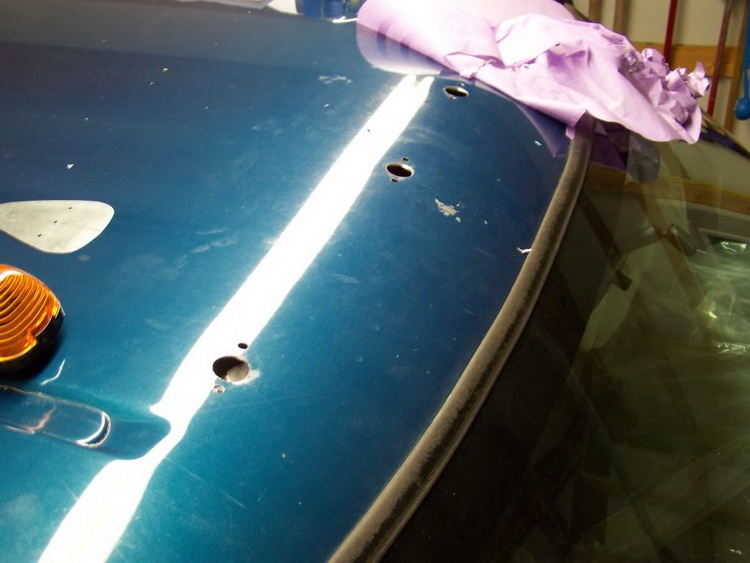
Step 8: Now measure 3.5" between the front of the LED cab roof light and the windshield weather stripping gasket. Make 5 marks at 3.5" for the remaining LED cab lights.
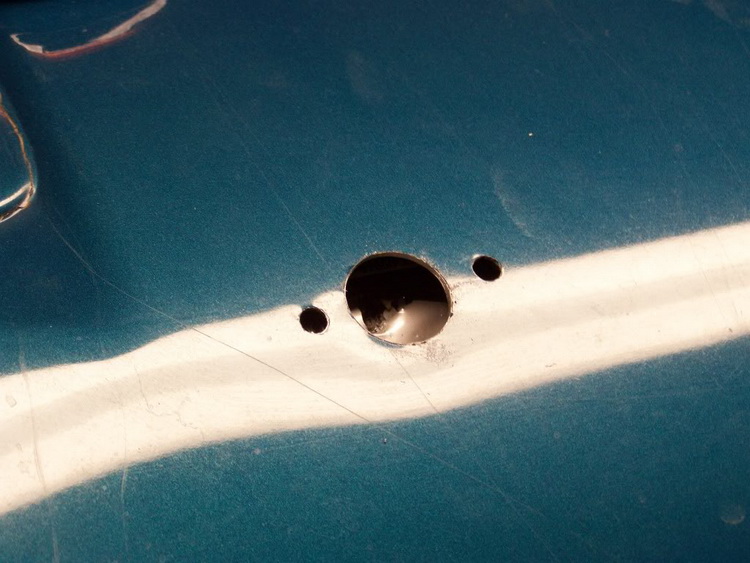
Now line up the LED cab roof light and mark the 3 locations where you will need to drill the holes. Depending on the style of the LED cab roof lights you purchased, the drilled holes may line up either horizontally or vertically in relation to the LED lamp.
This particular instance has the holes in a horizontal line, but your set may differ.
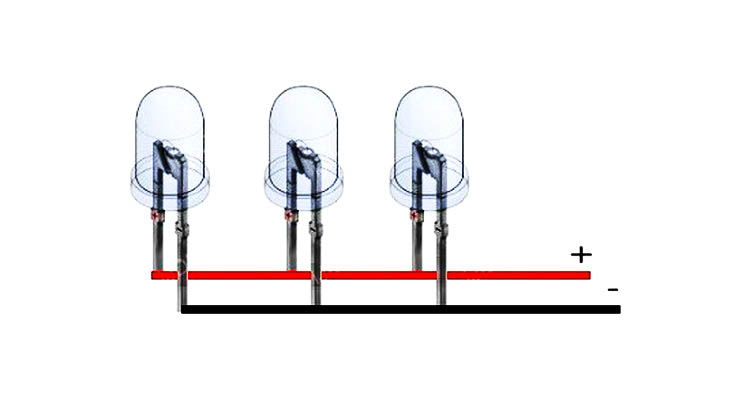
Step 9: Now you will install the wiring.
This is a general wiring guide to show you how to connect the positive and negative wire. Be sure to wire them up in parallel. Use the electrical tape for the connections so that they can maintain a parallel wiring.
Route the wires through the overhead console. Ground the ground wire to inner part of the cab roof. Run the red 16 gauge wire from driver side to passenger side. Use the crimpable wire connector to connect the driver side cab light wire to the red wire. Scotch lock the rest of the lights to the red wire.
Run the wiring and tape it to the cab roof. Run the single red wire down the A pillar of the passenger side.
There will be an unused wire connector under the kick panel. Do a test light without the headlights and also with the headlights. If you get power with the lights on, you have the right connector.
Cut that wire off and connect the cab light wire to this wire. Splice back both wires and use your male and female connector to connect them both.

Step 10: After the wiring portion is completed, take a Philips screwdriver and screw in your new LED cab roof lights. Reinstall everything in reverse order and put back the headliner trim, screws, bolts, clips, and everything else you have removed for the installation process.

Test to make sure everything works and enjoy your new LED cab roof lights.
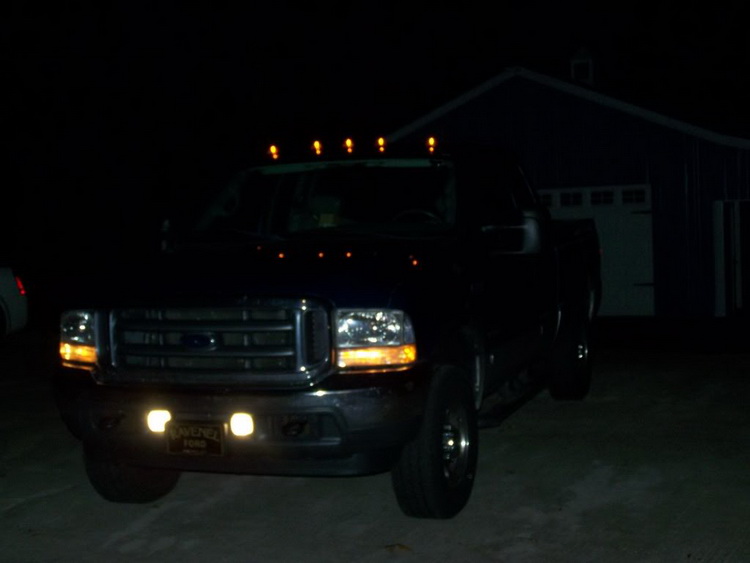
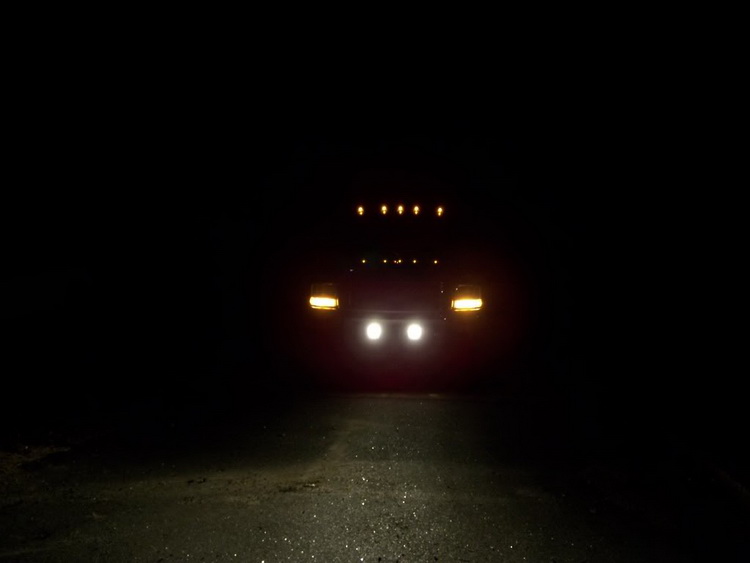
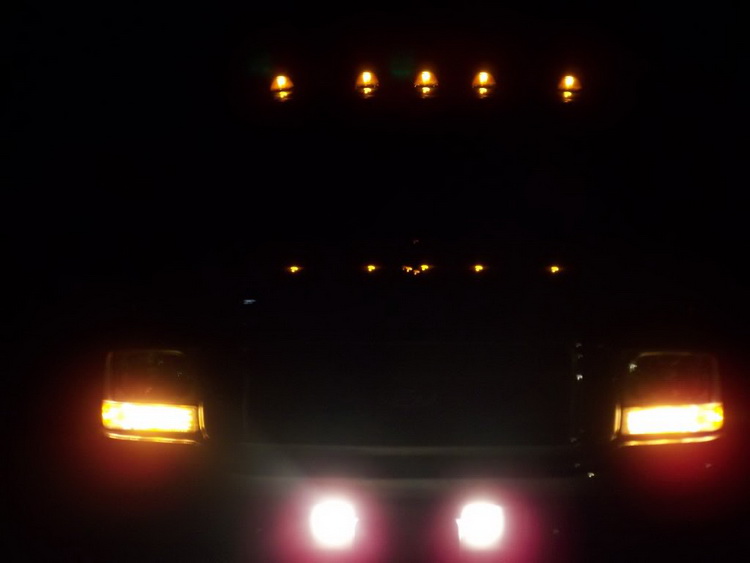
Picture and guide credits go to carolinaboy02powerstroke at Powerstroke forums.