


Check out more LED Demon Eyes for retrofit here.
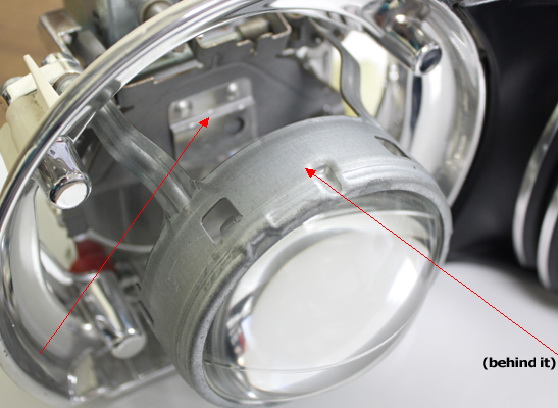
There's double-sided tape on the back of this LED strip, so you can stick this LED strip anywhere behind the projector lens. We recommend you stick the LED strip on either the cut-off line metal or the on the supporting metal bracket. Please keep the LED away from the headlight bulb as far as possible to prolong the lifespan of the LED lights.
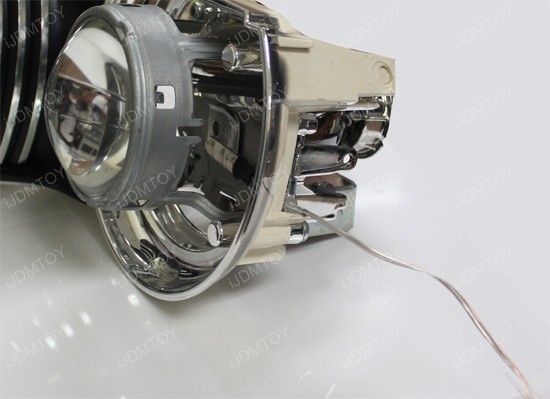
Step 1: You can mount this LED demon eye strip anywhere inside of the headlight projector. As long as there is a flat surface, you can stick the adhesive to apply the LED strip.
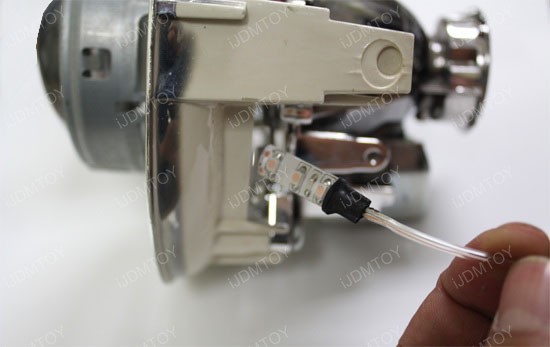
Step 2: Peel off the double sided tape and apply the LED demon eye onto your desired location. Once you stick on the tape, don't try to peel it off again or you may risk weakening the adhesive.
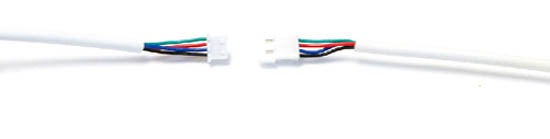
Step 3: Now plug the RGB LED demon eyes to the module box. Please make sure the wire colors on both adapters match. The connector grooves must be plugged in securely to lock the connections in place.
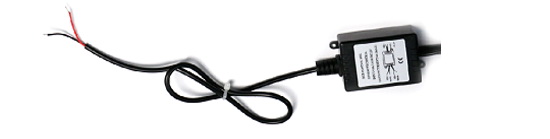
Step 4: To power up the module box, please connect the red wire to any 12V power source +/-. Recommended locations are the fuse box + and ground, parking/side marker lamp +/- or battery +/- or ACC.
For the rest of the RGB LED light troubleshooting tips, follow our installation guide on how to install RGB LED demon eyes.