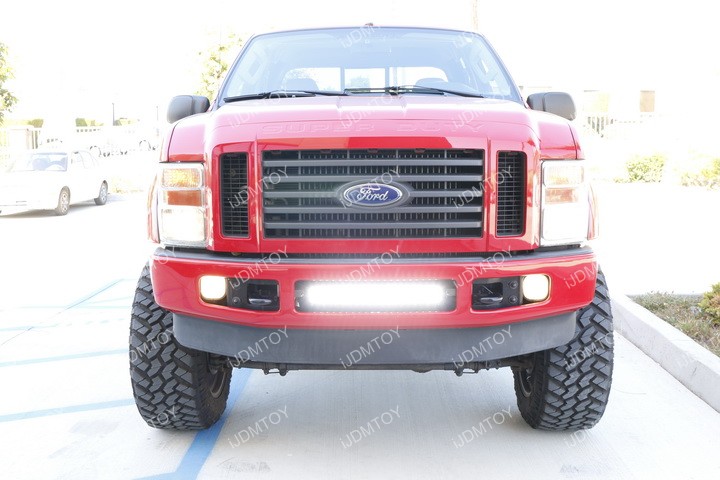
This is a general installation guide on how to install our LED light bars in the lower bumper area. For this walkthrough, we will be using the Ford F-250 as a reference. We recommend referring to your LED light bar's corresponding installation guide included in your package or online at our truck off-roading LED lighting guide page.
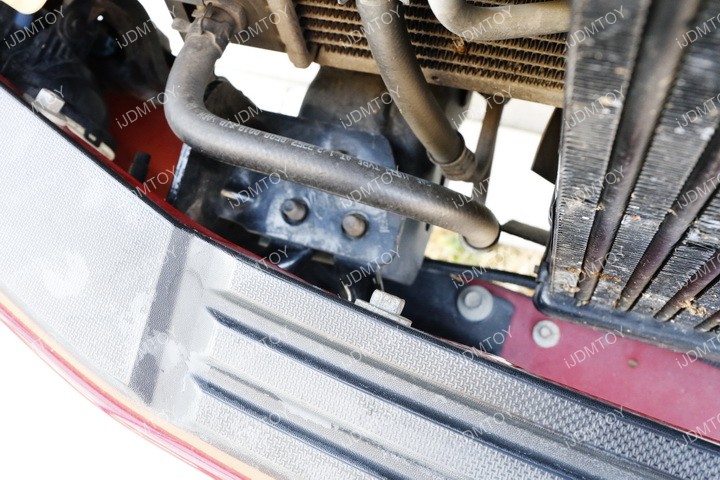
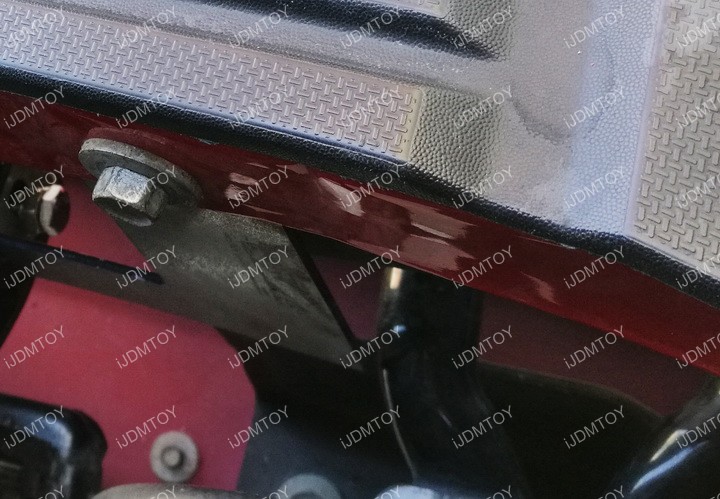
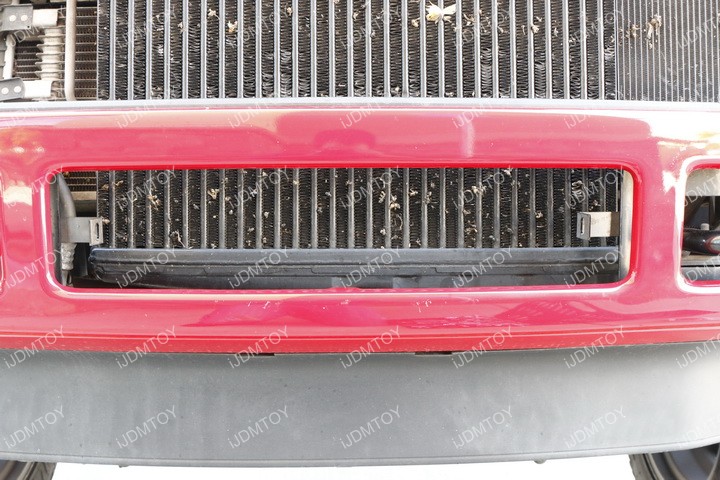
Step 1: Locate your mounting locations. This is typically identifiable as the area with accessible bolts that you can easily remove with a screwdriver. Use your guide to find the specific mounting locations of your vehicle.

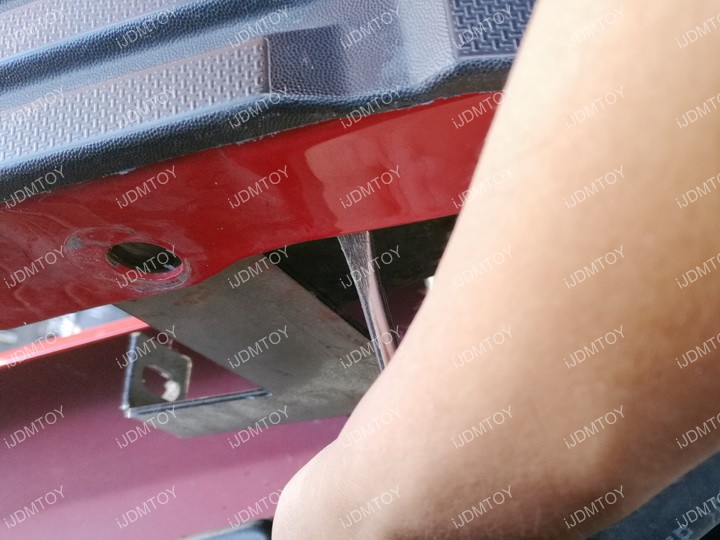
Step 2: Secure your LED light bar mounting brackets. Some models may require you to pry open a bit of space to insert the support brackets. Thread the bolts back in their original locations to fasten your mounting brackets.
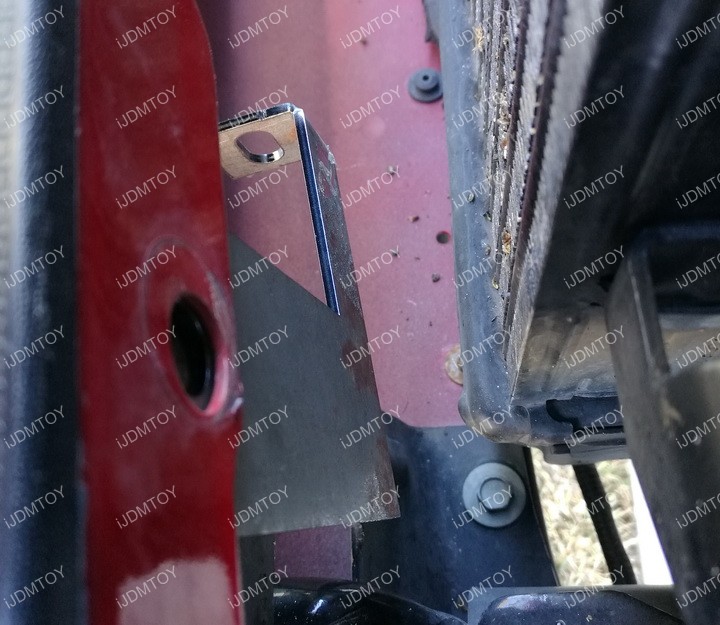
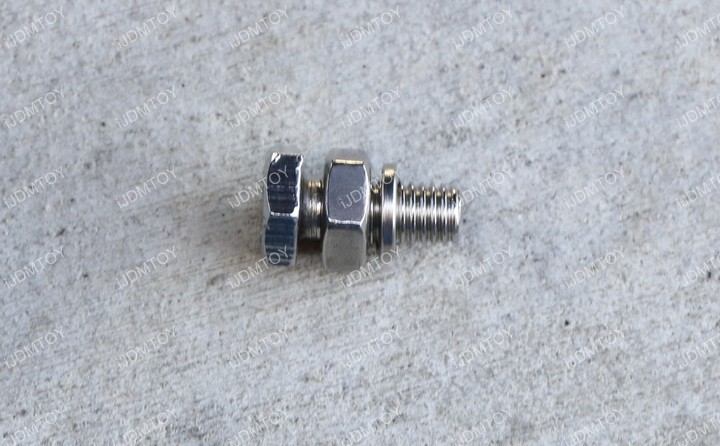
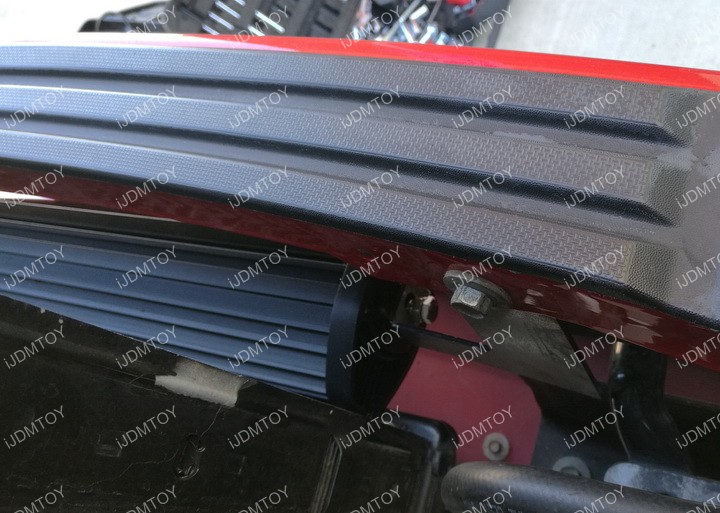
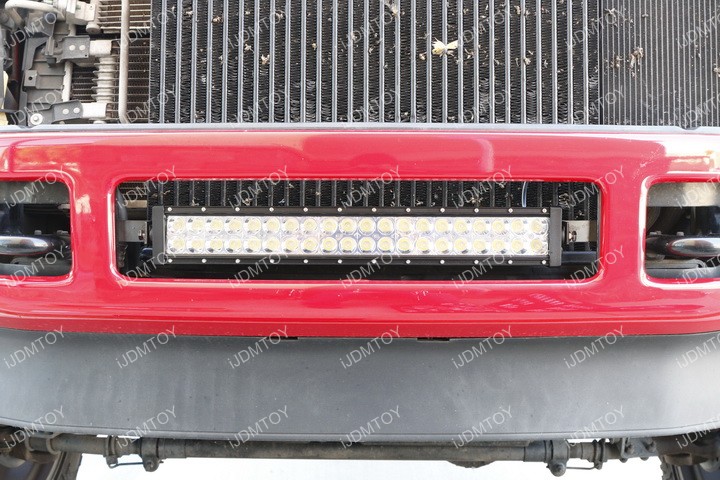
Step 3: Mount your LED lightbar onto the support brackets. Slide in the LED lightbar in between the metal brackets and secure it using a nut and bolt combination.
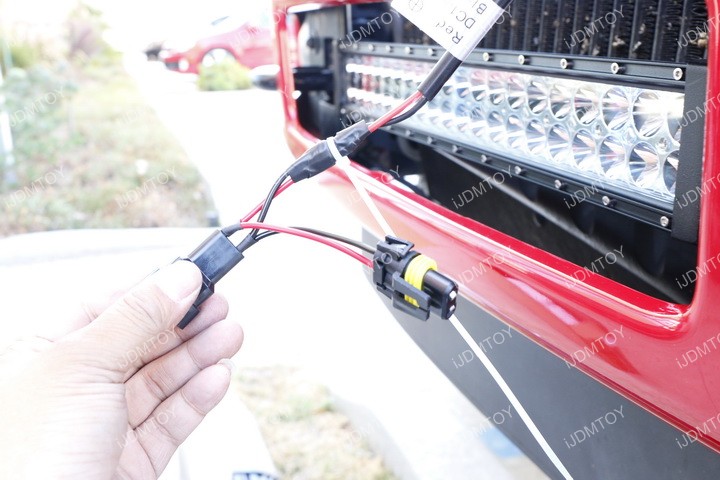
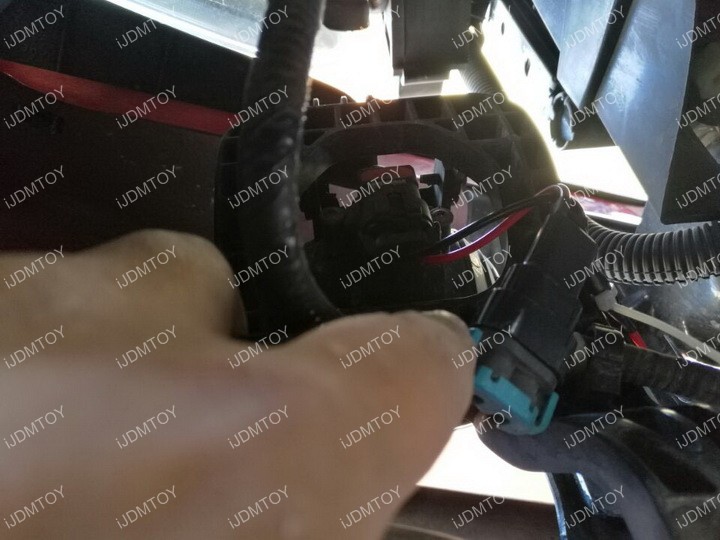
Step 4: Connect your LED light bar to a power source. There are two options you can take: tap the wires to an existing wire harness (as shown below) or install a relay and switch kit. You can follow our guide on how to install a relay and switch in your vehicle in the hyperlink.
Step 5: Once you make sure your lights are working, reinstall any parts you may have removed during the installation process to finish up. You can now enjoy your LED light bar.