This is an installation guide for SKU 72-018.
You can find the Honda/Acura LED Rear Fog Lights here.
This LED rear fog light comes in 3 separate components: the actual red lens rear fog light assembly, outer bracket, and inner bracket.
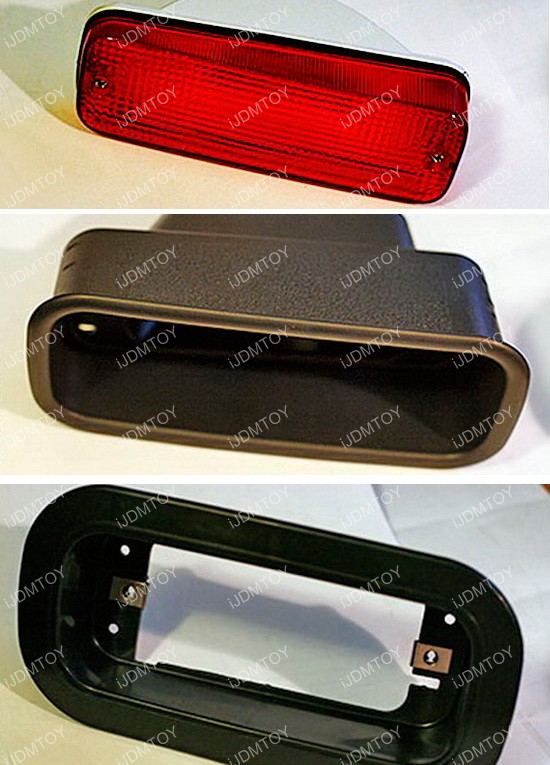
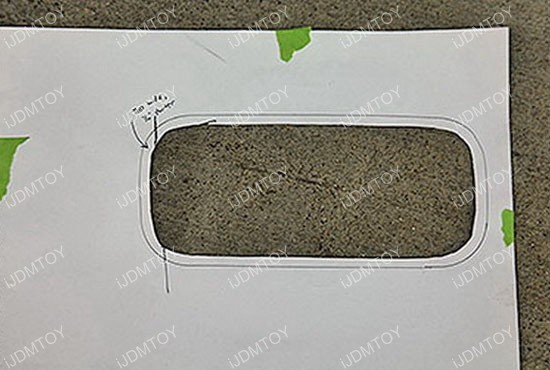
Step 1: Get some heavy cardstock or poster paper and trace the outer bracket on the paper. You'll see that there's two outlines, the outer outline marks the overlap between the inner and outer bracket so there's enough surface area of the bumper to sandwich later.
Cut out the inner traced part; that's how big of space you'll need to cut out of your bumper. If you're not sure how big of a hole to cut, always cut smaller so make sure there's enough bumper space later.
Obviously once you cut, you cannot un-cut, so be careful and precise.
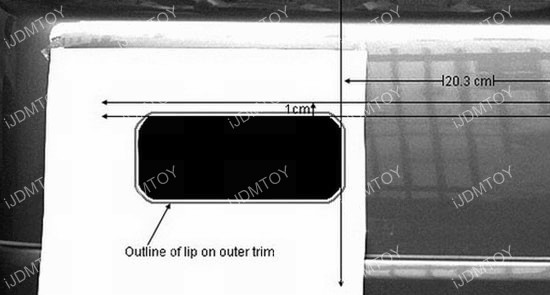
Step 2: Position the paper on the bumper where you'd like to install the LED rear fog light.
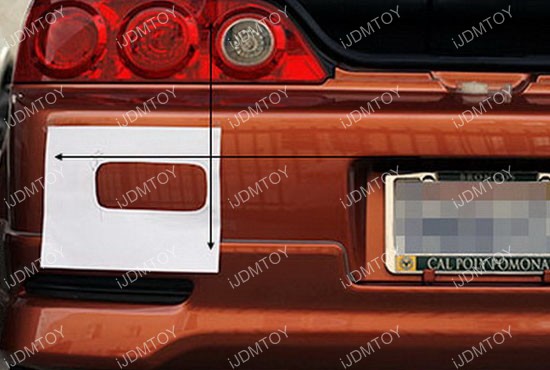
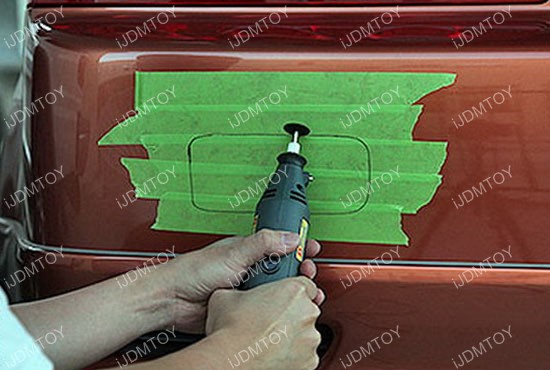
Step 3: Get some painter's tape and tape enough bumper surface around the approximate part you'll be cutting. Then tape the paper on top to the exact location where you want to cut. Trace out the hole on the painter's tape.
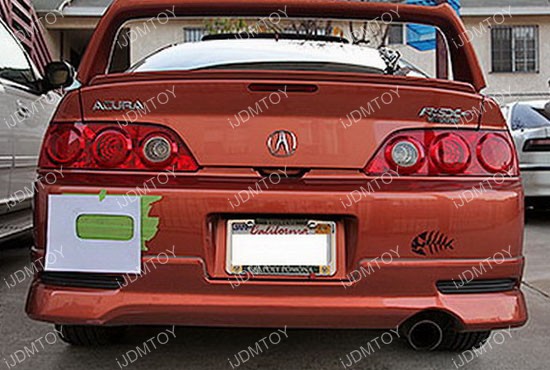
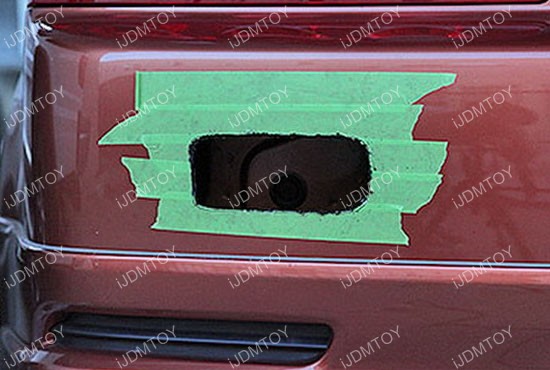
Step 4: Cut the bumper carefully!
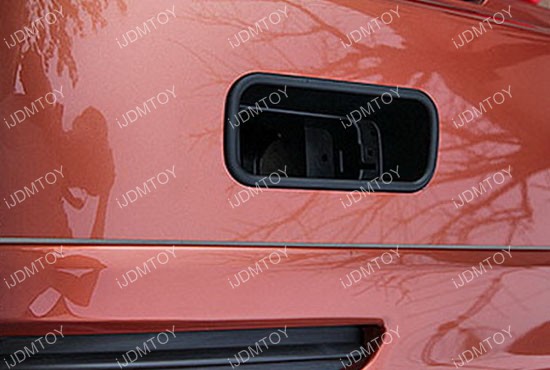
Step 5: Take the inner bracket and insert it behind the bumper. Then take the outer bracket and place it in front of the bumper. The two brackets will sandwich the bumper which will secure the LED rear fog light assembly.
Insert the red lens LED rear fog light assembly inside of the brackets and bolt everything together from behind the bumper.
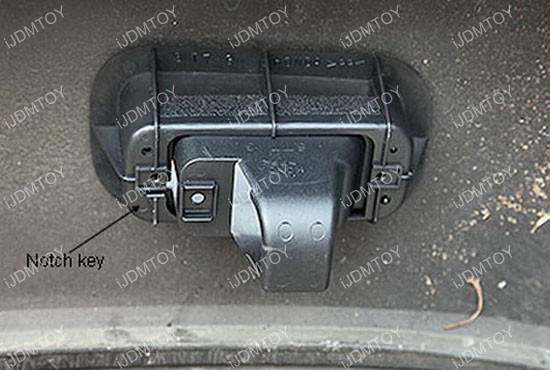
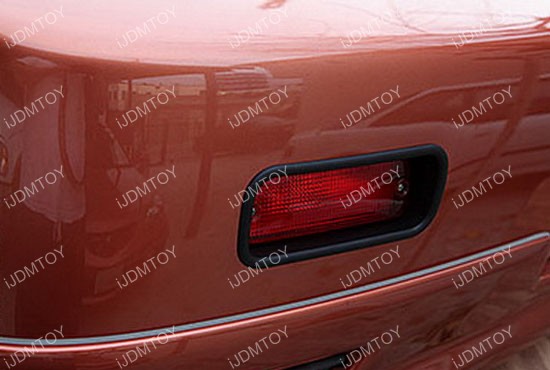
Step 6: Tap the wires to the existing license plate light. When the headlights are on, the LED rear fog lights will also be on.

