


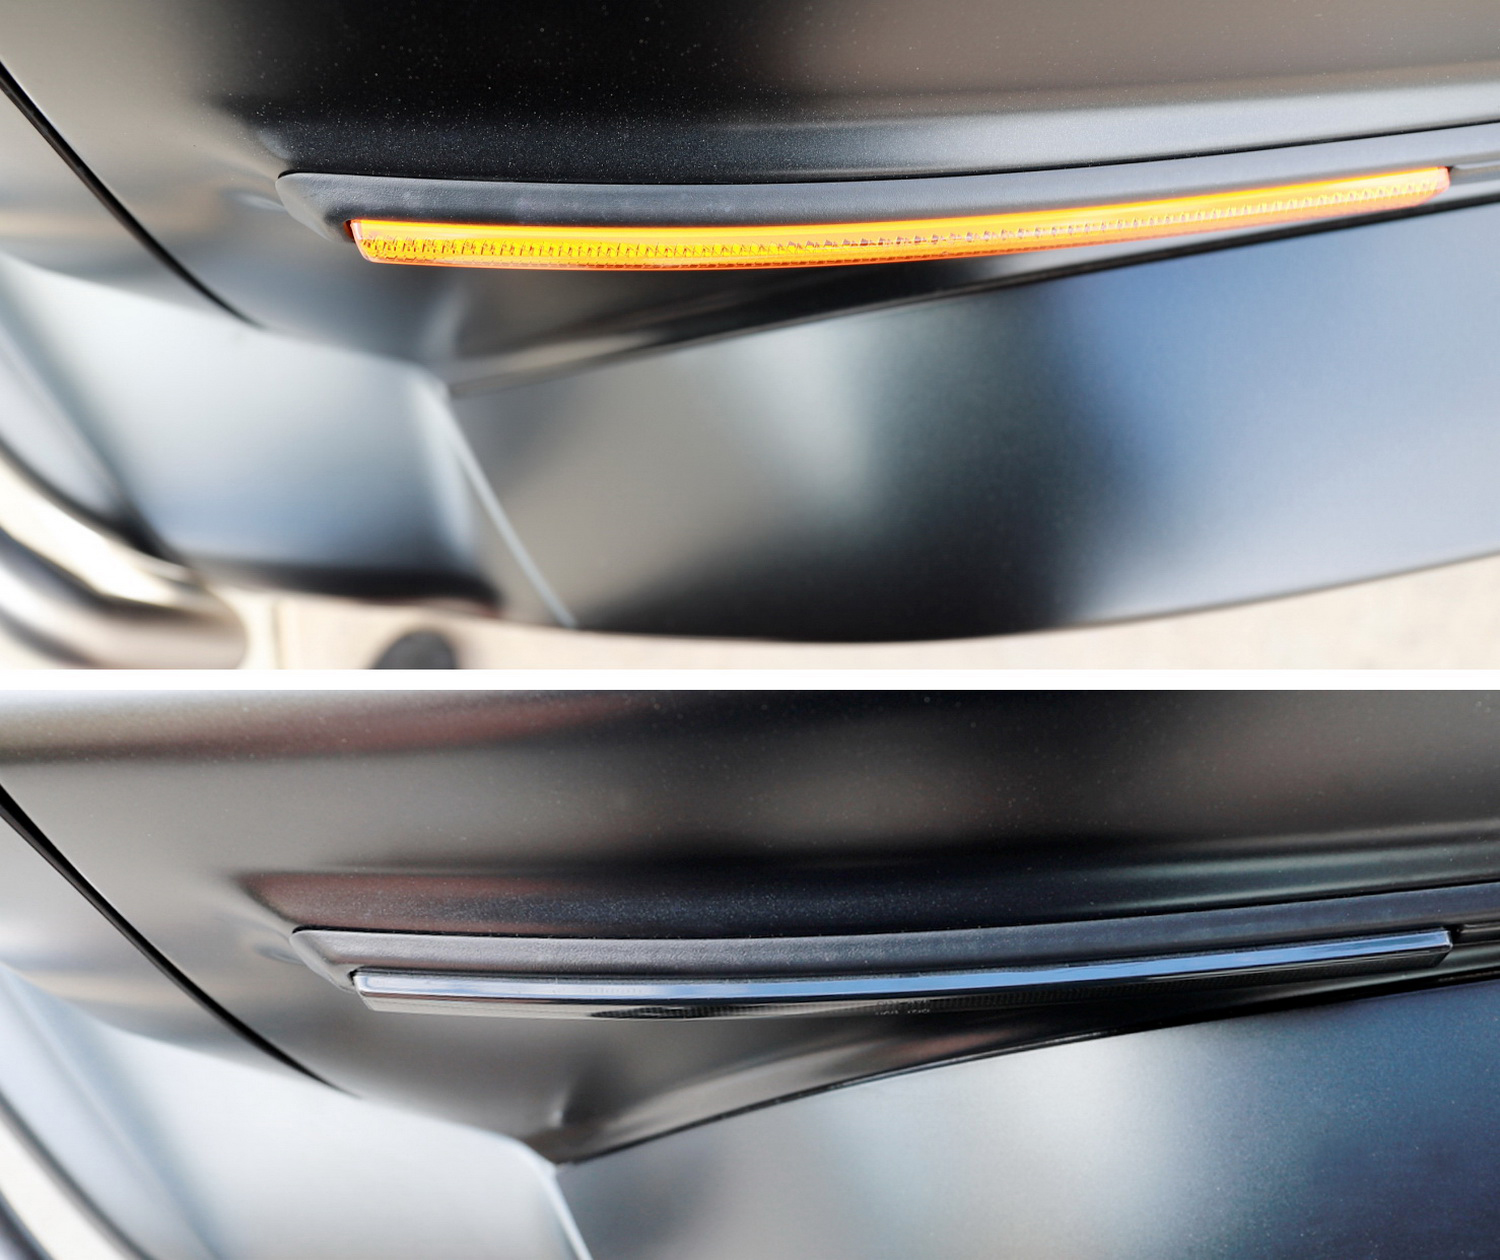
You can find this product at 2019-up Mercedes W463A G-Class Smoked Side Markers. (73-098)
 |
Disclaimer: Since you are working on an every expensive G-Class, install at your own risk!!! If you really do not want to risk it, you can also hire a professional installation and give them this install guide. |
Before the installation, there are several things you need to know:
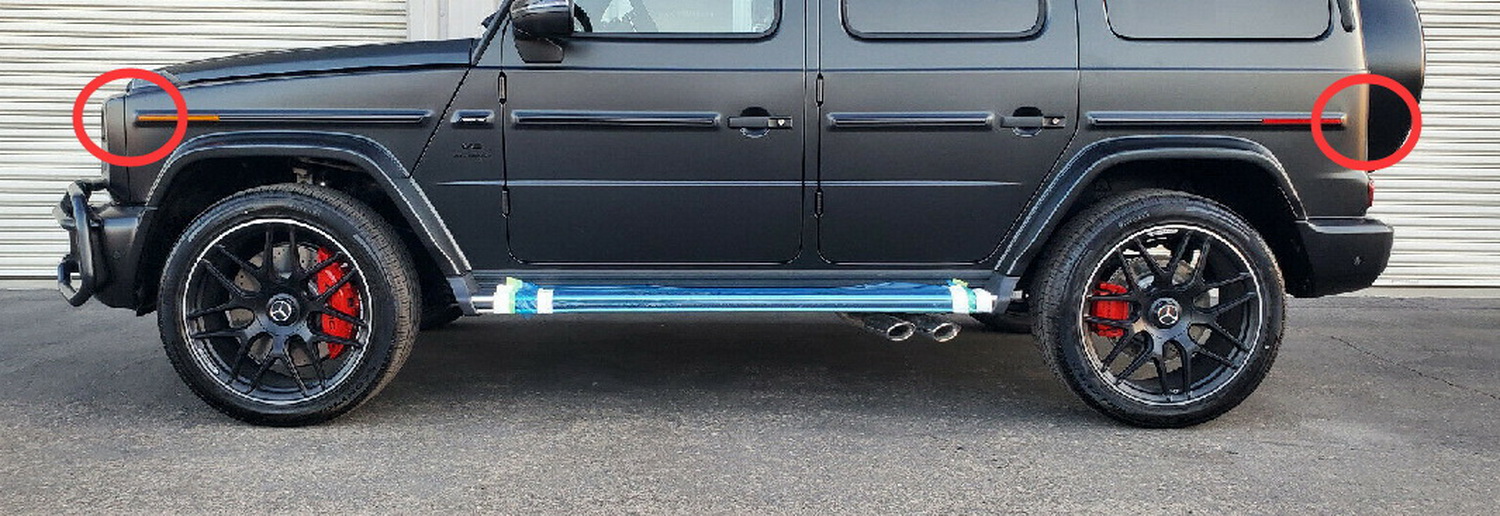
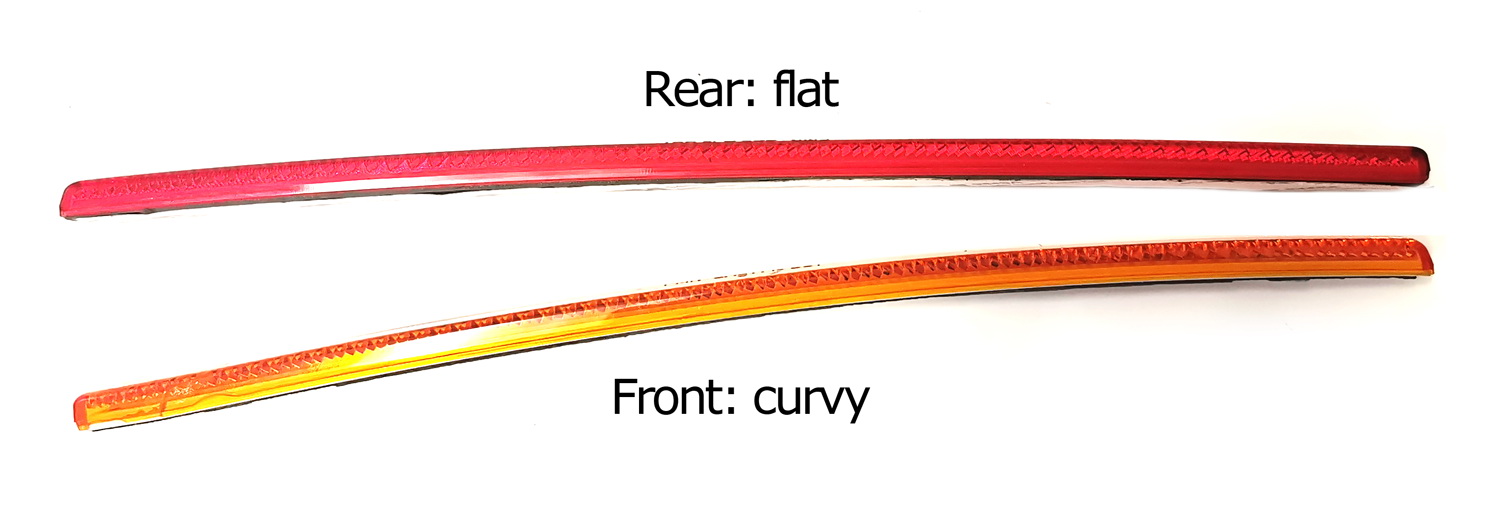
1) the front and rear side markers look very very alike, but the front pieces are more curvier while the rear pieces are more flatter. During the installation do not mix them up.

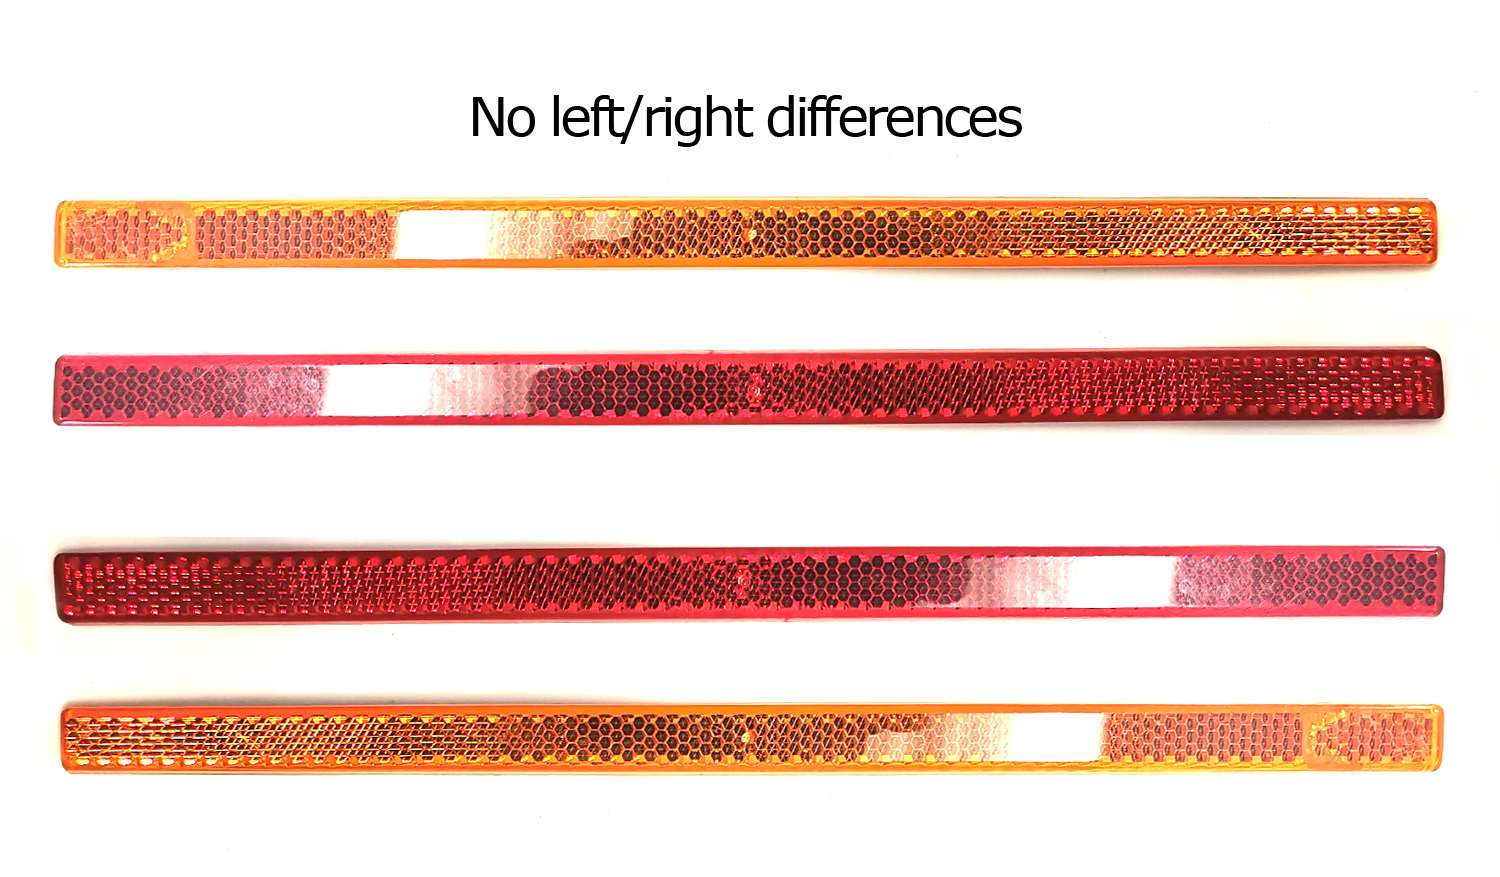
2) While there are front and rear differences, there are no left and right differences, you can use both the front side markers for either the driver and the passenger sides during the installation.
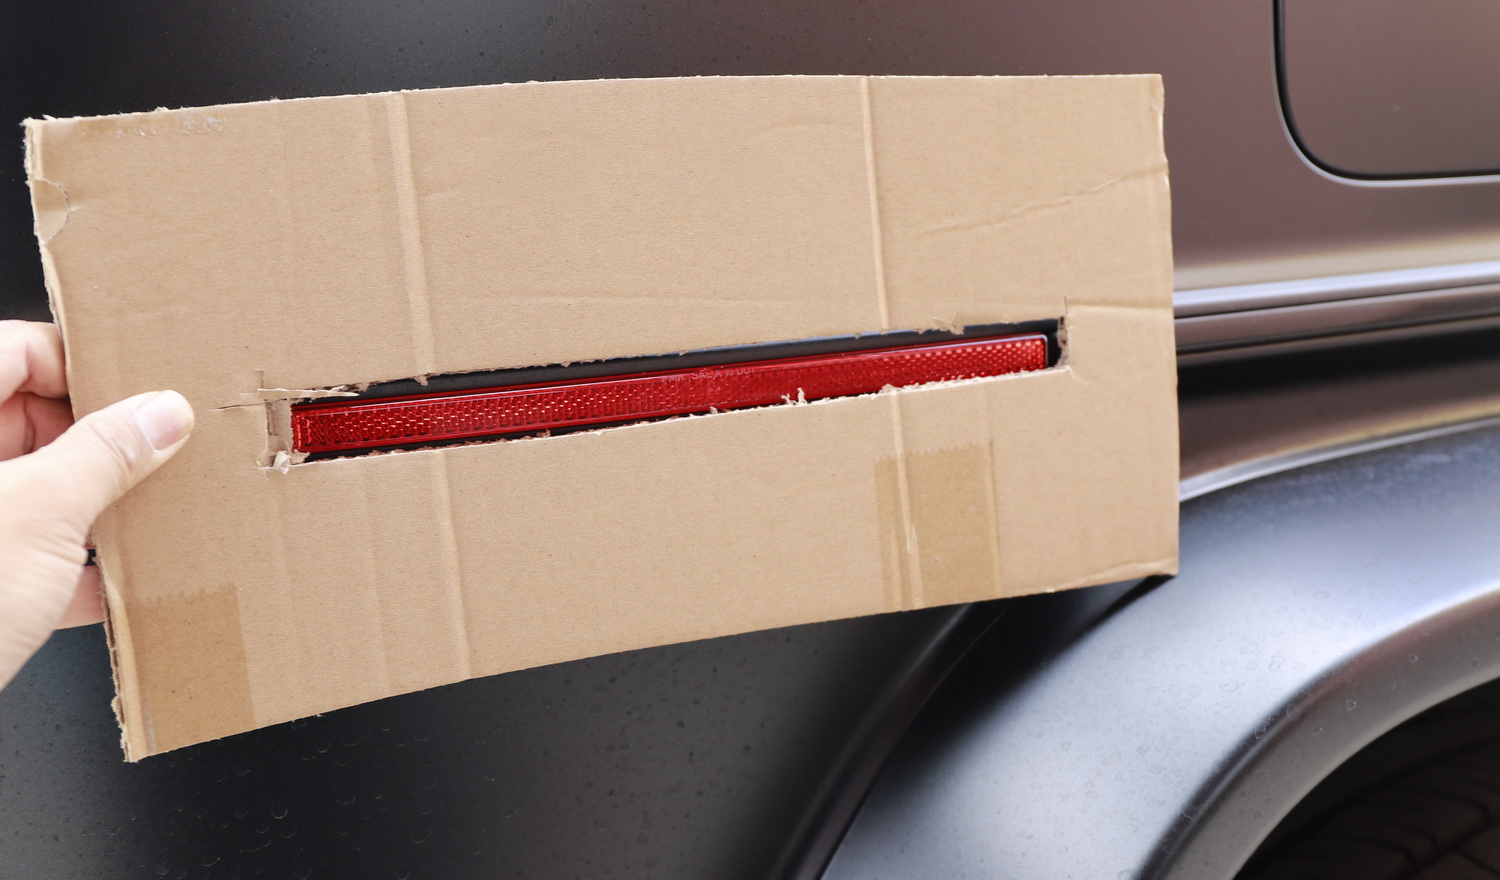
3) You need to use a heat gun during the installation, please be very careful on this, the heat might also soften the G-wagon's molding trim. You can use cardboard to make a shield during the installation.
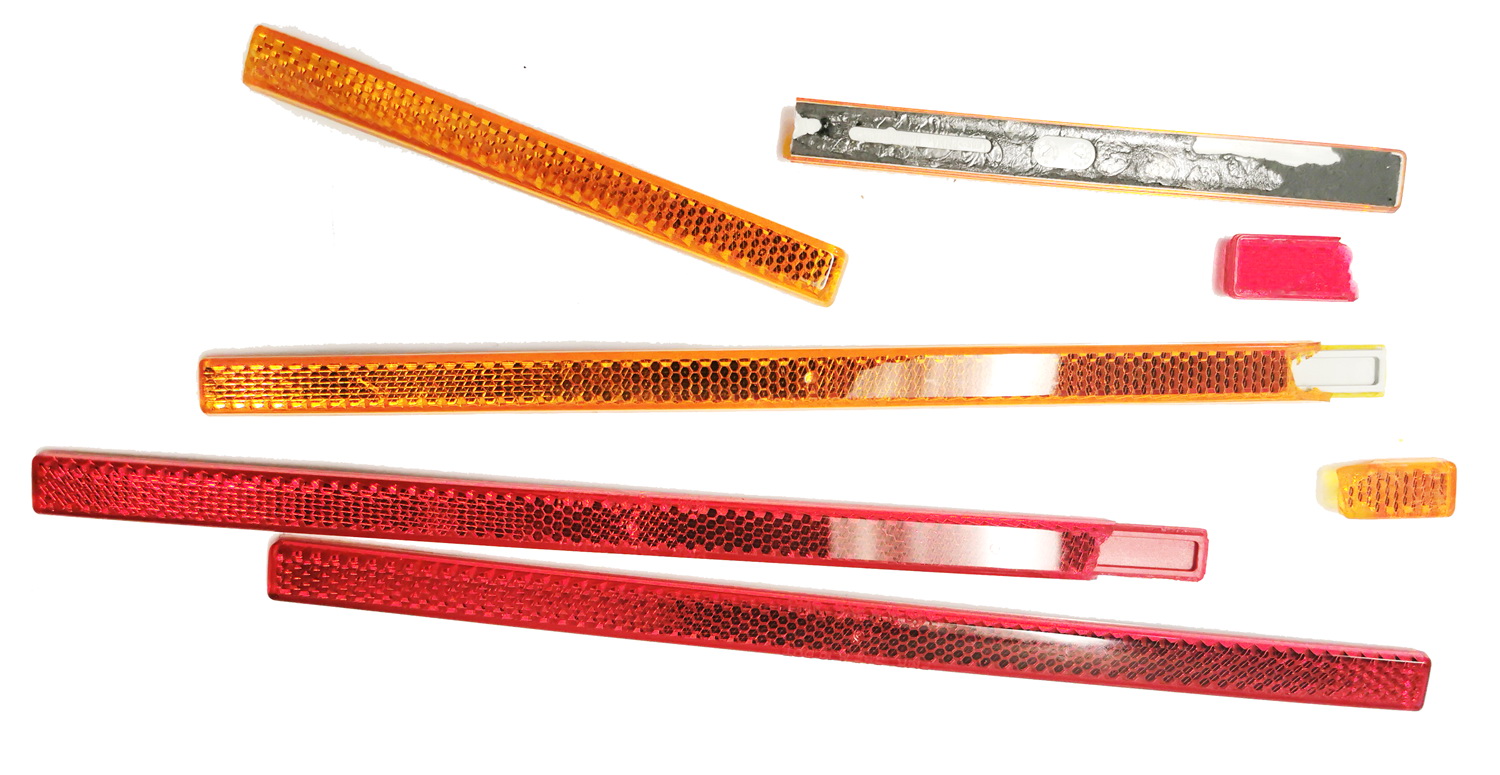
4) The original side markers are very thin and long, during the removal process, the side markers can get damaged or cracked. We cracked 3 out 4 of my original side markers during the installation :(
Installation Guide
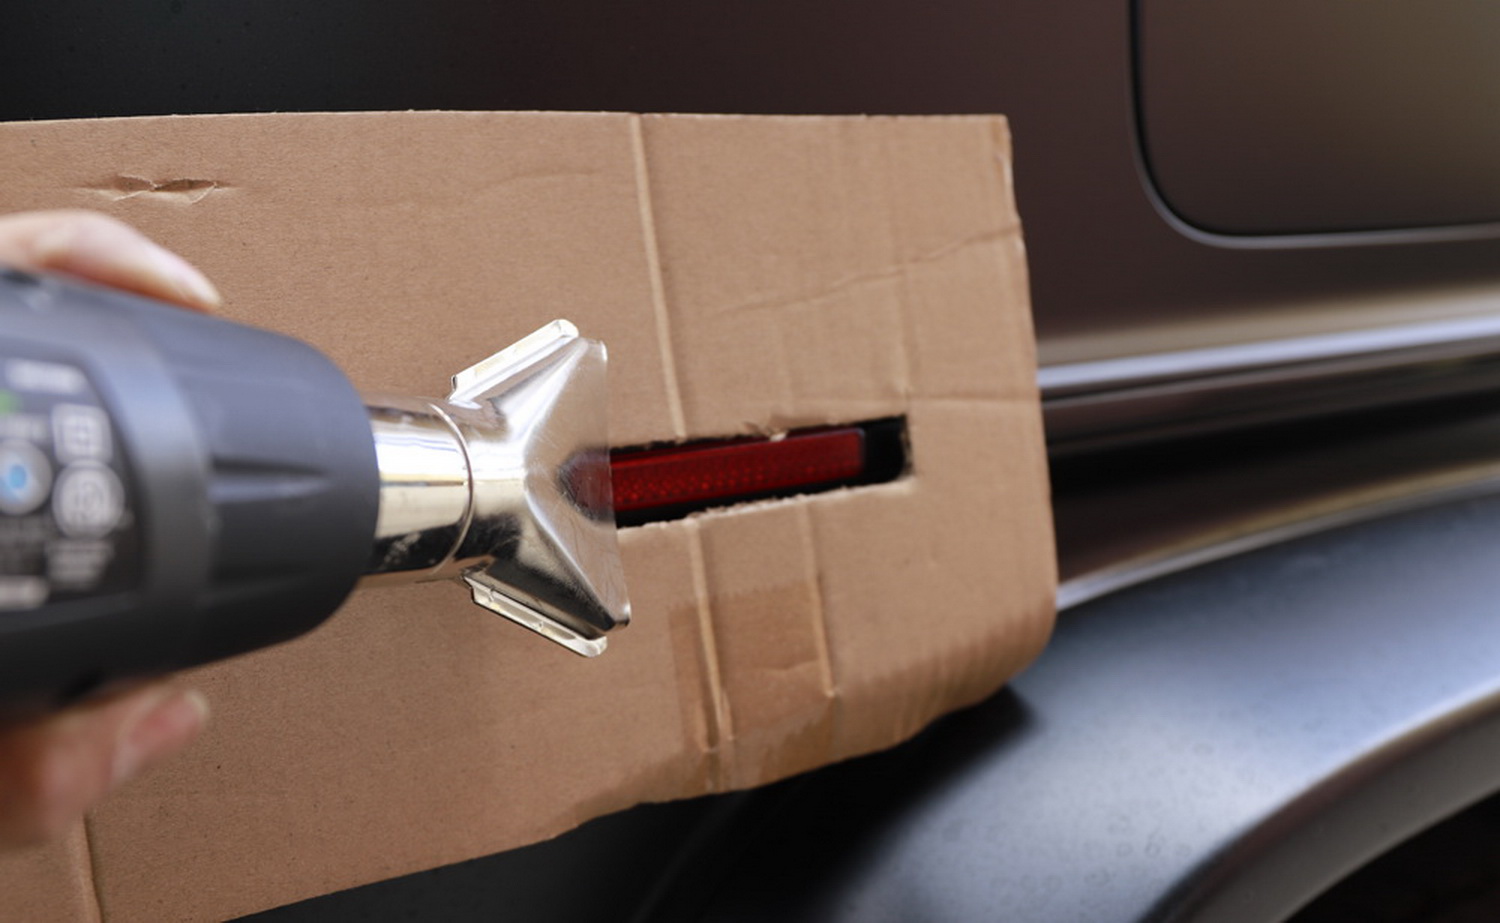
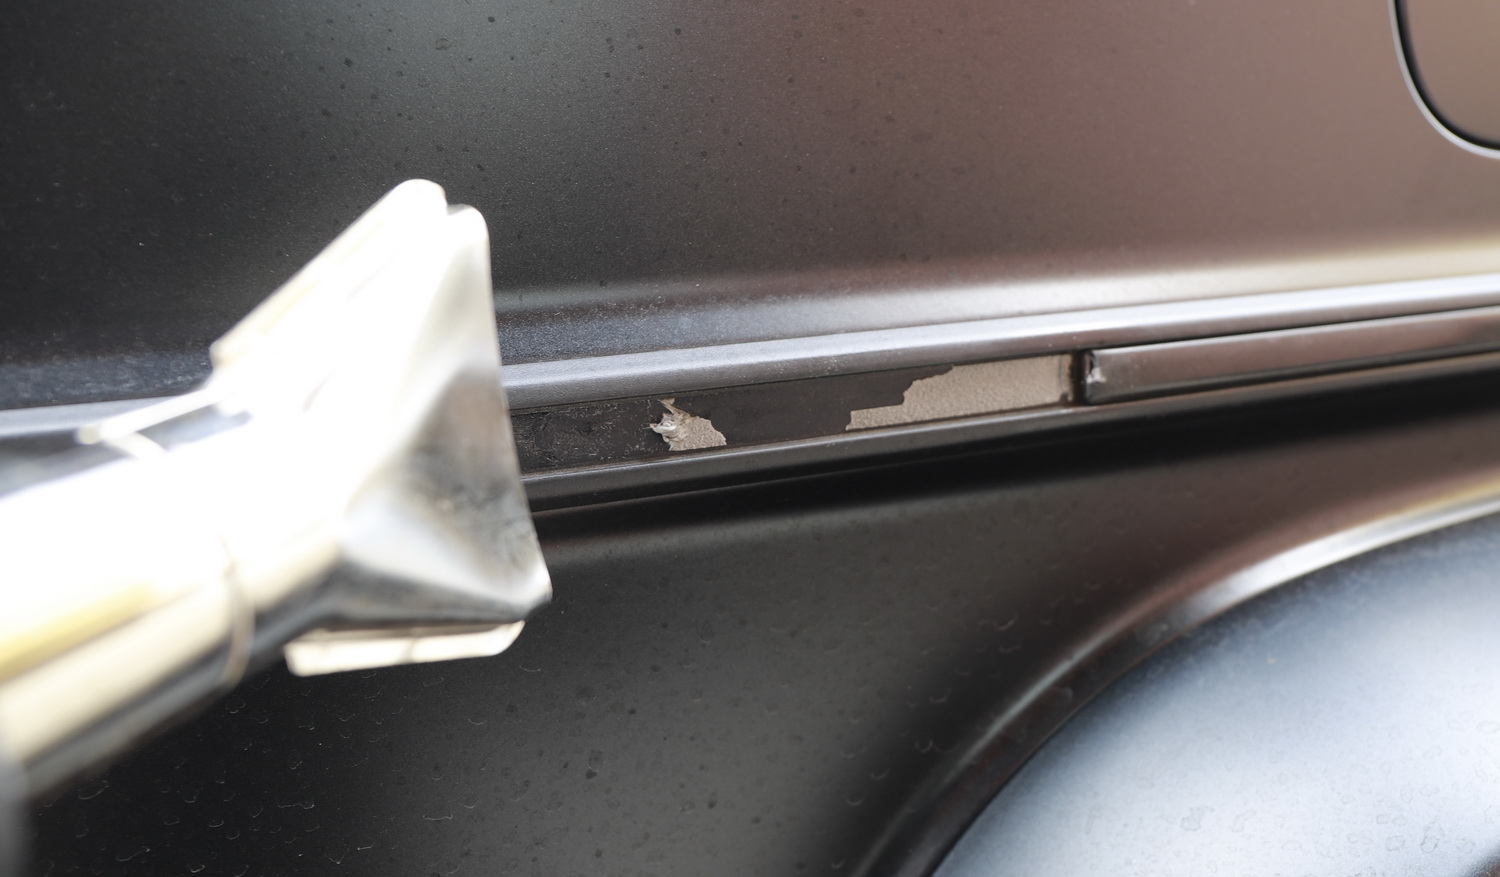
Step 1: Make a cardboard shield and gently use the heatgun to slowly loosen the adhesive of the original side markers ONLY from the outwards of the G-Wagon because the inner part of the molding trim is silicone coated, the heat will damage the coating.
Step 2: Once the side marker adhesive is warm and loose, use a flathead screwdriver covered with cloth to gently pry the side marker out a little bit, and then continue to use heatgun to gradually loosen the adhesive behind. AGAIN, only work from the outwards of the vehicle to prevent damage to the trim (I've made this mistake on my initially try :(
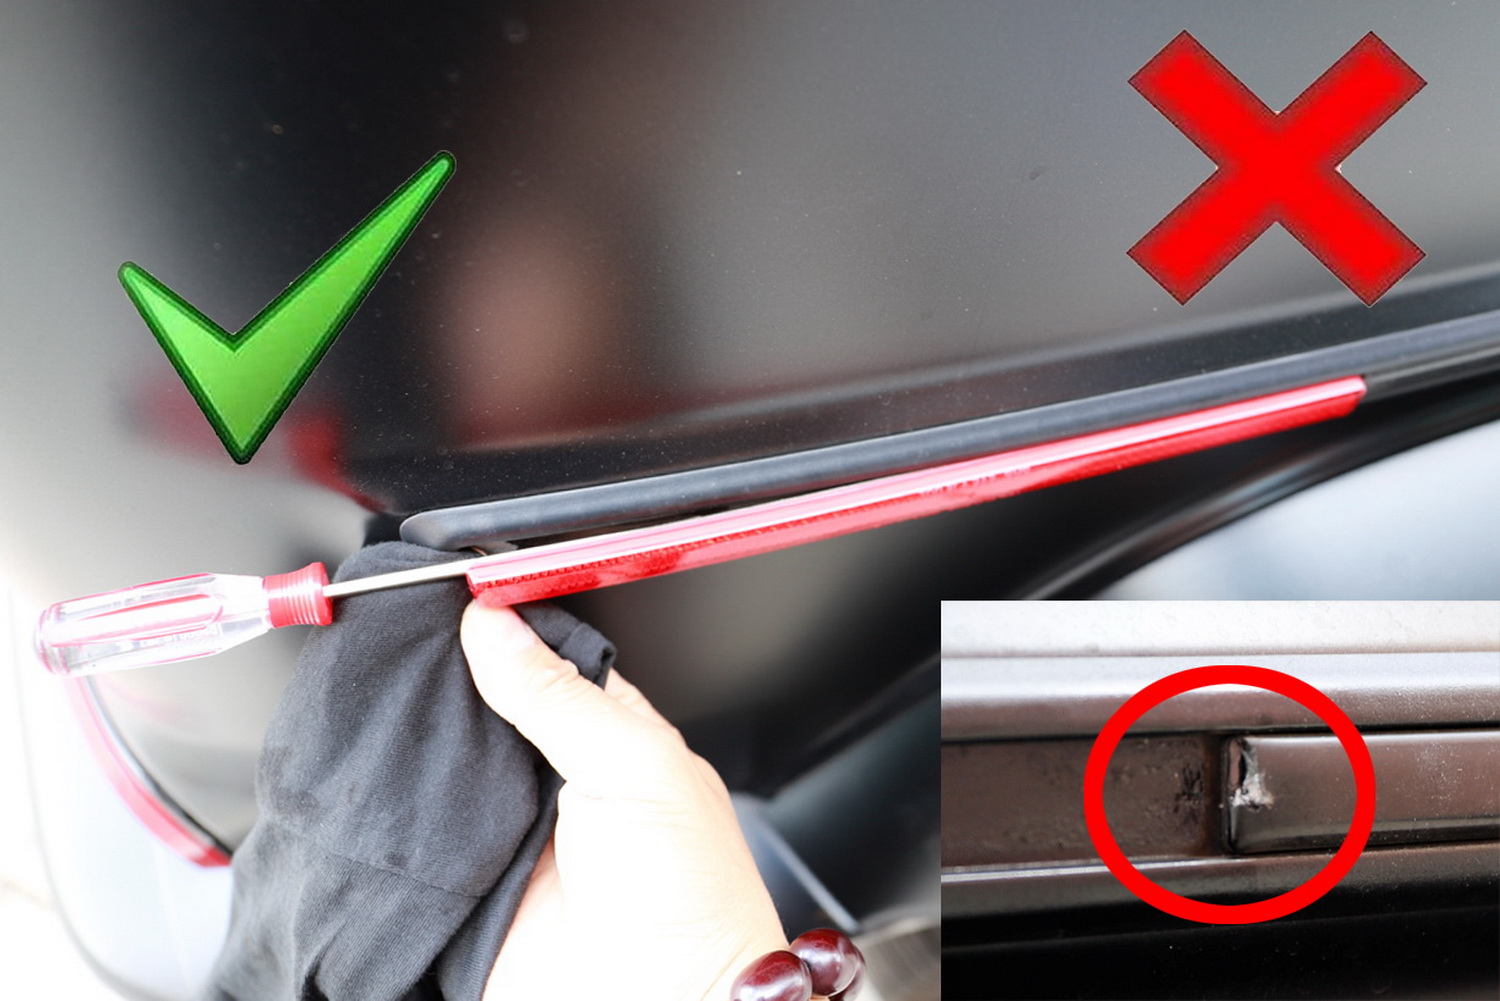
Step 3: Slowly remove the side marker, do not rush in this process, otherwise, you will break this very thin and long side marker as I did :(
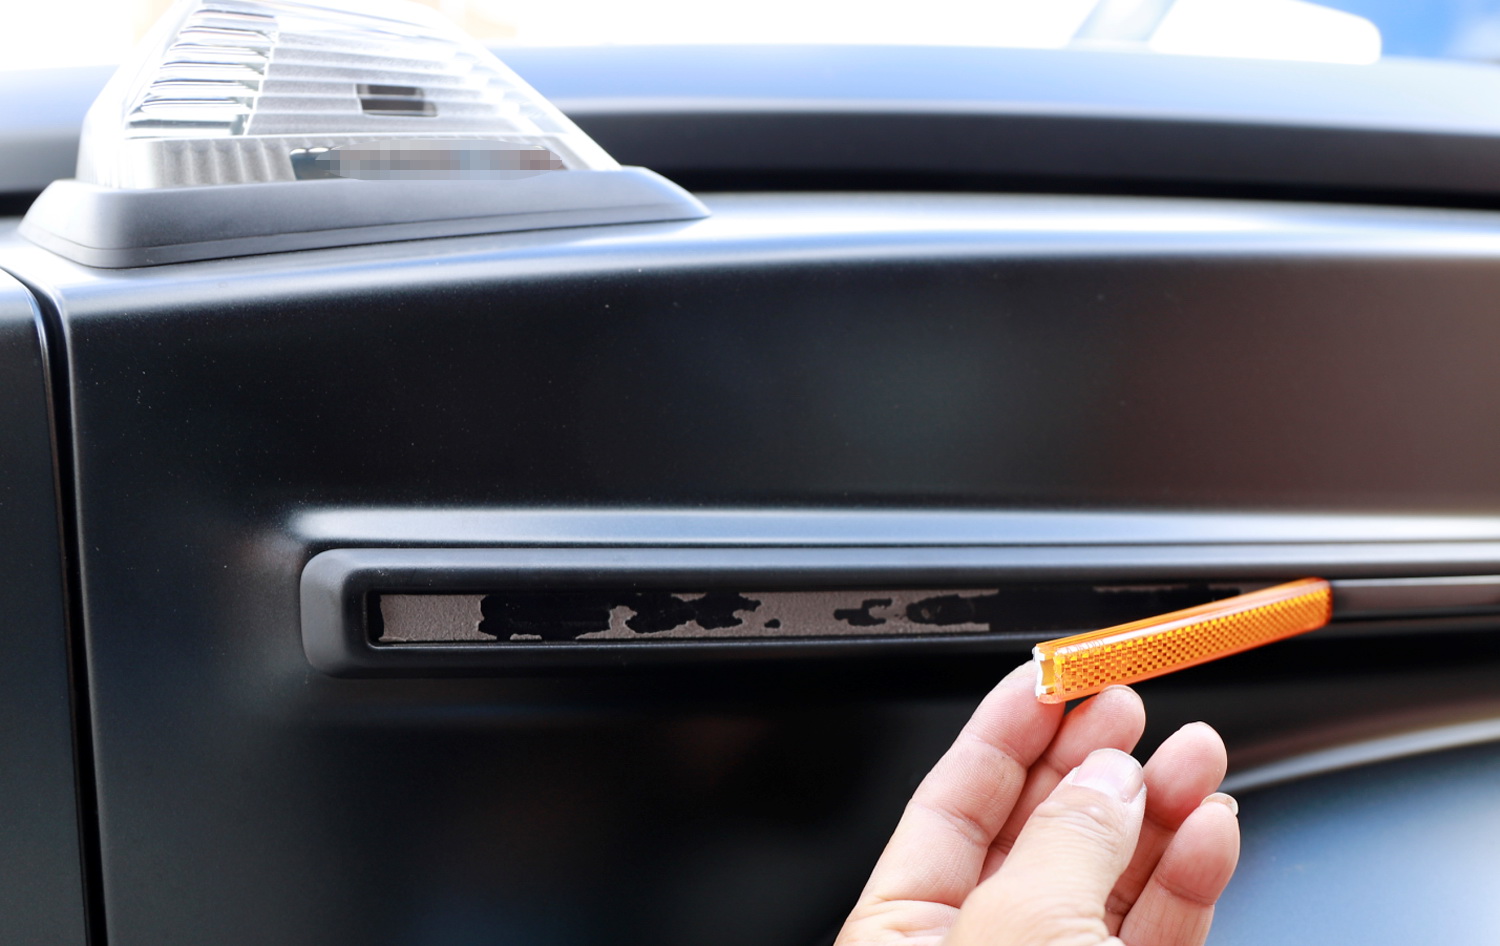
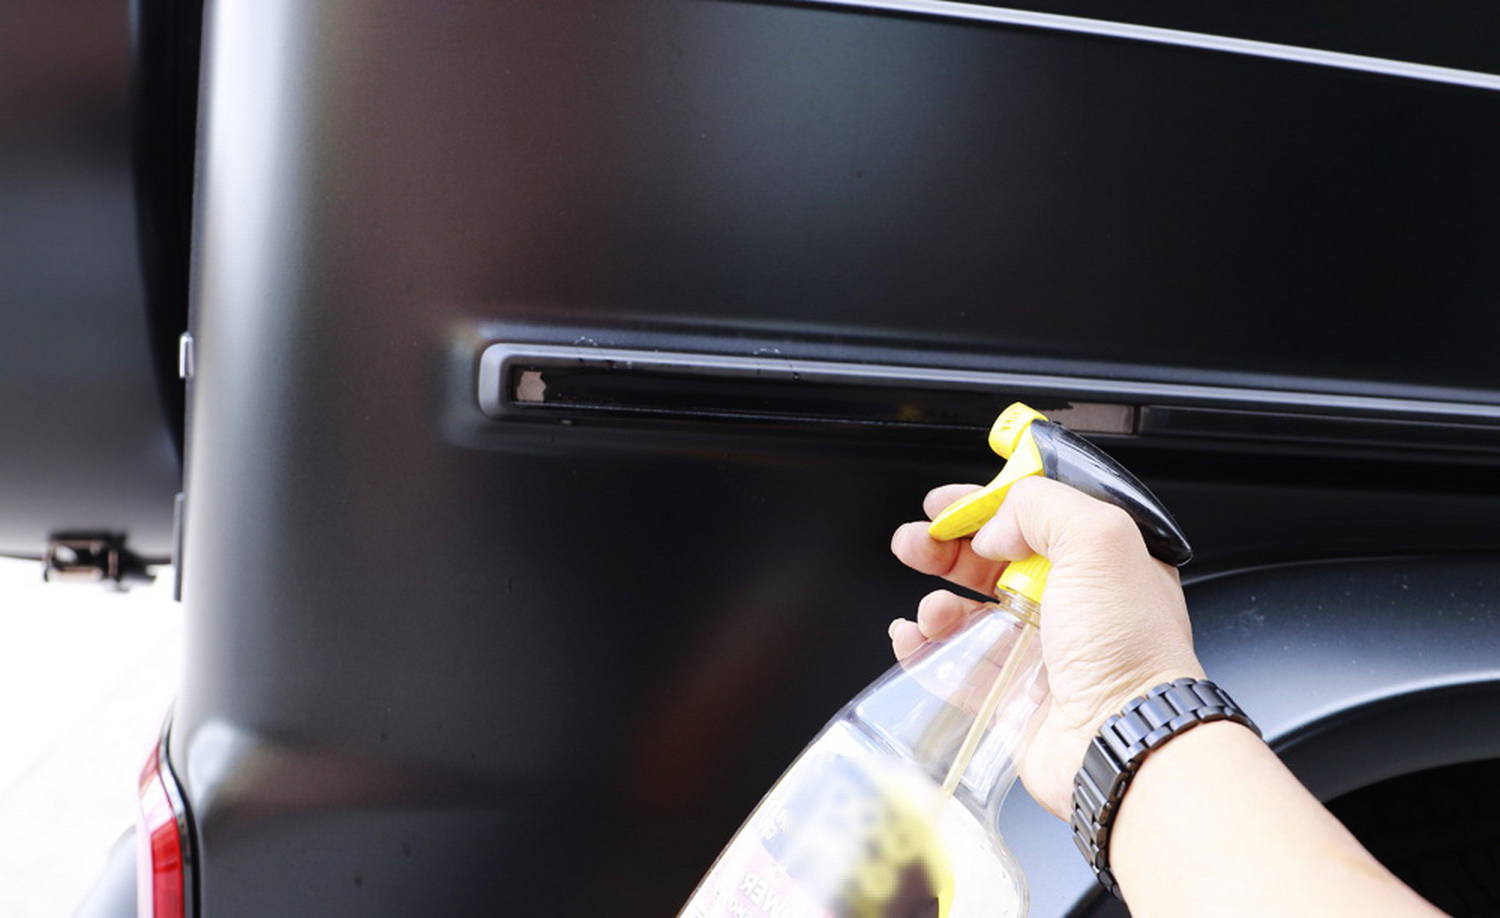
Step 4: Once the side marker is removed. Clean it with water afterward and let it air dry. Continue to use heatgun in low temp along with glue gone to remove any residuals.
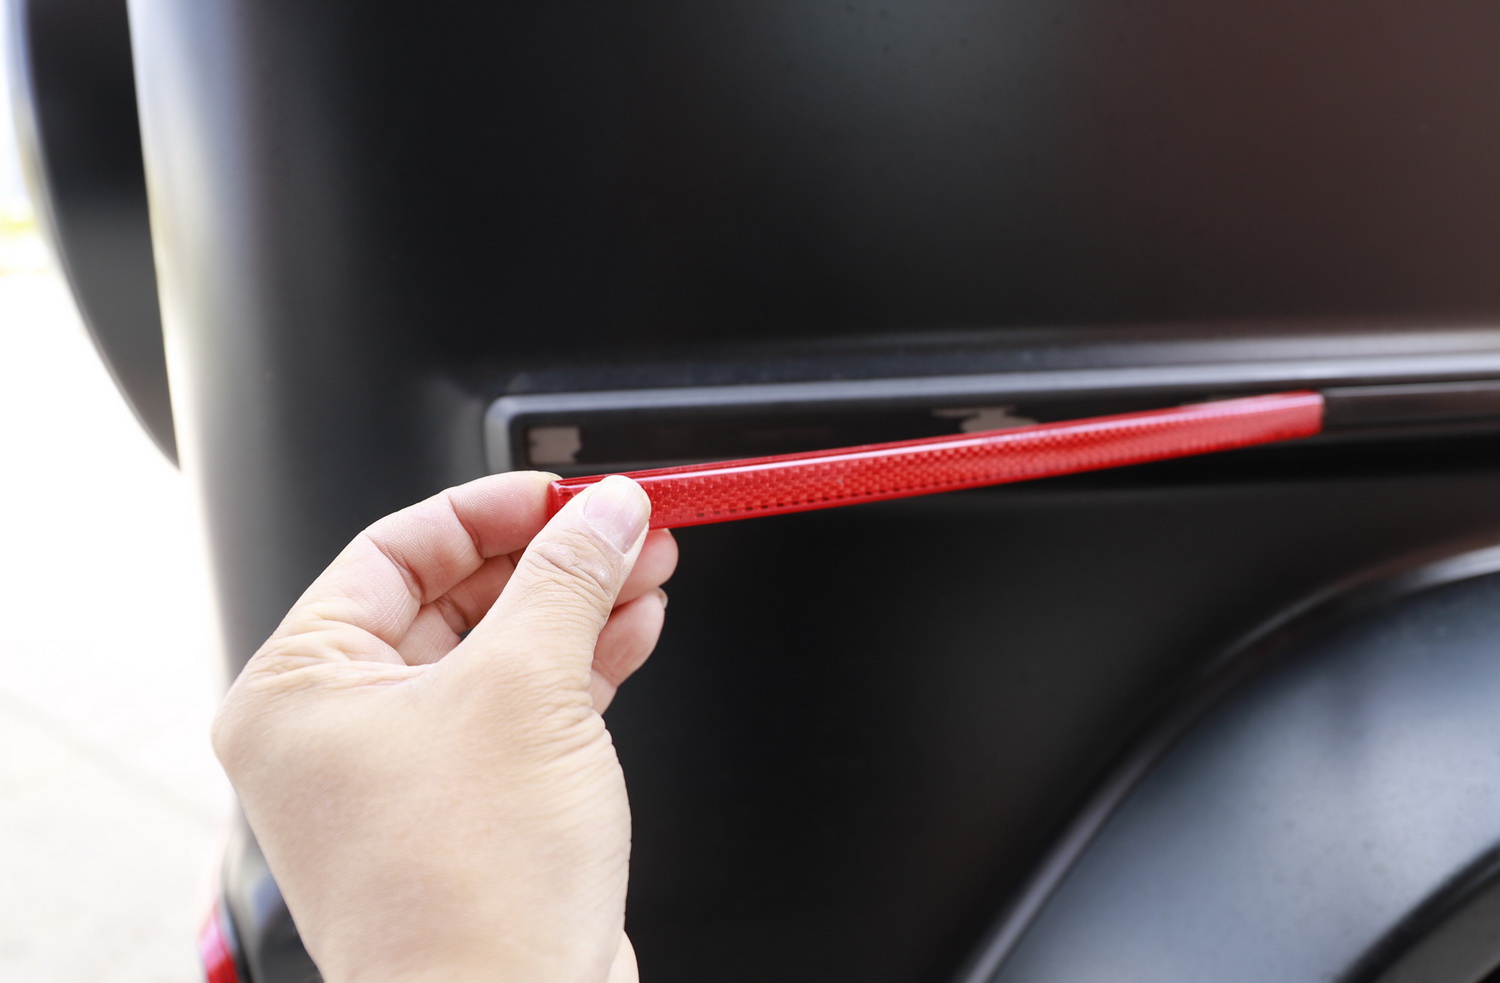
Step 5: Remember the side markers have front and back differences, do not install with the wrong piece. If you are working from the back to the front, you will be installing the flatter piece first.
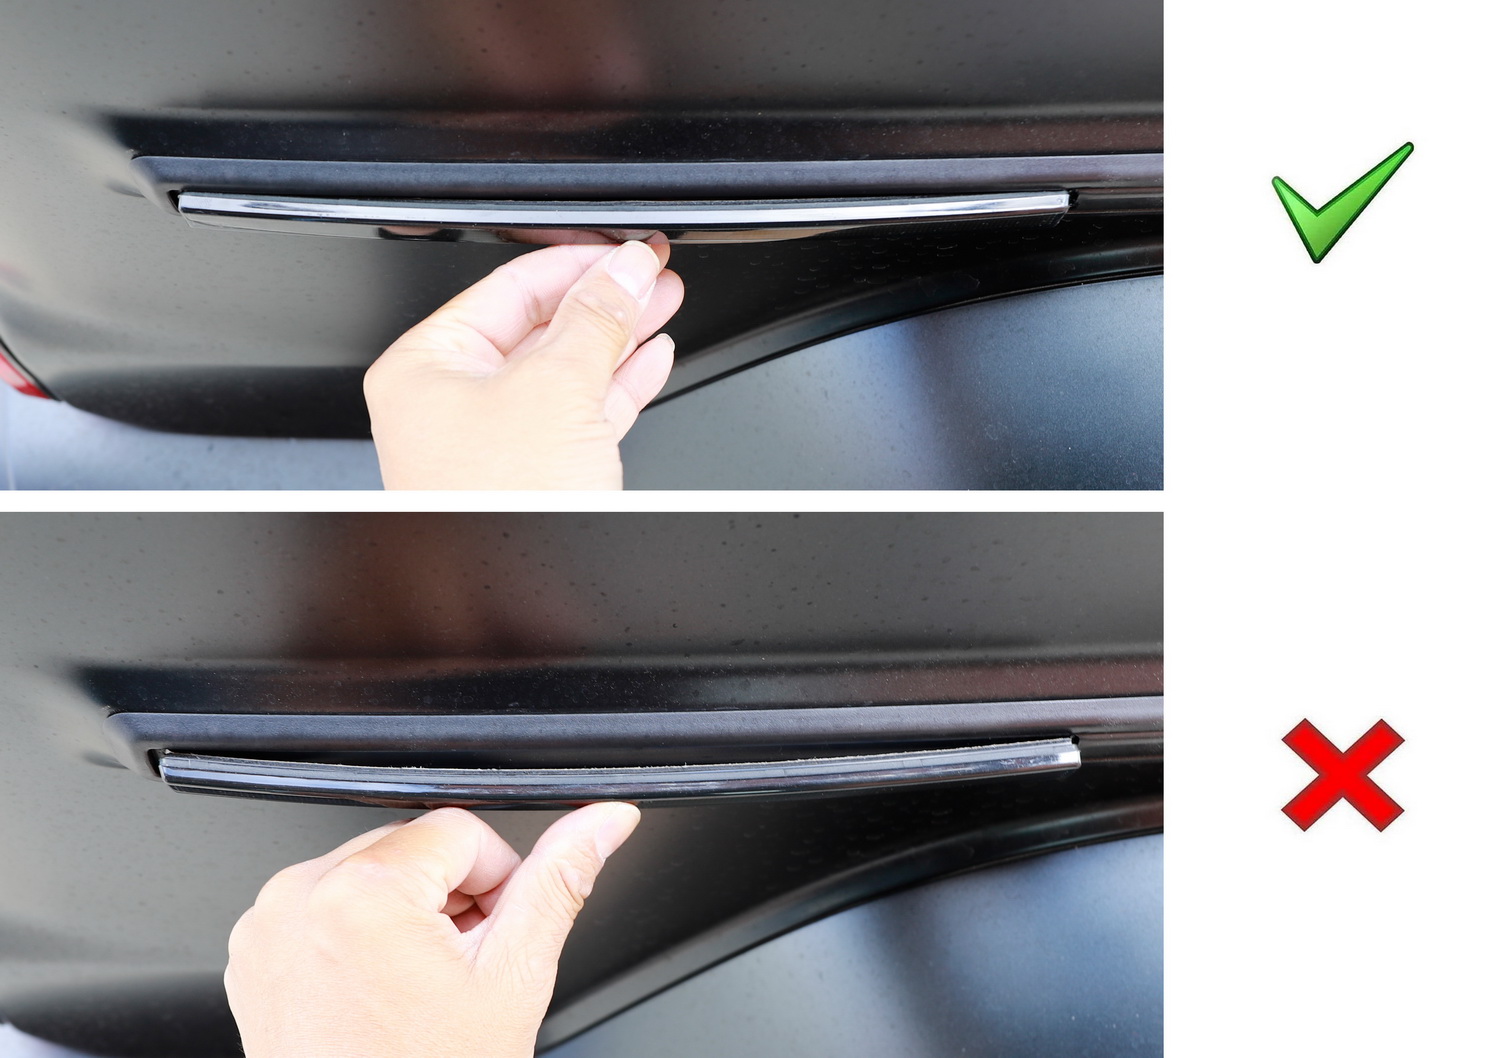
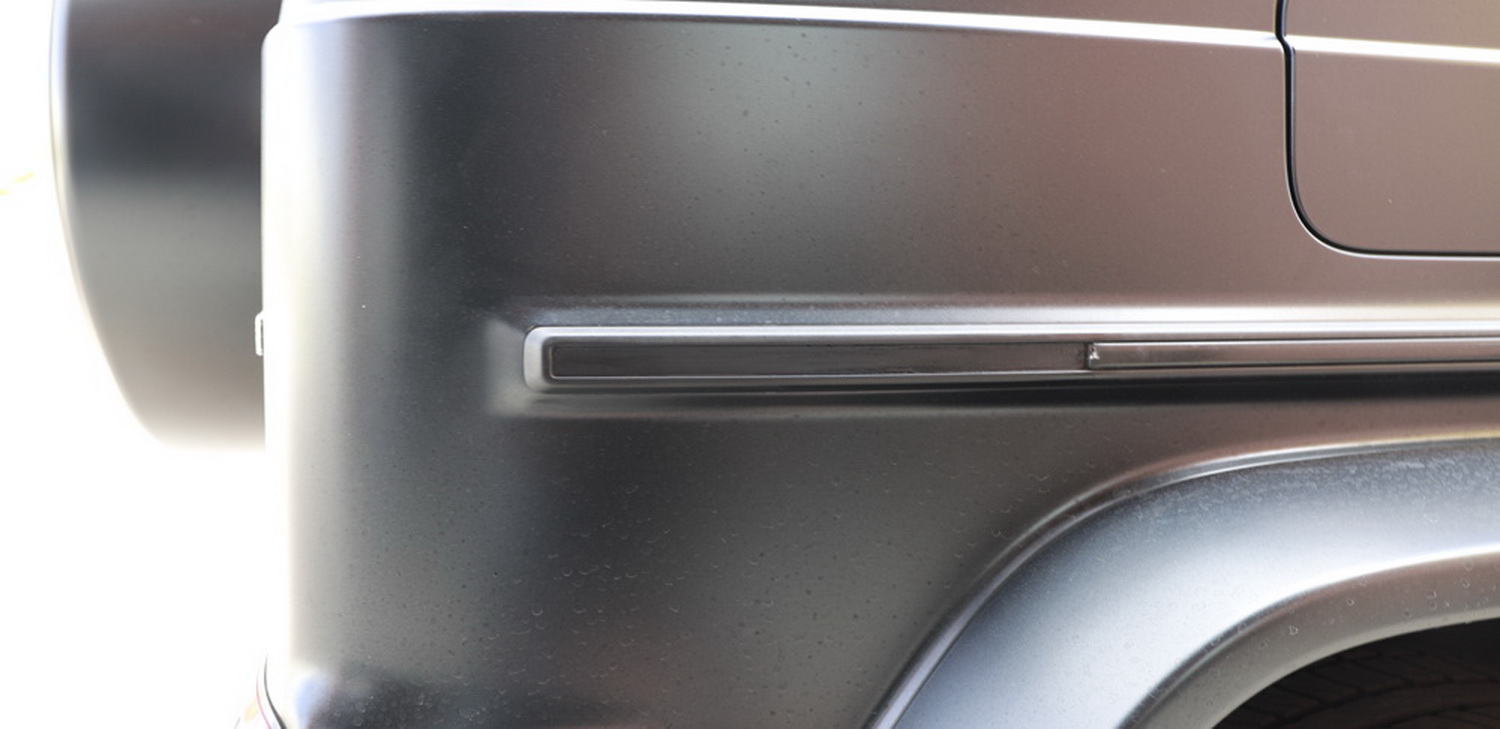
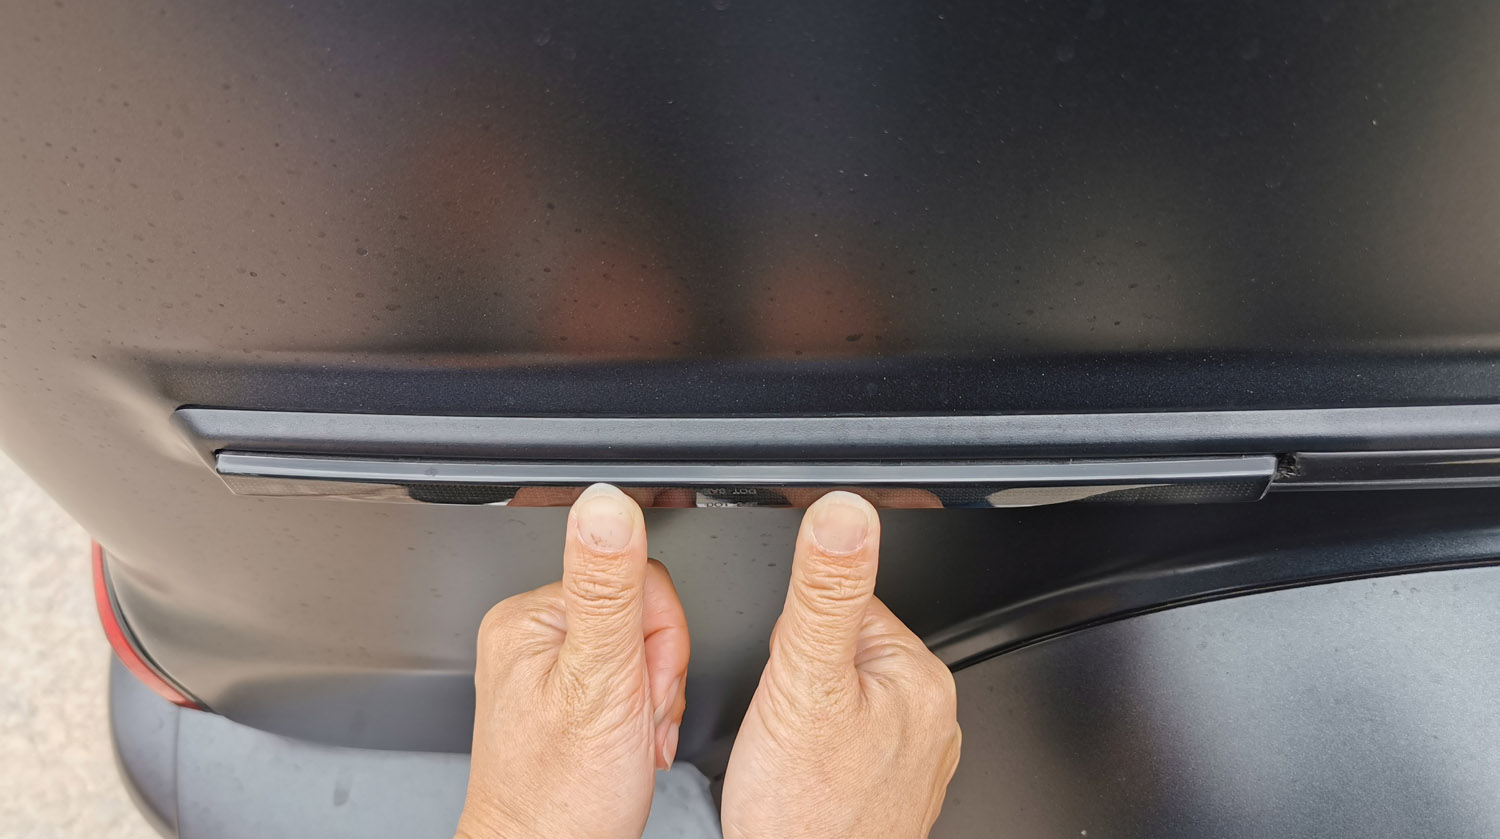
Step 6: Carefully peel off the backing and apply the new side marker back slowly. Use two thumbs to hold the side marker on position for at least 60 seconds to let the adhesive fully bond to the surface in the slot. Please note that the adhesive we used for this product is 0.3mm thicker than the OEM. So it might look slightly “thicker” but not noticeable at all. (see the 2nd picture for the comparison)
Step 7: Repeat the same process for the other three sides. Again pay attention to the heatgun temperature; pay attention to the removal process (be very very slow and careful), and pay attention to the orientation. Finally Enjoy!
