


You can find this product under 7440 LED Turn Signal Kit (20-001).
This guide is to demonstrate how to install our specially designed and US patent pending error free, no resistor required 7440 LED turn signal upgrading kit. These new plug-and-play 7440 LED bulbs are exclusively designed by iJDMTOY for the front and rear signal light. The black silicone adapter is actually inspired by the suction part of a baby bottle. The grooves in the adapter allow it to grip the area where the turn signal was located and latches on very tightly to make it compatible with pretty much all cars using the 7440 housing. After the groove in the silicone is in, it grips the signal lamp hole very tightly and becomes difficult to dislodge. Please keep in mind that this product can only be used for the front or the rear turn signal lights. Do not use this product anywhere else because it will damage the decoders.
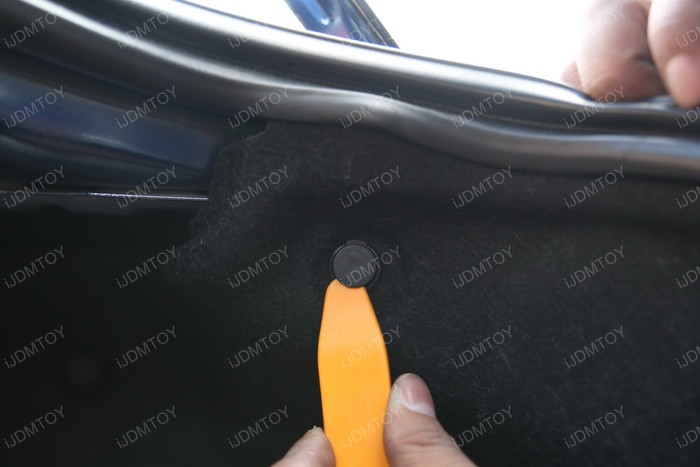
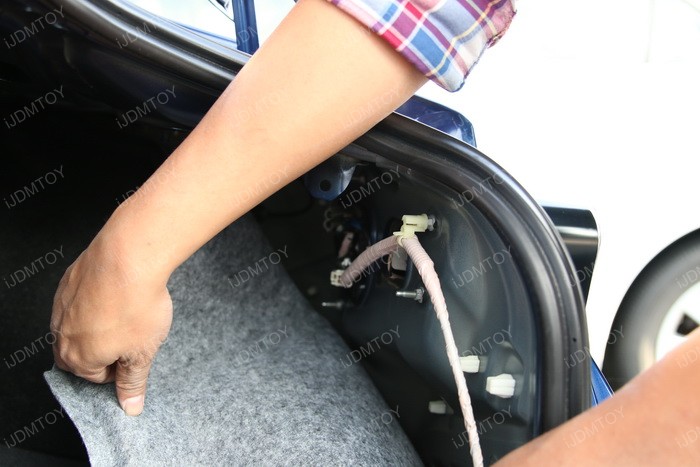
Step 1) Use a flat screwdriver or pry tool to remove the plug that secures the inside carpet to the trunk. Pull out the carpet for access to the taillight.

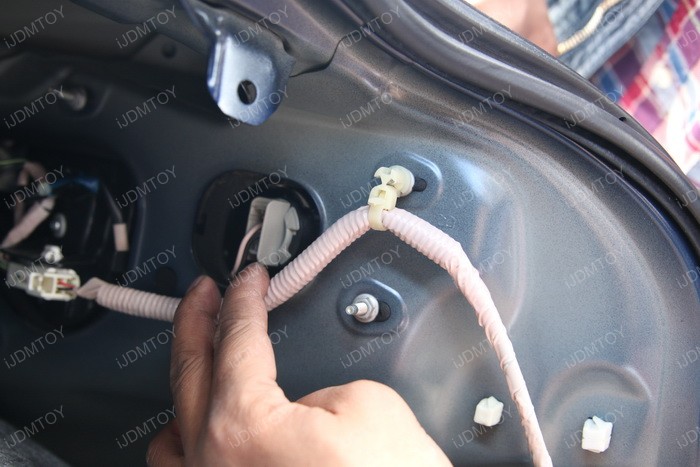
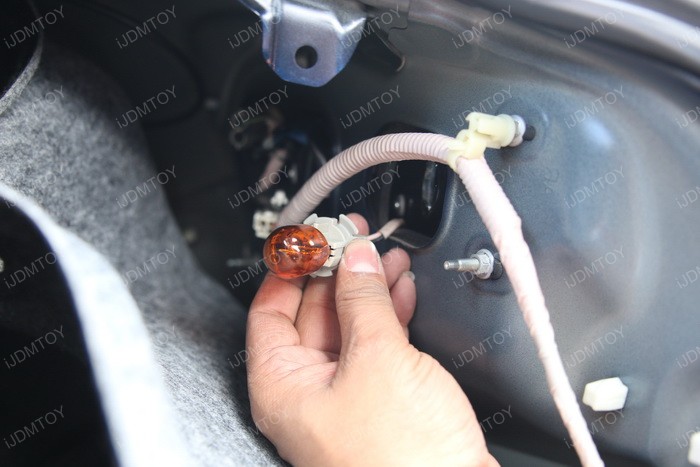
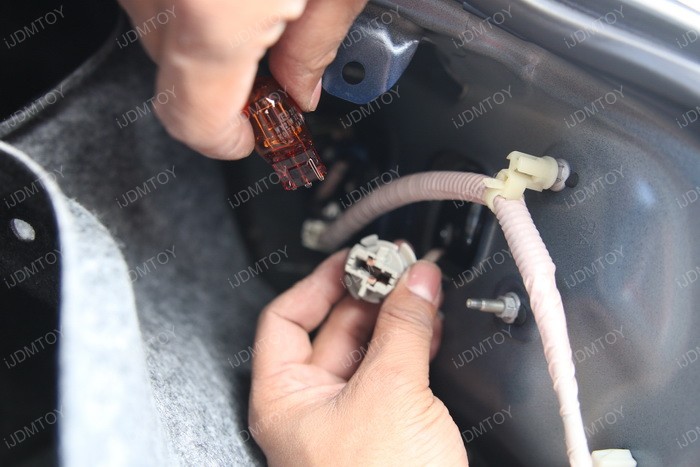
Step 2) Locate the turn signal light and simply remove it from the stock socket.
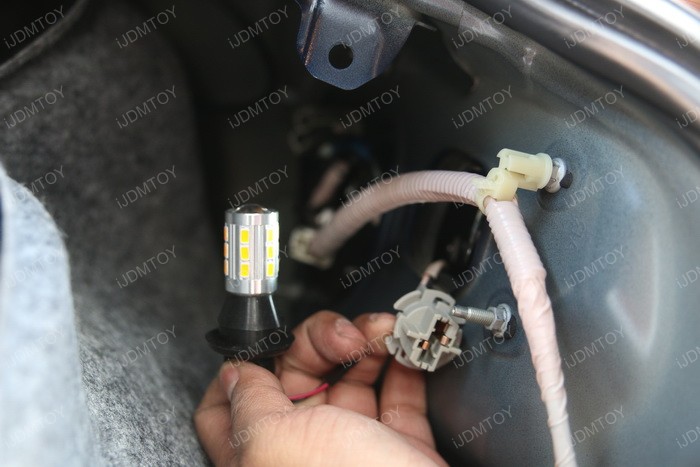
Step 3) Now we are going to replace with the new LED bulb. Hold the rectangular part, and gradually insert the black siliconee adapter into the turn signal light opening. The black siliconee base from this LED bulb is specially designed to completely replace the stock 7440 adapter. This siliconee base is made with enough flexibility to fit pretty much any 7440 openings. When you first plug in the silicone base, you will experience some resistance, but that is completely normal and actually works towards securing the base to the turn signal hole. Simply maneuver and wiggle the silicone base in and it will fit and lock itself in. You will see that after the silicone base is in, it is quite difficult to become dislodged. When the silicone base is correctly inserted, you will be able to tell as it becomes rigid and difficult to wiggle.
A quick video to show you how to insert this LED bulb
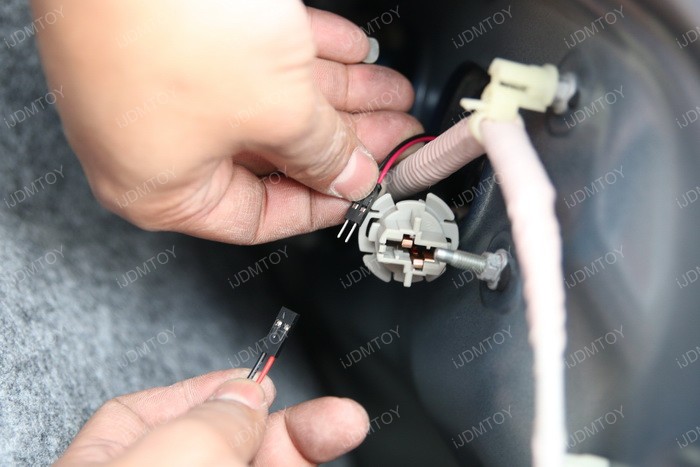
Step 4) Take the heat shrink tube from the package and feed it through the decoder/canceller side of the wire first
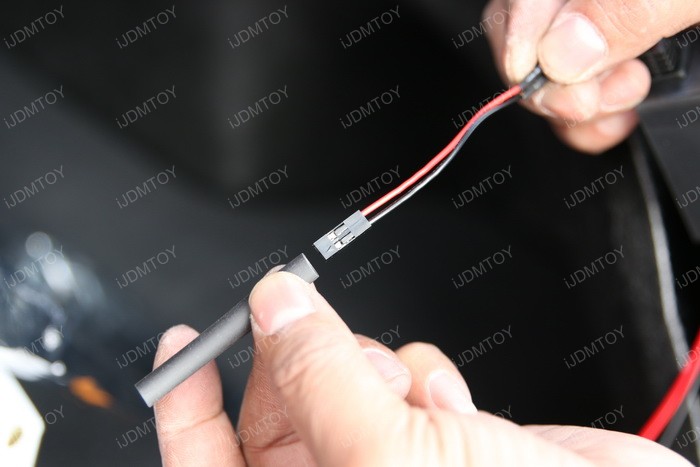

Step 5) Connect the decoder/canceller with the LED bulb
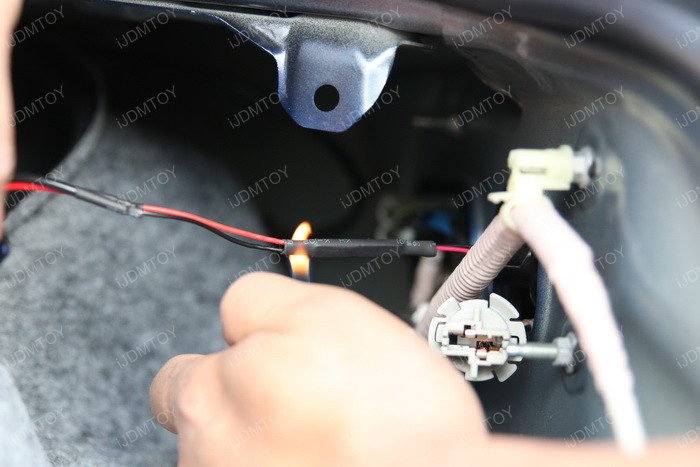
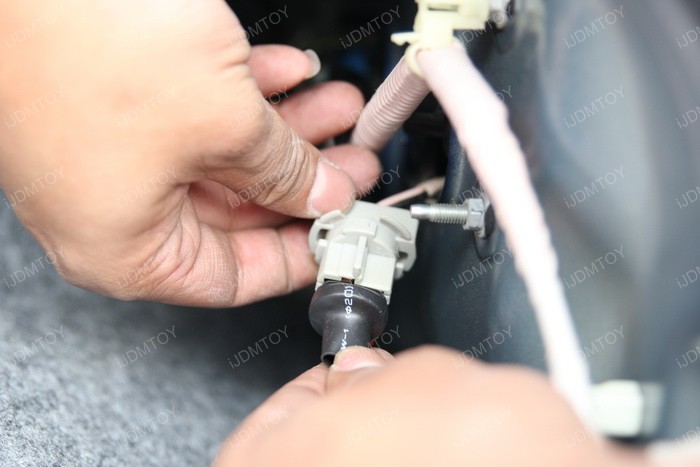
Step 6) Move the heat shrink tube to cover the connectors, and then use a lighter or a heat gun to shrink it so the two connectors won’t fall loose.

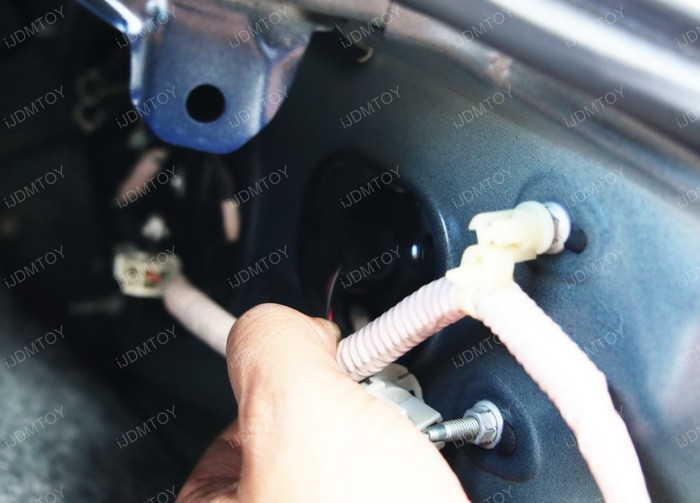
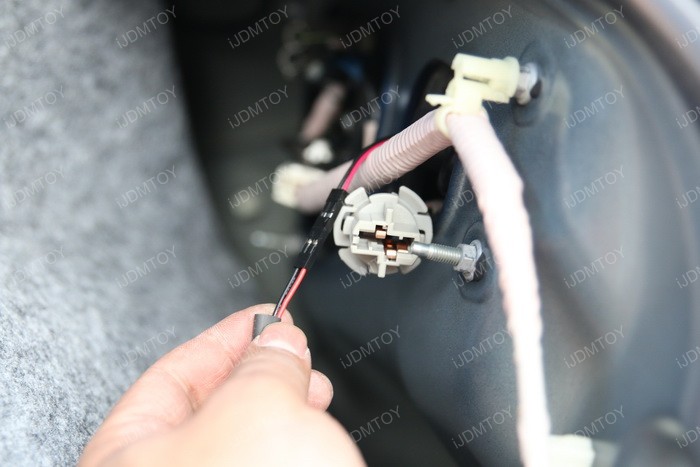
Step 7) Plug the 7440 adapter from the decoder/canceller back to the stock socket.
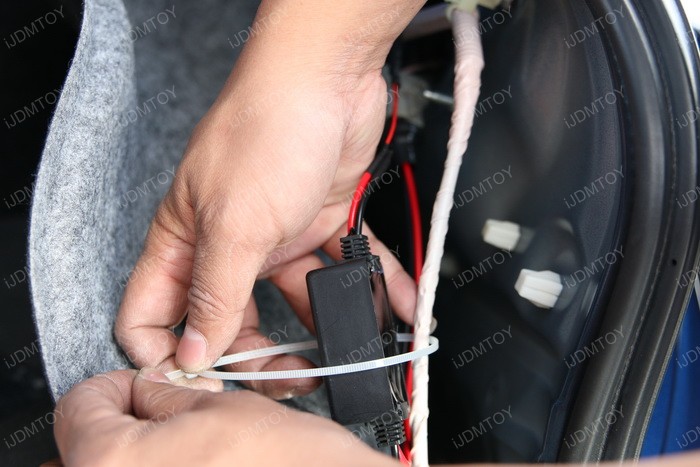
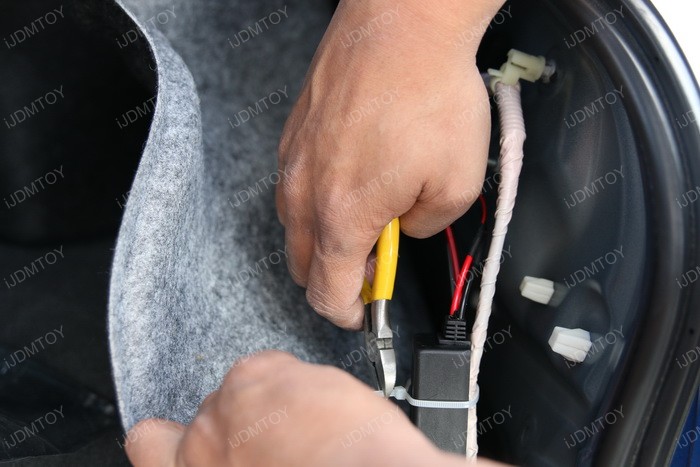
Step 8) Ziptie the decoder/canceller box somewhere so it will be secured.
Step 9) Put back the carpet and secure it back with the clips.
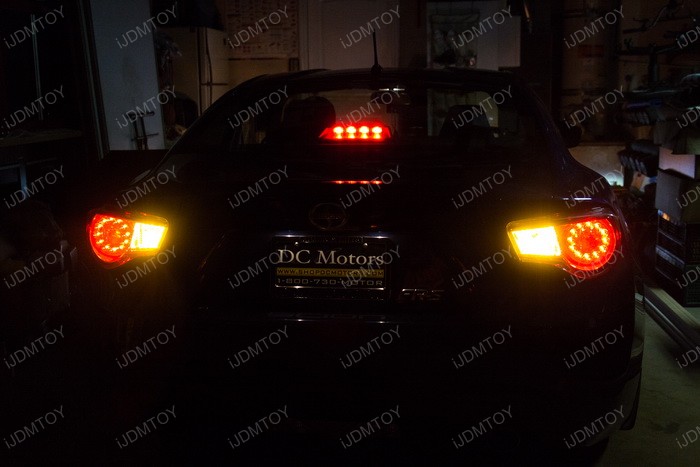
Step 10) Enjoy your new no resistor required, error free LED turn signal lights!
As you can see, the installation is pretty straight forward and the universal fit silicone adapter really makes installing the signal kit pretty simple. The fact that it fits most Japanese cars also makes it very versatile and compatible with many models. As long as they are used as rear and front turn signal lights, these LED turn signals are the perfect car addition.