


This is a general installation guide that will show you how to install turn signal LED bulbs with load resistors on any vehicle. For specific steps, refer to the instructions included in your package or our turn signal lights installation guide page.
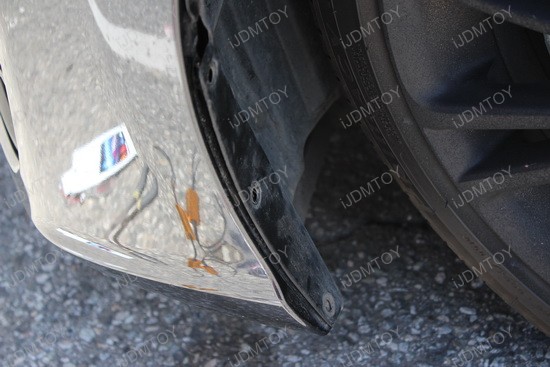
Step 1: Turn your wheel to give yourself clearance to work on your wheel well liner. Remove the plastic clips holding the wheel well liner to access the area behind the bumper.
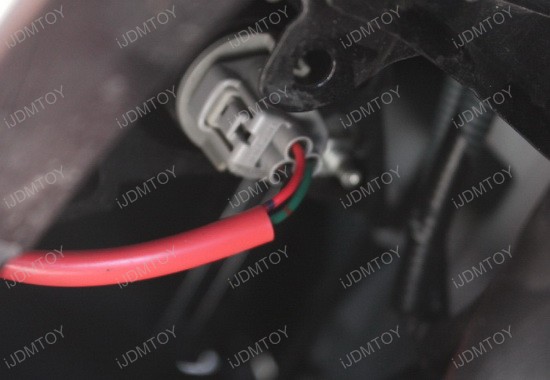
Step 2: Find the stock OEM bulb and carefully pull it from the housing. Note that the bulb is made of three parts: the base, the holder, and the bulb itself.
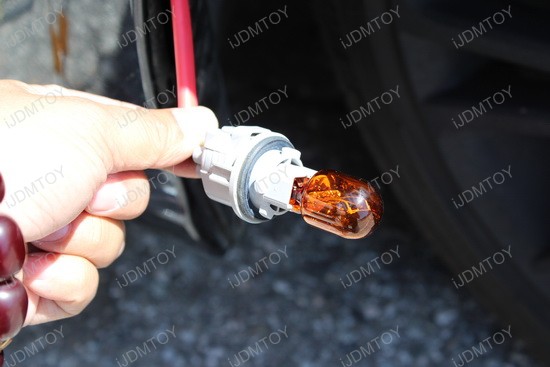
Step 3: Replace the original bulb with your new turn signal LED bulb. Make sure you only remove the bulb portion and not the holder or base portion.
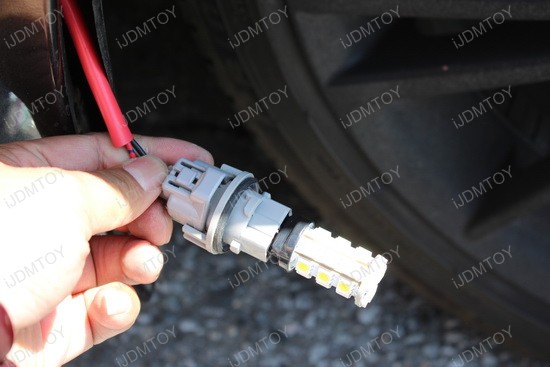
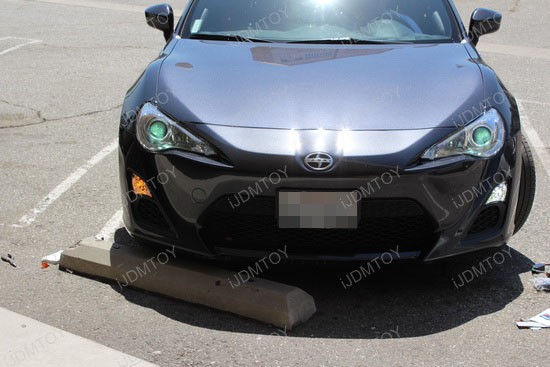
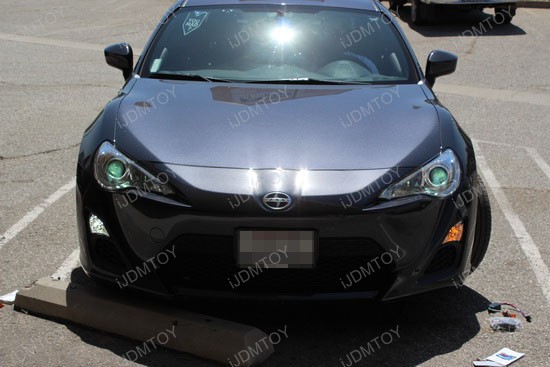
Step 4: At this point, you can test your turn signal LED bulb to make sure it works before putting the bulb back in its housing. The LED bulb should light up white when the parking light is on and amber when the turn signal light is on.
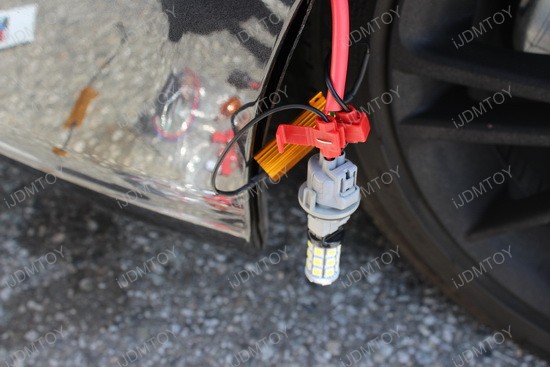
Step 5: Only do this step if you purchased load resistors. Splice the turn signal positive and common negative wires and mount the resistor onto a ground. Make sure your mounting is secure because resistors tend to get very hot.
Step 6: Reinstall the the switchback LED bulb as well as the clips on the fender liner. Repeat all steps for the other side.
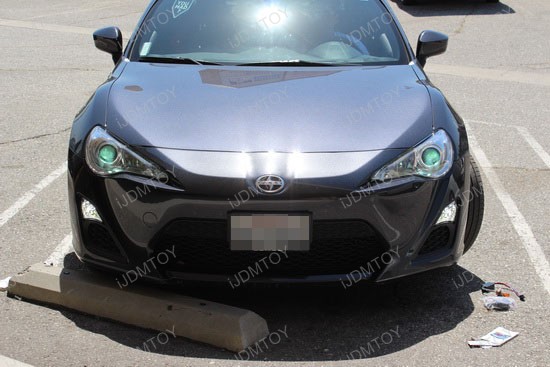
Step 7: Enjoy your new switchback LED turn signal lights!