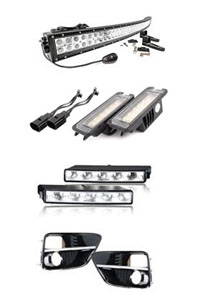
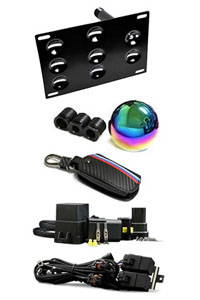
This is a general installation guide for on the roof LED light bar. Although optimal mounting locations differ between trucks, this guide can be used for any truck.
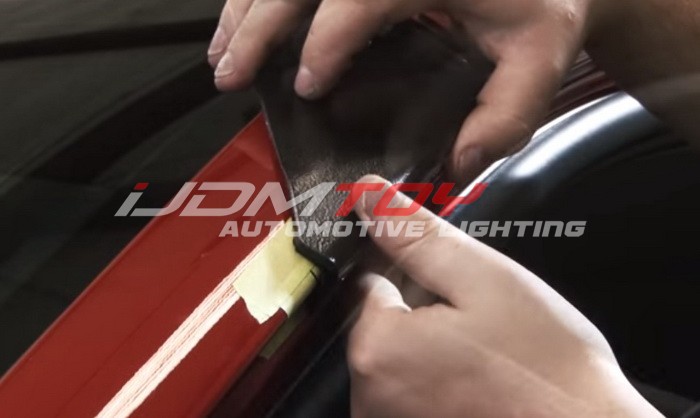
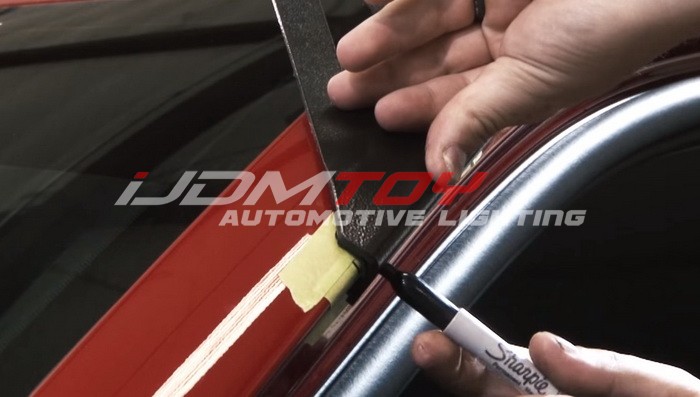
Step 1: Mark the optimal location for mounting with a marker. This is usually given to you in your product's installation guide that's included. To find the mounting location of your choosing, preassemble the LED light bar with the exclusively designed support brackets and lay it across your car roof. While marking and working with the mounting brackets, use masking tape to protect your car's paint.
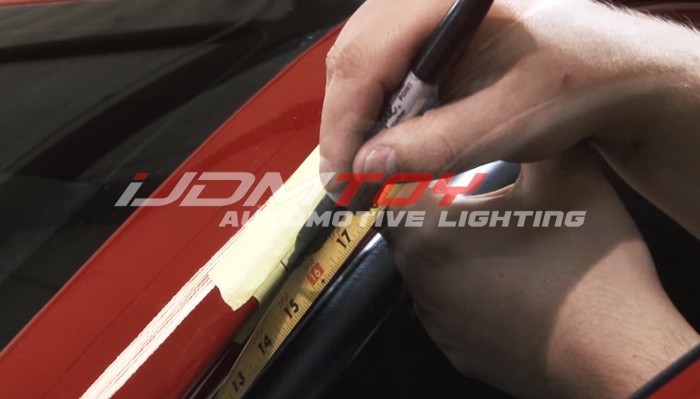
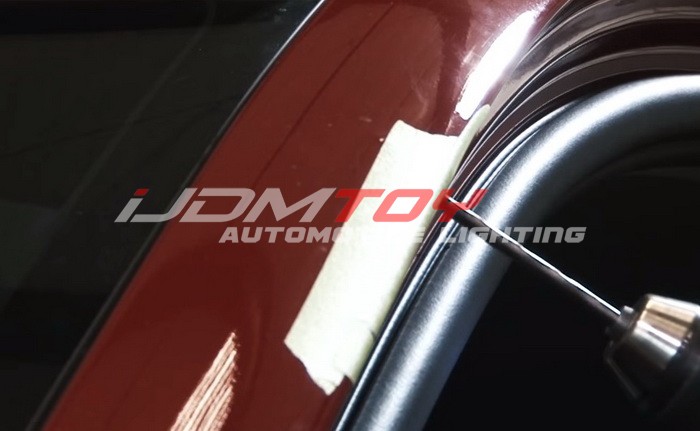
Step 2: Drill holes through the designated dots. Remove the masking tape.
Step 3: Align the holes of the dots and the light bar mounting brackets and secure it to the vehicle frame. Mount the LED support brackets using the supplied hardware in your package. Additional tools may be needed.
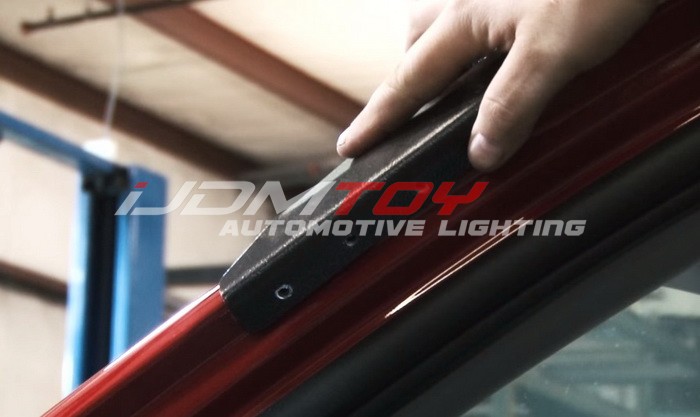
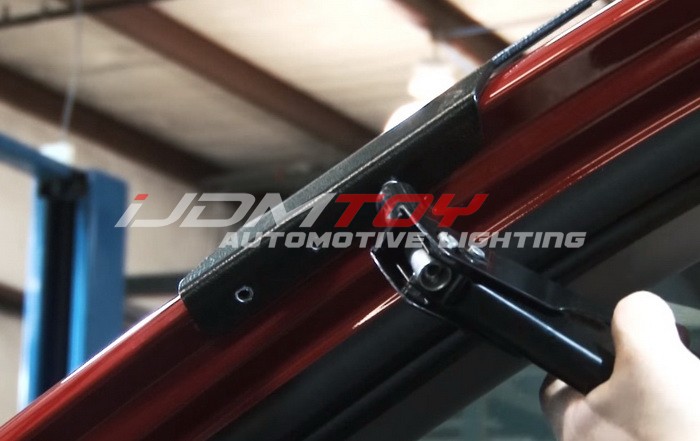
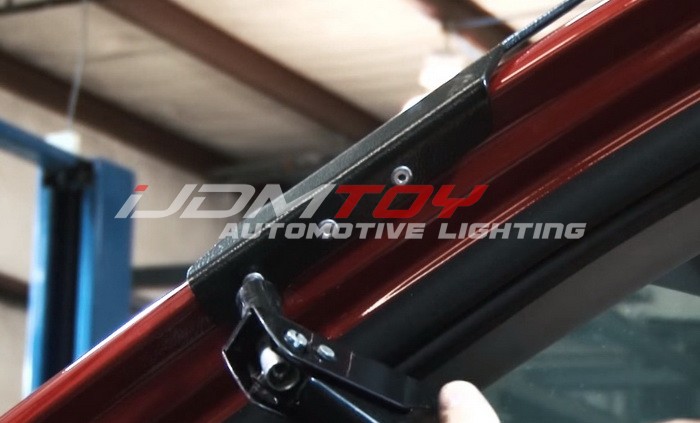
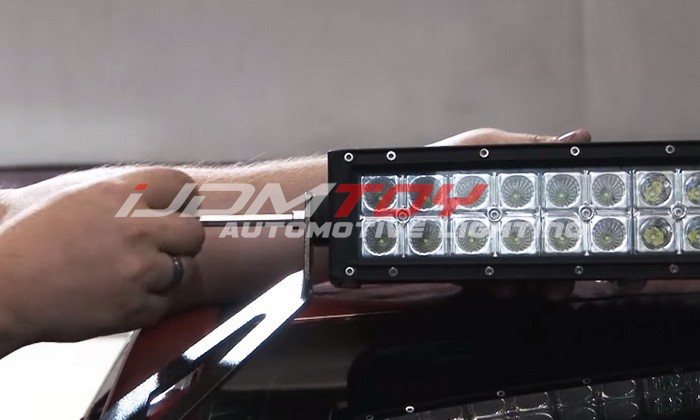
Step 4: Mount your LED light bar to the roof-top brackets.
Step 5: Connect the wires to a relay and switch wiring kit. Use our guide on how to install a relay harness kit with on/off switch.
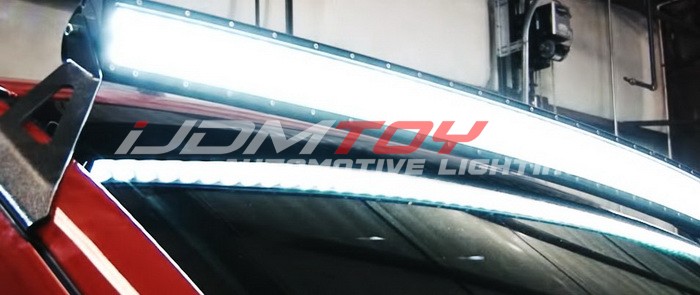
Step 6: Test your LED light bar to make sure it fully functions. You can now enjoy your new truck rooftop LED light bar.

