


This installation guide will show you how to install the load resistors (AA1037) for turn signal lights to prevent the hyper flash.
Why do I need to install load resistors for the LED turn signal lights? If you don't install the LED turn signal bulbs with load resistors (also called equalizers), you will experience the hyper flash issue. Not only is this extremely ugly, but it might attract the police thinking your bulb is burnt out. What a hassle!
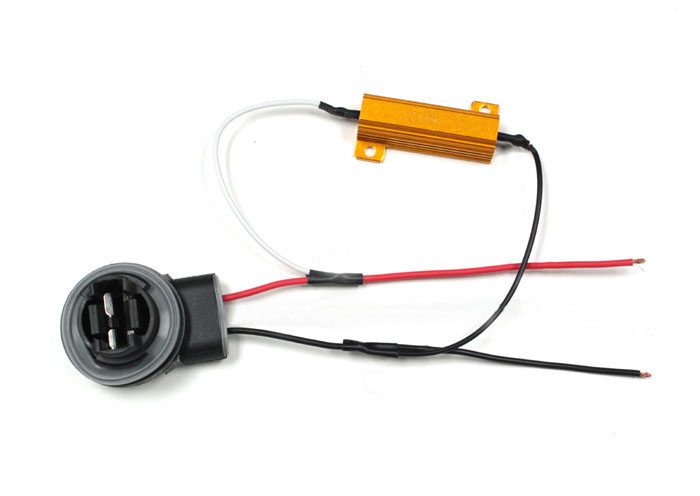
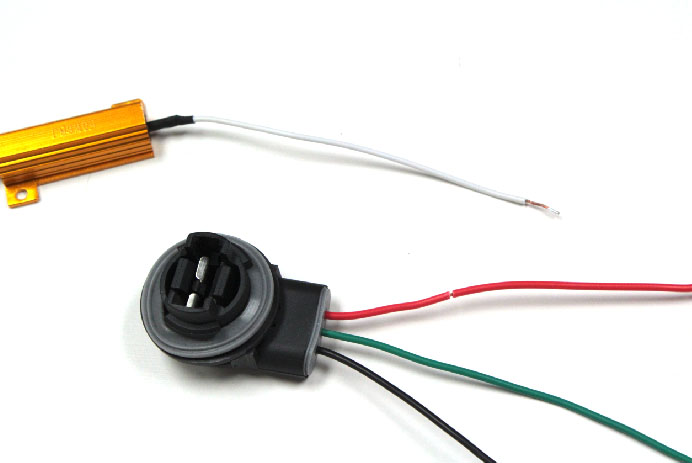
The resistors you need are the 50W 6 OHM load resistors. When we say add load resistors, what we mean is to tap the load resistor to the stock harness in parallel. Load resistors have no positive or negative sides, so you won't have to worry about which wire goes which side.
For single filament applications like the 1156, 3156, 7440, there are only two wires (one positive and one negative). It's pretty straightforward; simply tap the load resistor wires in between these two wires.
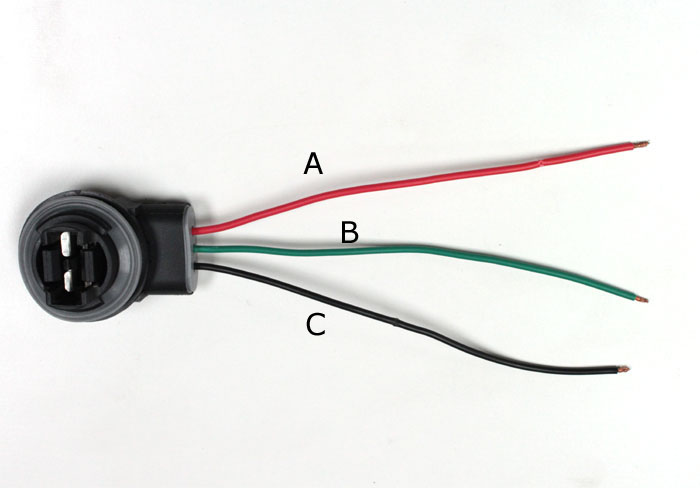
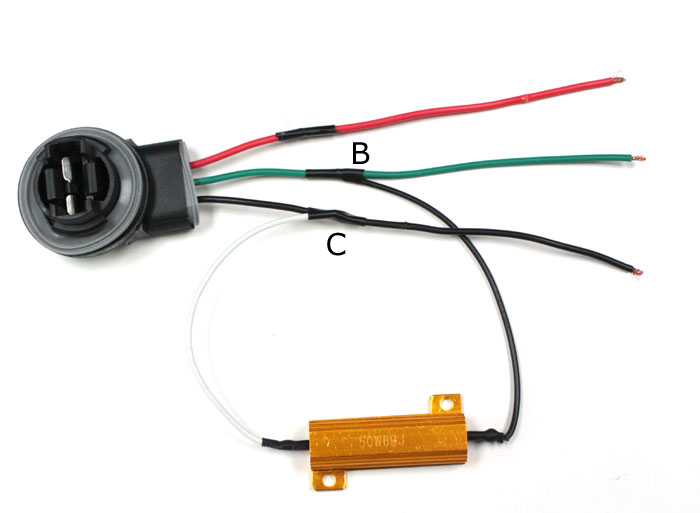
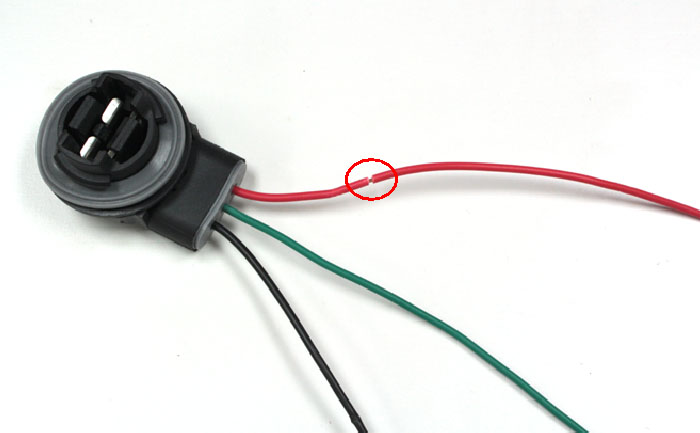
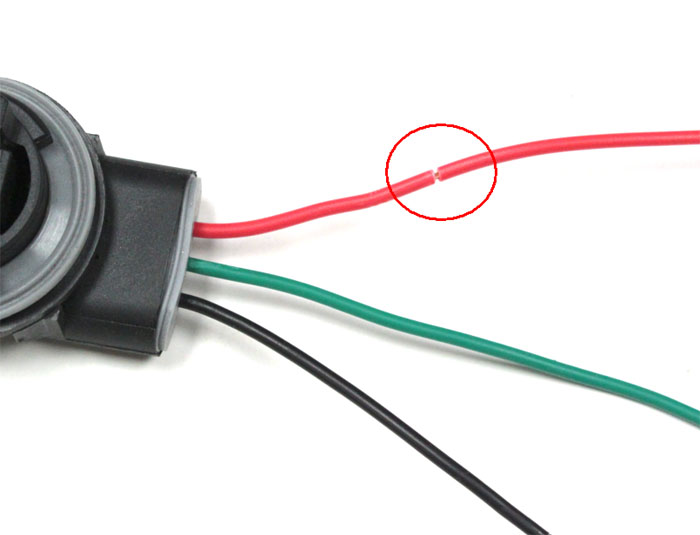
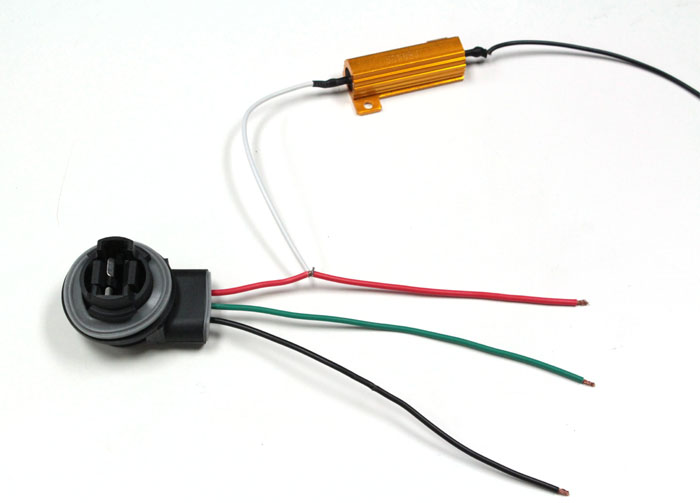
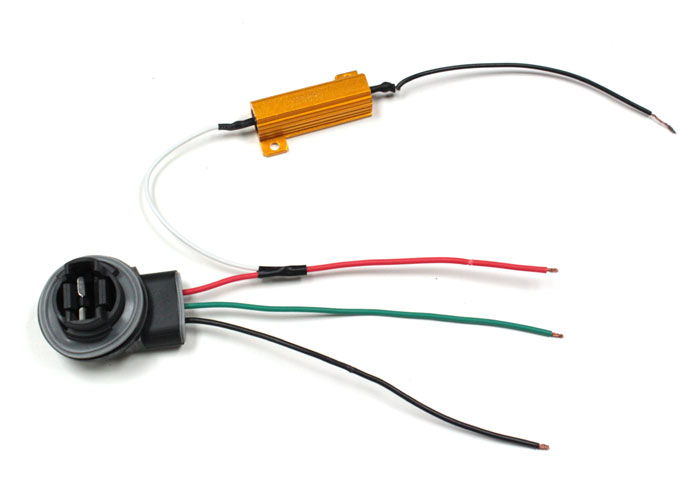
For double filament applications like the 1157, 3157, 7443, there are three wires (one shared negative, one positive for dim mode and one positive for brighter/blinker mode). Because of this, there is a little more trial and error involved. We recommend that you tap the load resistor between the most vivid wire color wire (usually the wire for the brighter/blinker mode) with the least vivid wire color wire (usually the negative wire). In this demonstration, we are going to first try tap the resistor between the red and black wires.

Test the turn signal after you tap the wires. If it still hyper flashes, take the wires out and tap it to the other wire and try again. If you happen to be extremely unlucky, you may have to try a third time (don’t worry, the most you will try is 3 times). Here we are going to assign each wire with a letter for better reference. (Red-A, Green-B and Black-C). We initially tried A and C, test to see it works. If not, try B and C, then test. If it still doesn't work, try A and B.


If you have tried it all three ways and still cannot resolve the hyper flash issue, then the most common reason causing this is the connection. A lot of people install load resistors with a T-tap (quick tap) which sounds like easy work, but we definitely don't recommend going this route. T-taps sometimes cannot perfectly cut through the wire, making the connection loose or causing it to work intermittently. We recommend you to directly merge the load resistor wires to the stock harness. In fact, for a lot of professional stereo installations, the installers also merge the wires instead of using T-taps.

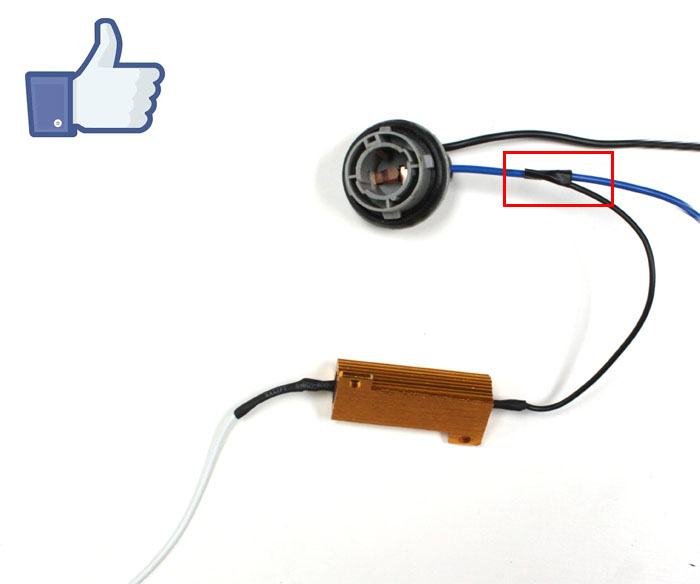
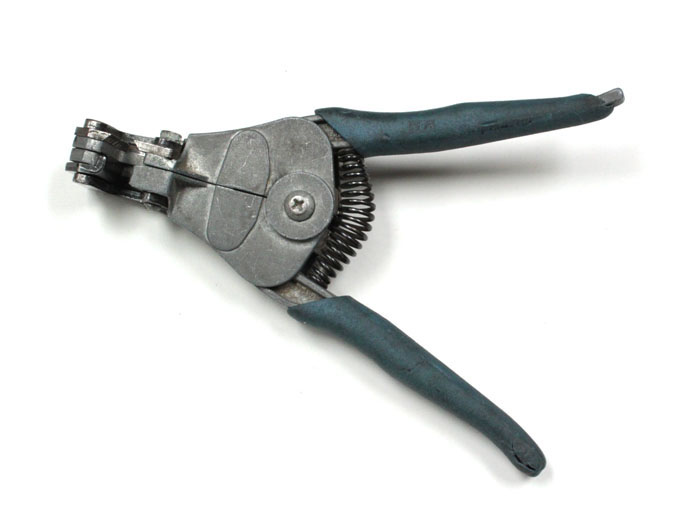
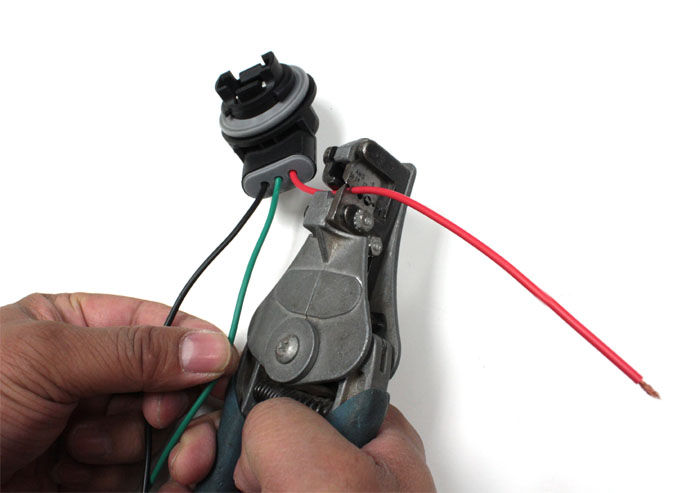
How do you merge the wires? First, we recommend you use a wire stripper because it will expose the copper wire in a small slit and not damage anything. If you don't have one, you can still scrape through the plastic with a knife or a pair of scissors. After you connect the wires, don't forget to use electrical tape to cover it. The great thing about merging wires is that they work perfect every time and doesn't have that intermittent working/not working issue with the T-taps. Always mount the load resistor to metal using zip-ties, not double-sided tape.
In sum, 1) Merge the wire together instead of using T-tap to ensure perfect connection 2) Always try different combinations for double-filament bulbs (at most 3 combinations) 3) Mount the resistor to metal to prevent any heat damage.