You can find the LED Roof Cab Lights here
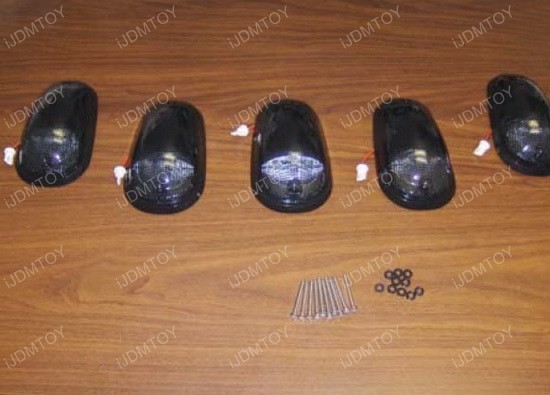
This Roof Cab LED Light is a highly customizable universal fit product so you can install this set-up on practically any truck, SUV, or RV. If your vehicle does not already come with roof cab lights, you will need to drill holes in order to proceed with the wiring and mounting. This product comes with 5 cab roof LED lights, 10 screws, and 10 washers for a successful installation.
Before you begin, here are the supplies that you will need:
-2 Drill Bits, size 1/8" and 3/8"
-Ladder
-Screwdriver
-Some wiring (18-24 gauge)
-Electrical Tape
-Measuring Tape
This is what the package comes included with:
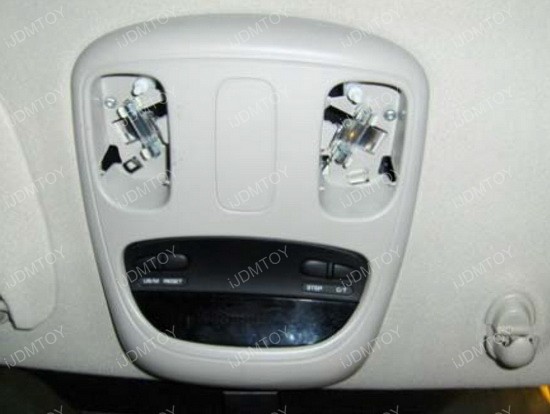
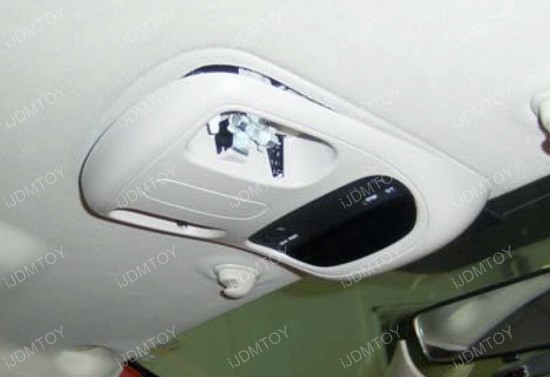
Step 1: There are many ways to power up this LED. You can add a switch or use the existing truck interior light switch. In this instance, we are using the truck's interior light switch to power up the LED roof lamps.
This installation will take the place of one of the front map lights, but you will still have access to the other existing map light.
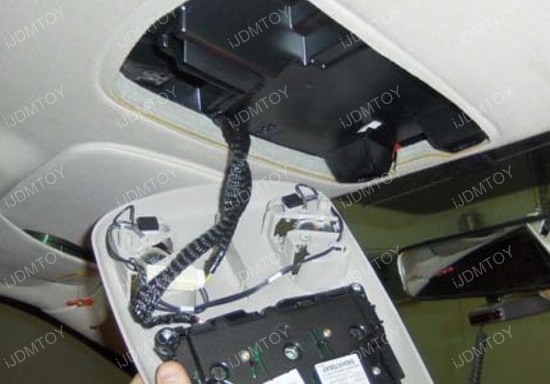
Remove the entire front map light assembly, exposing the wires.
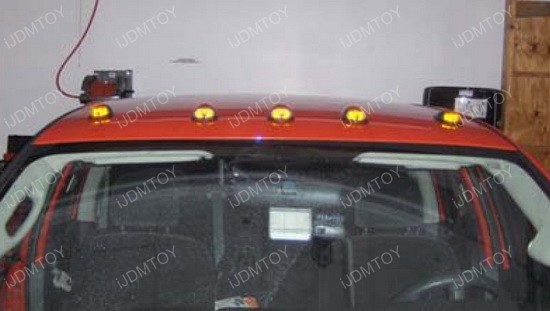
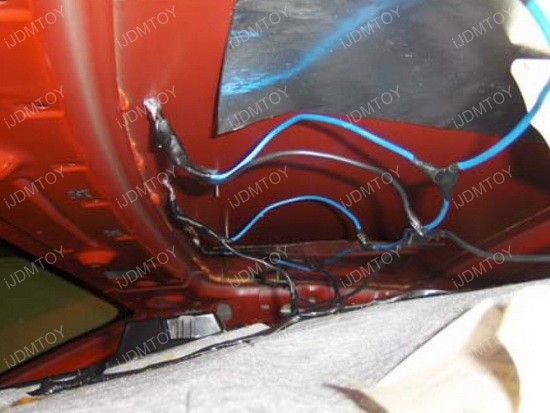
Step 2: Climb up to the roof of your truck. If your car already has an existing apparatus on the roof, such as a rack or an antenna like the Ford below, you don't need to remove these in order to install this LED roof light. You can just work your way around it.

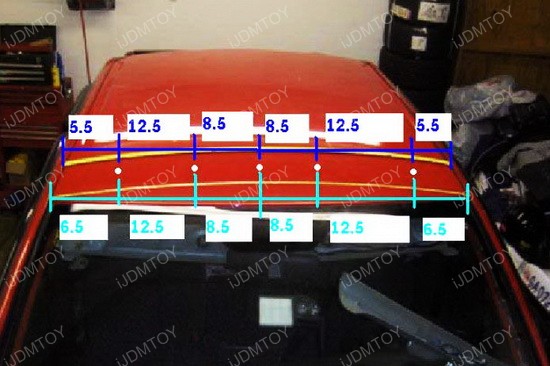
Carefully measure where you are going to install each individual LED roof lamp. Use a dry erase marker to mark where the LED roof light will be placed and where you are going to drill the holes.
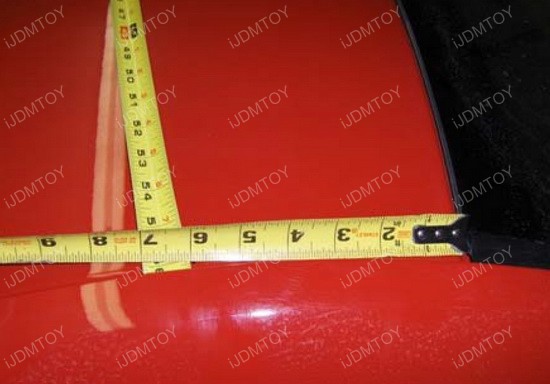
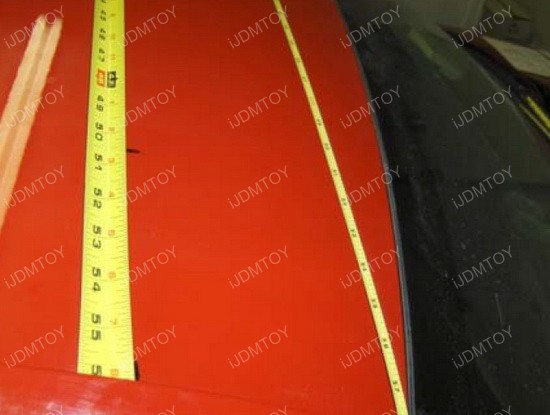
This is a general guideline for the measurements in inches, but you can position these LED roof lights however you like.
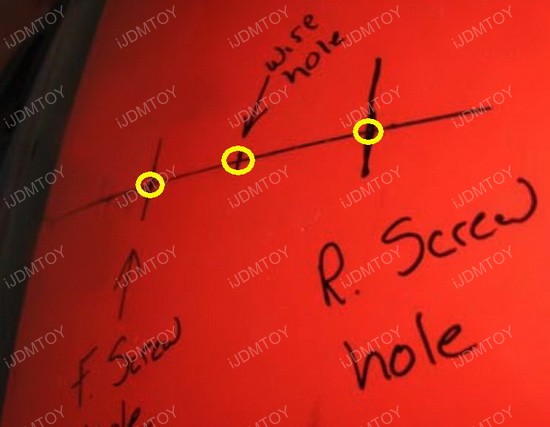
Step 3: You will need to screw in three holes: One on each of the ends for the front screw and rear screw, and one in the center for the wiring hole.
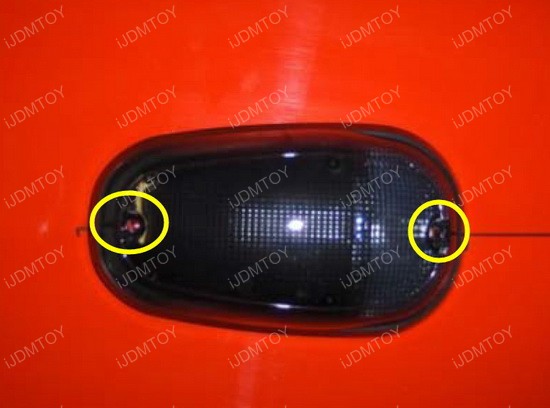
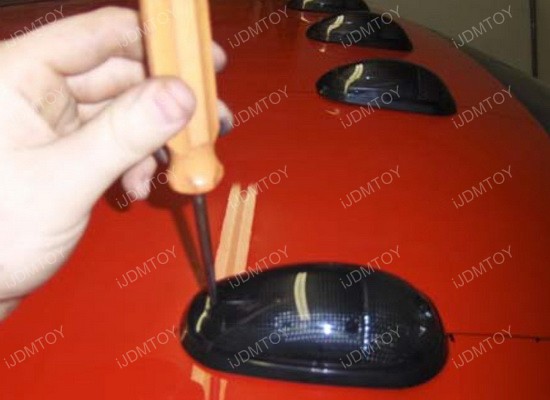
Step 4: Use your screwdriver to attach the screws at the front and rear to permanently mount your LED roof light.
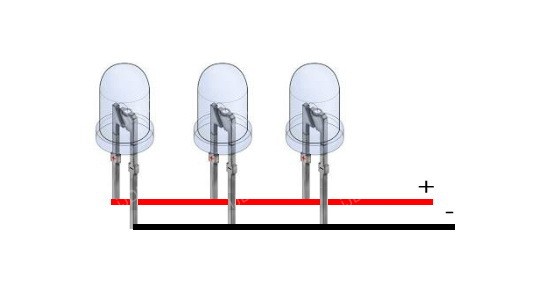
Step 5: This is a general wiring guide to show you how to connect the positive and negative wire. Be sure to wire them up in parallel. Use the electrical tape for the connections so that they can maintain a parallel wiring.
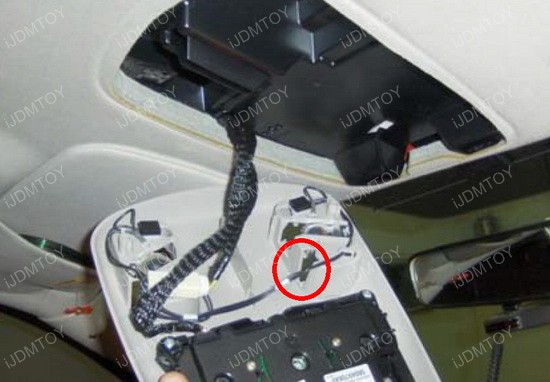
The red circle is a guide to show you where the wiring connections go. All wires need to be routed through here to complete the wiring portion.
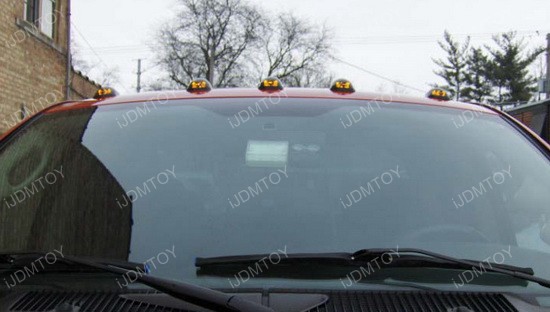
Test to make sure everything works and enjoy your new LED roof lights!