


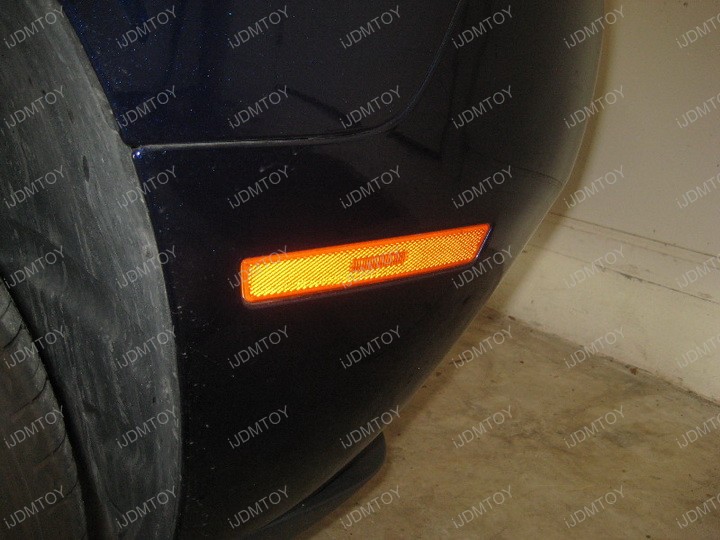
This installation tutorial will show you how to install the clear or smoked lens 24-SMD LED front side marker lamps for the 2008-2014 Dodge Challenger. The installation process will be very straightforward and will not require any modifications. After installing the pair of LED side marker lights, your Dodge Challenger will be a touch above others in the lighting game.
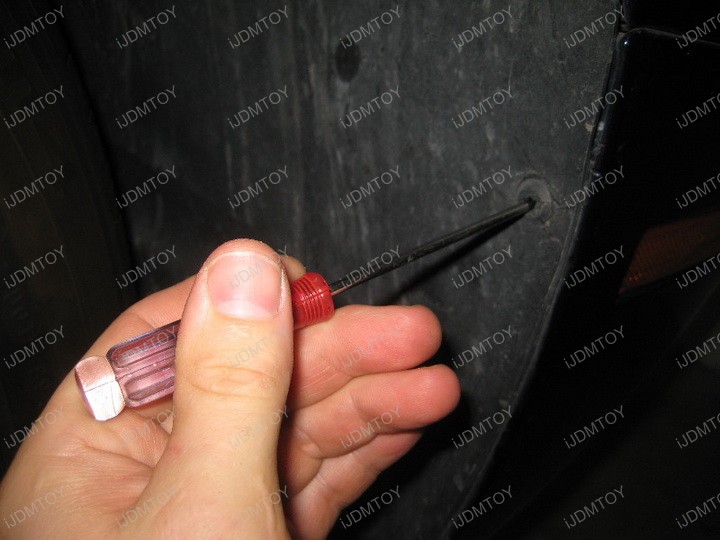
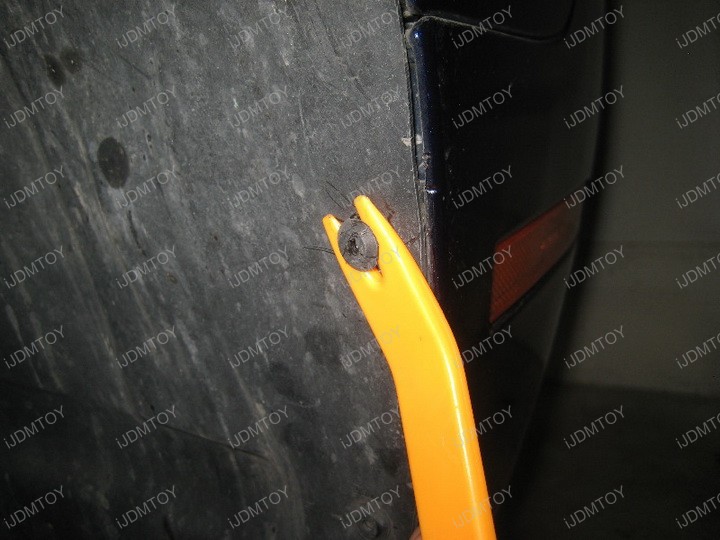
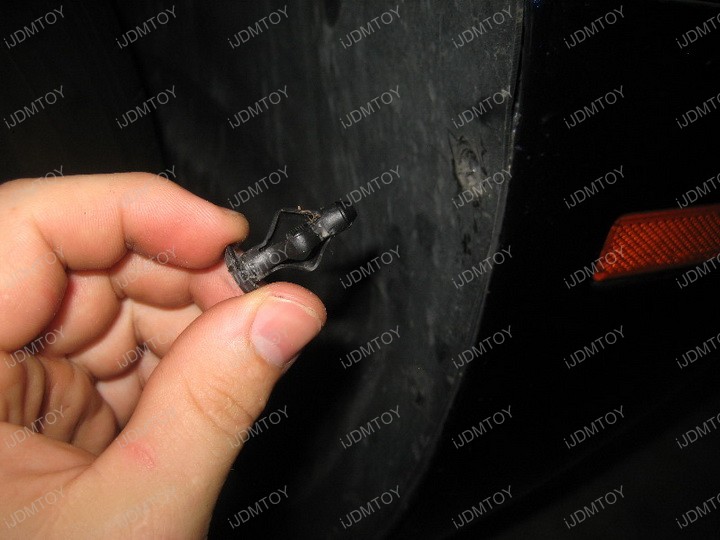
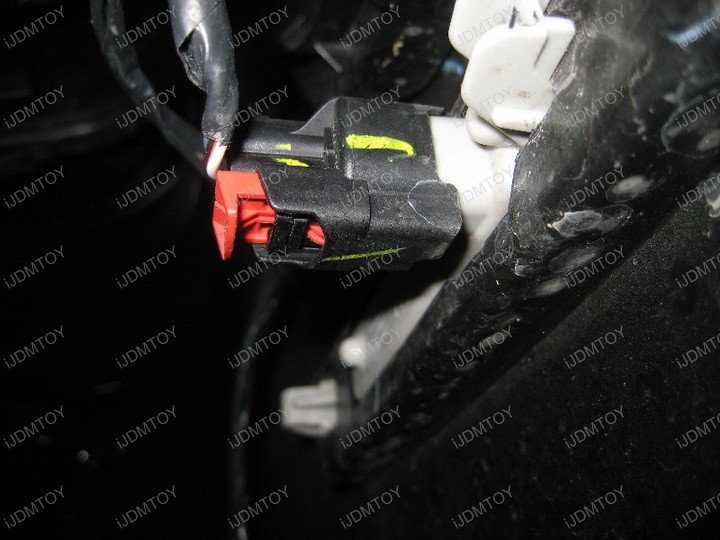
Step 1: Gain access to the back of the stock side marker lamp. Use a screwdriver or pliers to remove the screws/plugs holding the wheel well. Pull back the wheel well liner to reveal the working area.
Step 2: Once you have access to the back end of the OEM side marker lamp, unplug the adapter from the side marker light.

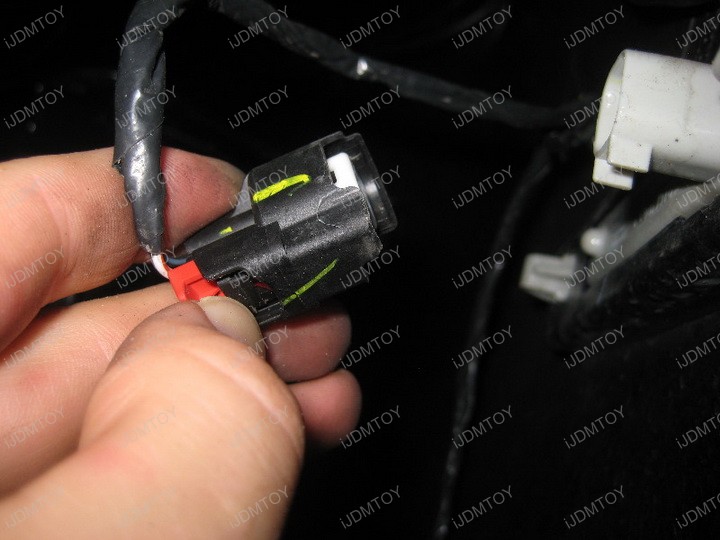
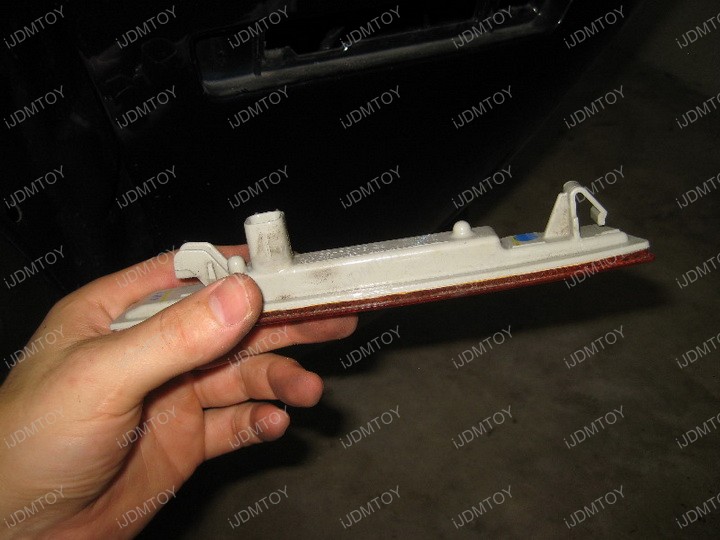
Step 3: Remove the factory side marker light. Directly replace it with the LED side marker lamp.
Step 4: Plug the adapter into the front LED side marker light. Reapply the screws/plugs onto the wheel well liner to finish up.
Now that you've walked through the installation process with ease, you can now enjoy your Dodge Challenger's new front LED side marker lamps! You can shop for this and more OEM replacement LED lights today!