


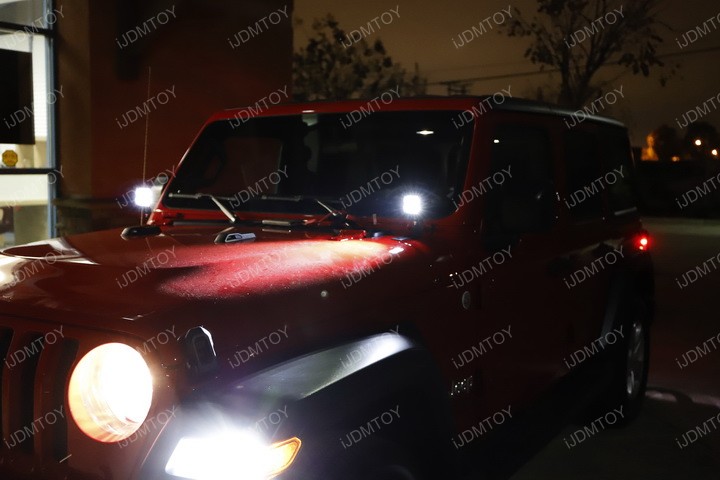
This is a tutorial that will show you how to install the A-Pillar Wrangler LED pod lamps on the 2018 Jeep Wrangler JL (70-275). This LED podlamp kit is ideal if you are just getting into custom mods and additions. With low commitment, these LED pod lights are easy to install and have a high output of LED light for its size. These LED pod lights will also improve the adventurous outdoor look of your new Jeep Wrangler.
Step 1: Remove the Torx bolts located at the lower corners of your Wrangler's windshield.

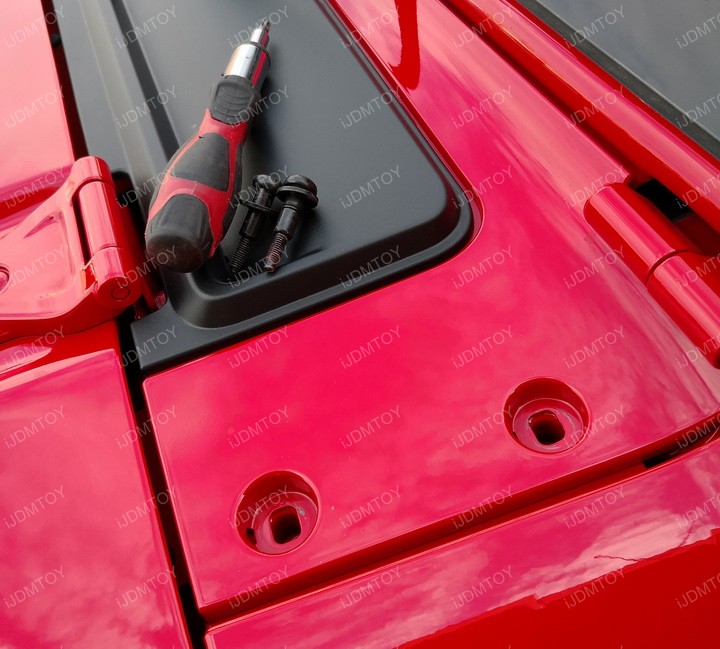
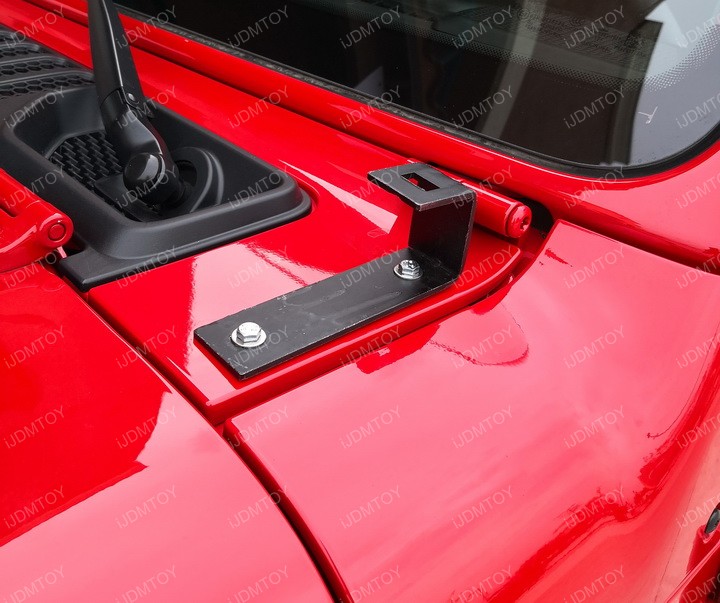
Step 2: Set the included nuts in the mounting locations to use as spacers.
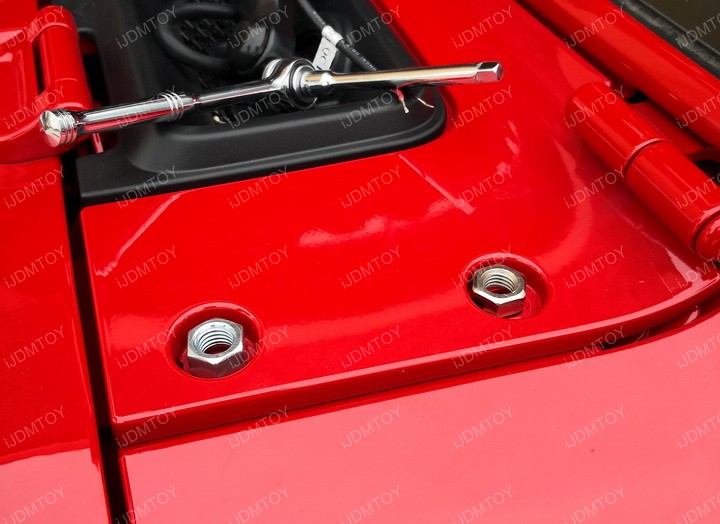
The inner mounting hole will use the smaller nut while the outer mounting hole will use the bigger nut.

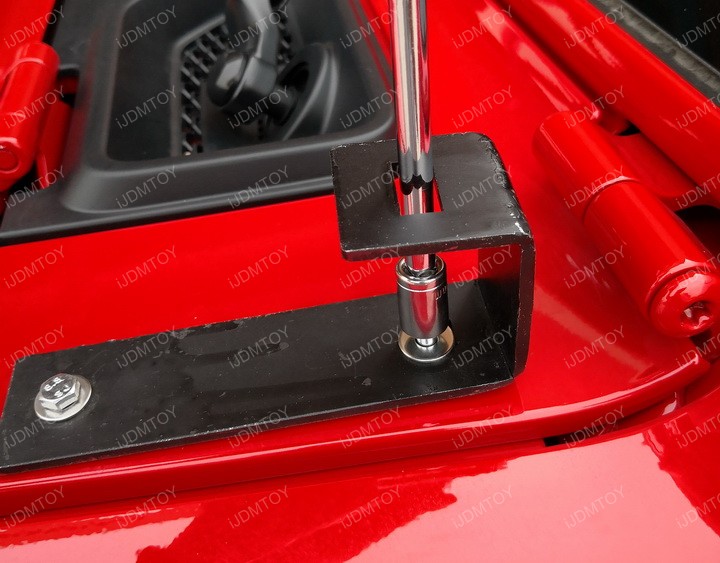
Step 3: Bolt the pod lamp support brackets onto the A-pillar mounting locations. Thread bolts through the mounting holes and line them with washers.
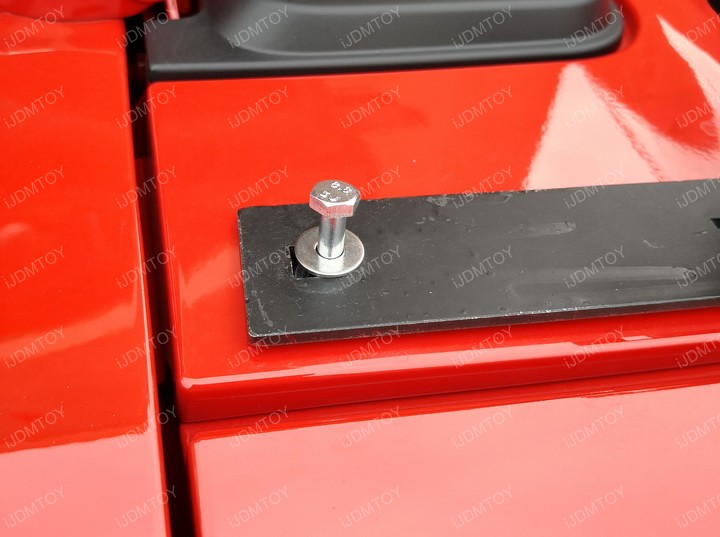
The A-pillar brackets you see in the pictures are prototypes. The support brackets you receive will be different than that of the pictures, but the installation process will remain the same.
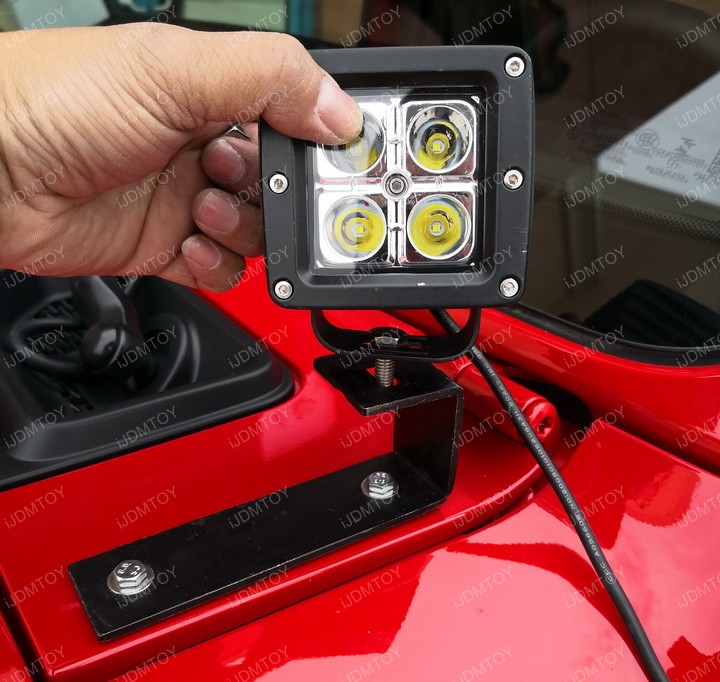
Step 4: Preassemble the LED pod lights with their U-shaped brackets. Mount the LED pod lights onto the A-pillar support brackets. Push down on the LED pods until they lay parallel if necessary.
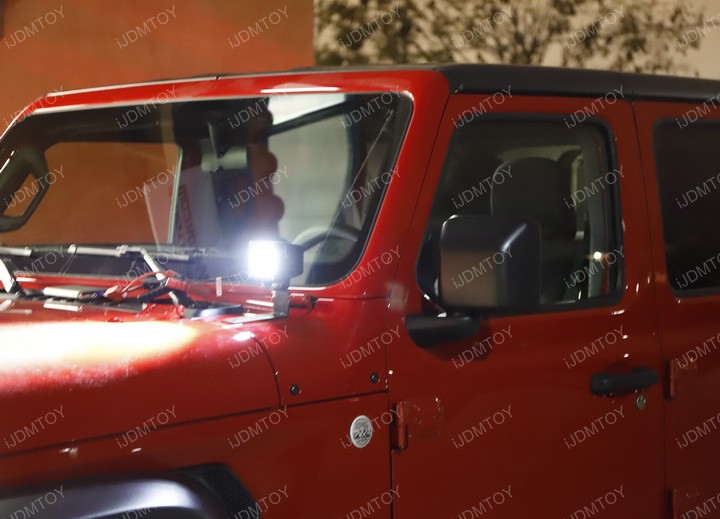
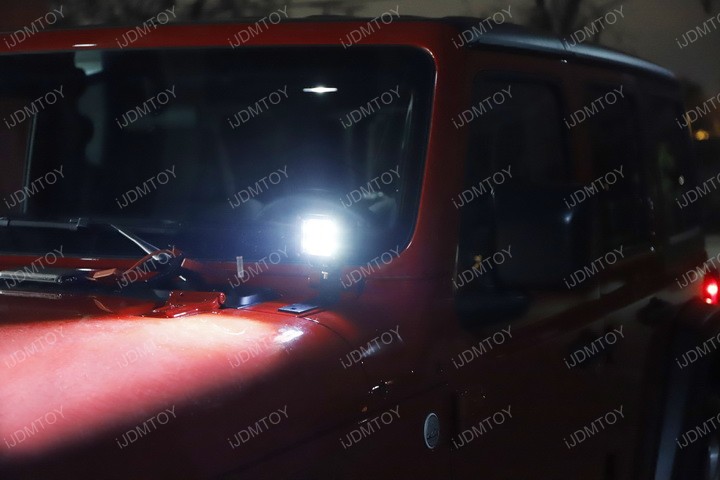
Step 5: Wire the LED pod lights using the relay wiring harness and test each unit the make sure they light up. Once you confirmed that they have, you may enjoy the high output light your Jeep Wrangler JL now wields to get you through your adventures safely!
Find this and more offroad truck LED lighting today!